New Eden Banishers Map
Banishers Ghosts of New Eden: All Haunted Grounds
Haunted Grounds are short obstacle courses, at the end of which a chest with a new item of equipment awaits you. On this page of the guide we have described where to find all the haunted grounds in the game and how to get to the end of them.
Last update:
Haunted Grounds are one of the types of secrets in Banishers Ghosts of New Eden. These are a kind of obstacle courses - short, linear locations filled with environmental puzzles. The player must solve these puzzles to reach the end, where a chest with a new piece of equipment awaits. On this page we have listed all the haunted grounds in the game and explained how to complete them.
- The Dark Woods - Corrupt Canyon
- Mount Pleasant - Icy Cavern
- The Harrows - The Shipwreck
- The Harrows - Forsaken Farm
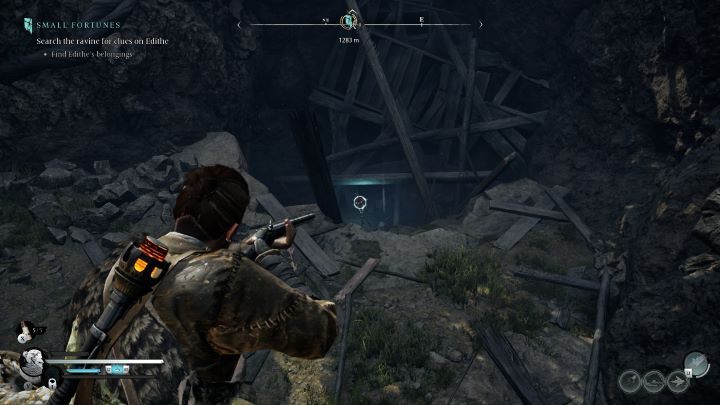
The Dark Woods - Corrupt Canyon
Related map marker: Haunted Place #1 - Corrupt Canyon @ New Eden
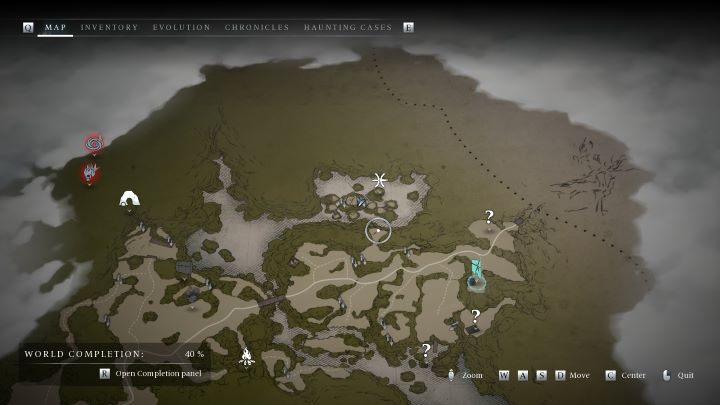
- Location: In the area east of the High Cave shelter, behind the Creeping Ivy.

- Walkthrough: After entering the canyon, switch to Antea and use Leap to reach the rocks on the left. Then go down the right wall.
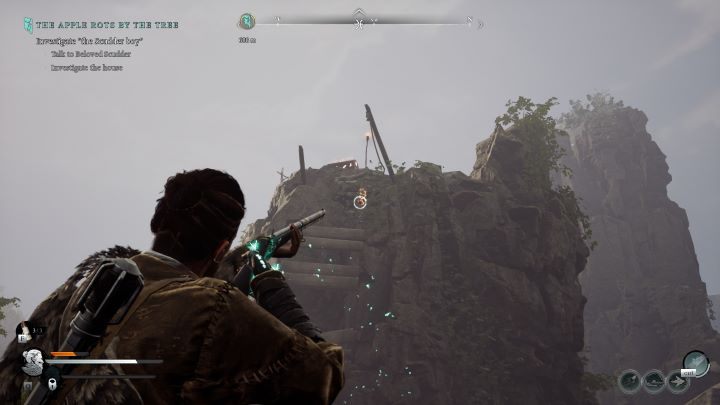
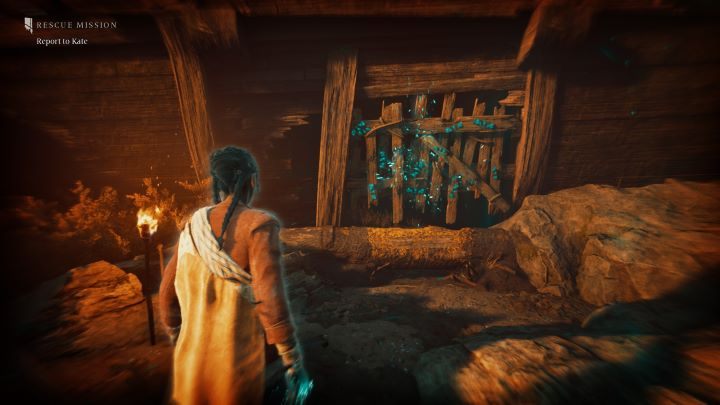
- You must shoot down three Ghost-wards to be able to summon Antea again. The first one is right opposite the wall you just came down from. Jump over the broken bridge and turn around - the second amulet is on a rock in the distance, on the left. Then go right. The third amulet lies behind the wooden barricade - shoot the hook above at the top of the rock to destroy the barricade.
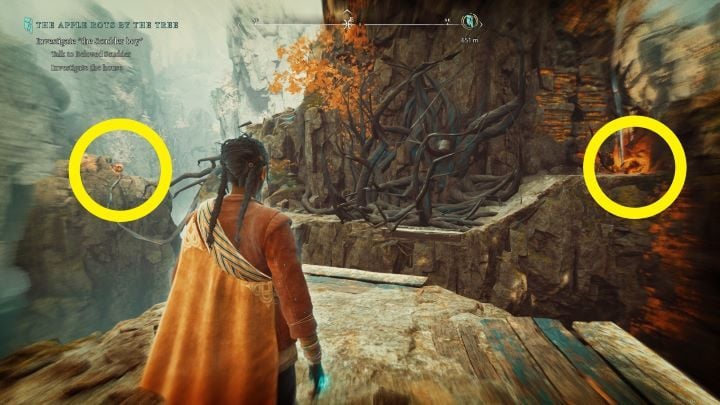
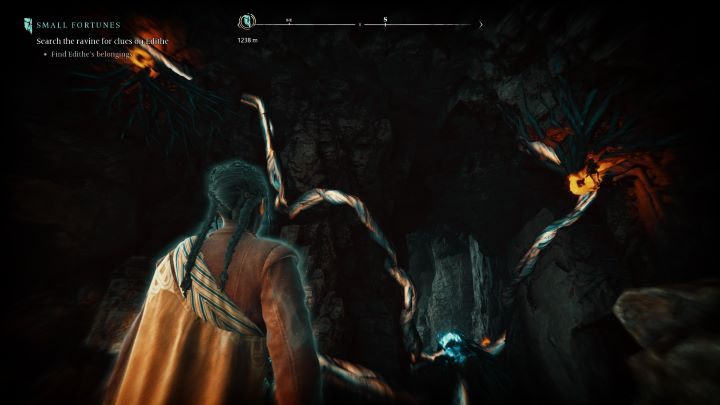
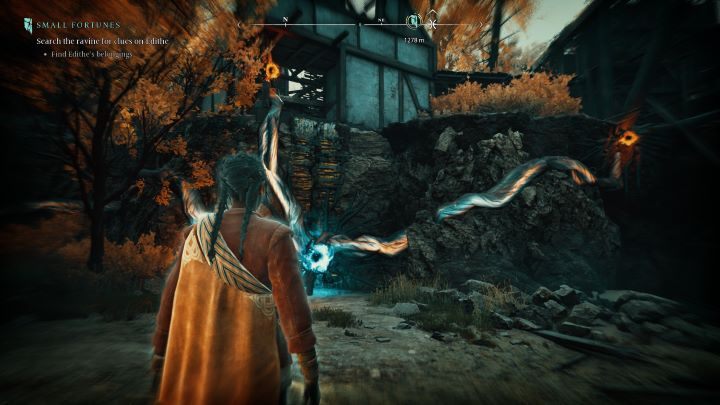
- The next step is to destroy the Creeping Ivy blocking the way. As Antea, use Leap to go over the rock, on which hung the second amulet. Use the Ensnare on the ivy, then jump to the next rock and shoot both buds shown in the picture.
- Go further and climb to the top of the rock. The ivy no longer blocks the higher rock shelf - climb onto it and make one more Leap to reach the chest. Inside you will find a Brooch - Triple Resilience.
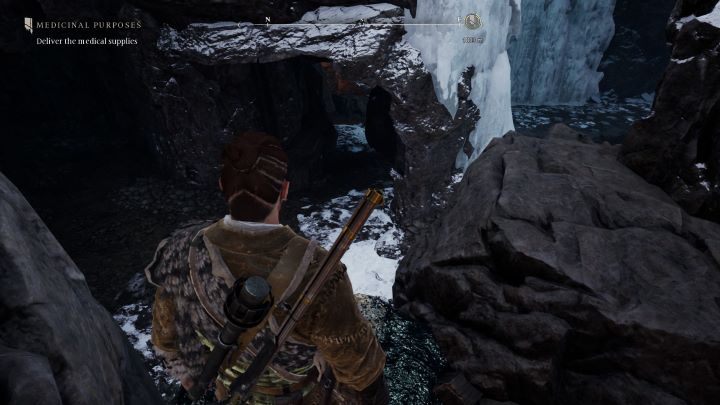
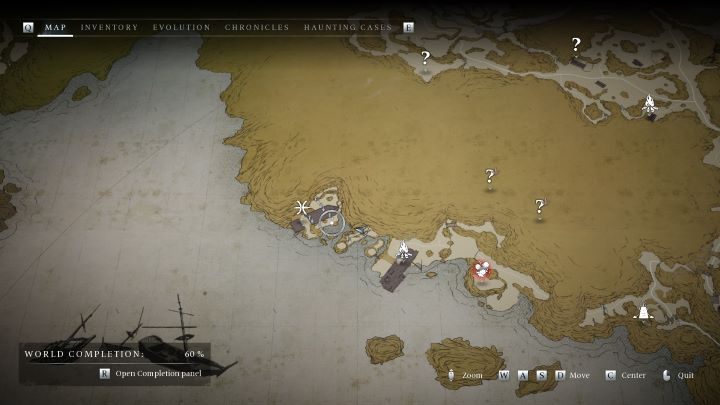
Mount Pleasant - Icy Cavern
Related map marker: Icy Cavern @ New Eden
- Location: Northwest of Fort Jericho, in a cave on the way to Bligh Manor, on the other side of a crevice covered with small stalagmites that you can destroy with your sword.
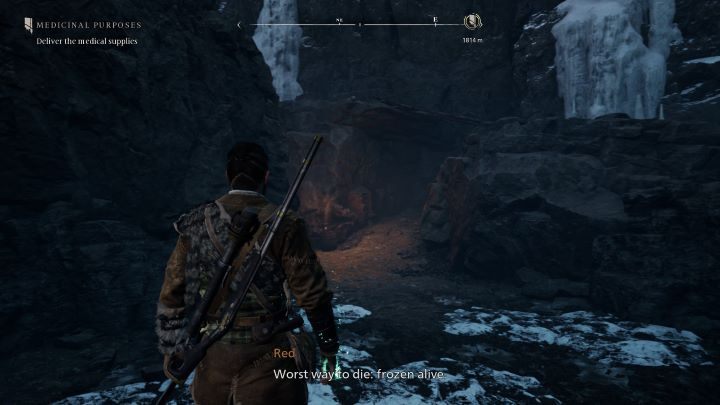
- Walkthrough: After entering the cave, follow the path and go all the way to the end. Use Outburst to knock down the huge icicle, then get off the path. You can now climb the fallen icicle.
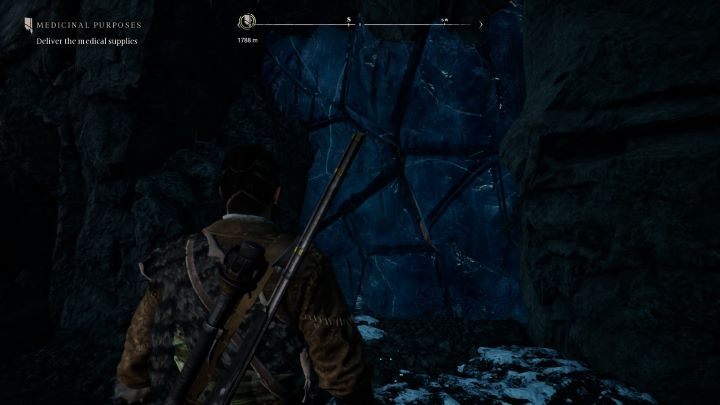
- Go forward and pass through the hole in the wall, following a linear path. At its end, destroy the fragile wall with Outburst. Then walk along the narrow edge and destroy the wall there as well to reveal a Creeping Ivy bud.
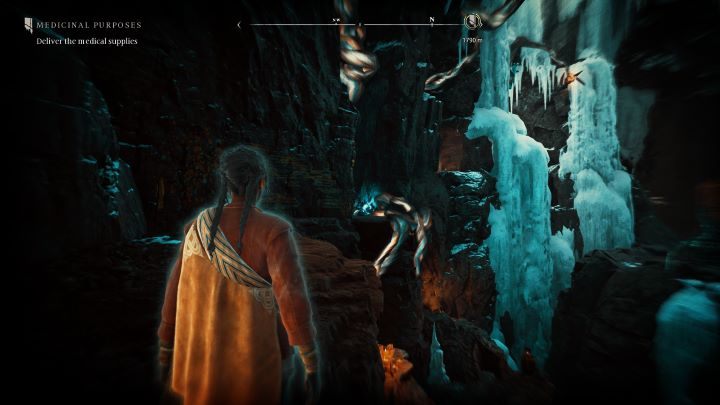
- You must now destroy the Creeping Ivy. Position yourself on the other side of the narrow edge (this is the only spot where you can shoot the ivy bud). The buds are behind a fragile wall, under the edge of the cliff you are standing on, and above a large stalactite hanging from the ceiling. This will destroy the stalagmite on the cave floor that was blocking the way to the chest. The chest is still wrapped in ivy.
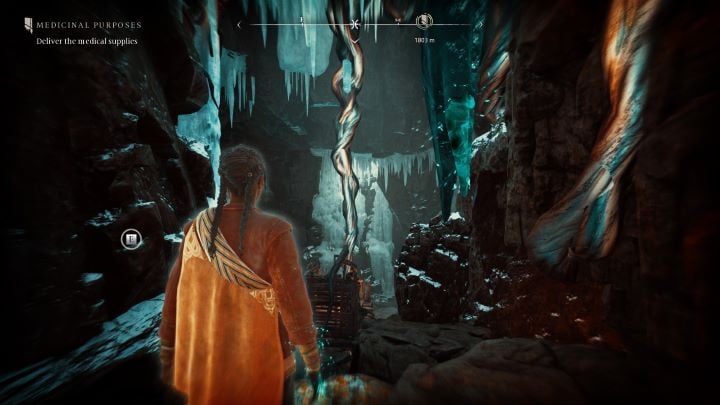
- Go back to the hole in the wall and go through it. This time, take the upper path next to the hole. Follow it to the very end - before you jump down, knock off another icicle with Outburst. Jump down and climb the icicle. You will find the second core of ivy.
- You must destroy four buds. The first one is right next to the chest, the second is on the cliff wall to the left of the chest, the third is by the stalagmite you dropped. The fourth bud is a little further - head back, go through the passage on the right, then go straight and use Outburst on the stalactite standing in your way to reach it.

- After destroying both ivies, go back to the very beginning of the location and use Antea's Leap to get to the chest. Inside you will find the Bane Ring - Ring of Antikythera.
The Harrows - The Shipwreck
Related map marker: The Shipwreck @ New Eden
- Location: At the western end of the beach, next to the Boat Hold shelter.
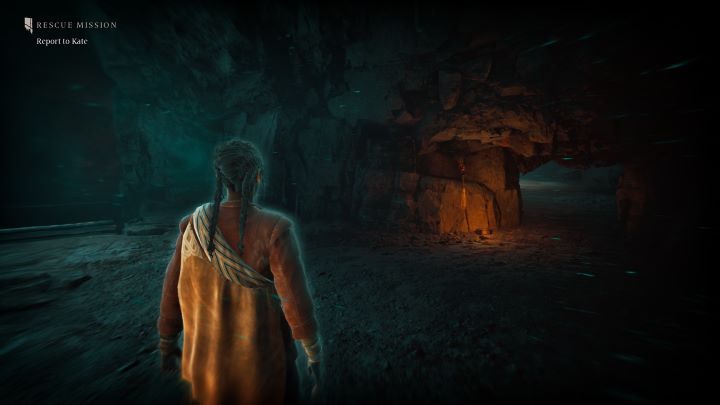
- Walkthrough: After entering the cave, jump down into the fog. Switch to Antea and head right, then squeeze through the small gap shown in the image, right next to the platform from which you can lower the rope. Eliminate the opponents in the next room and move on.
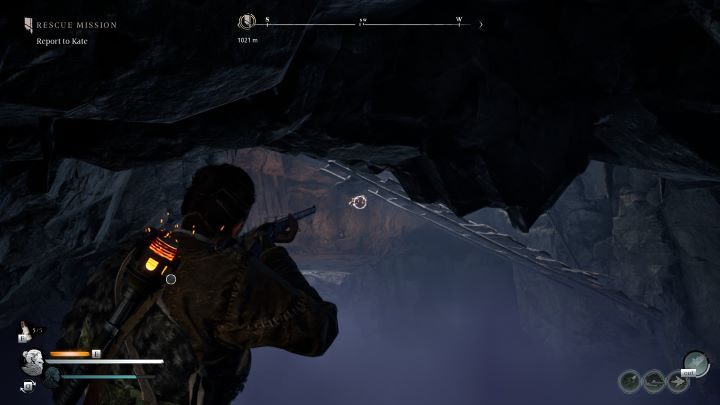
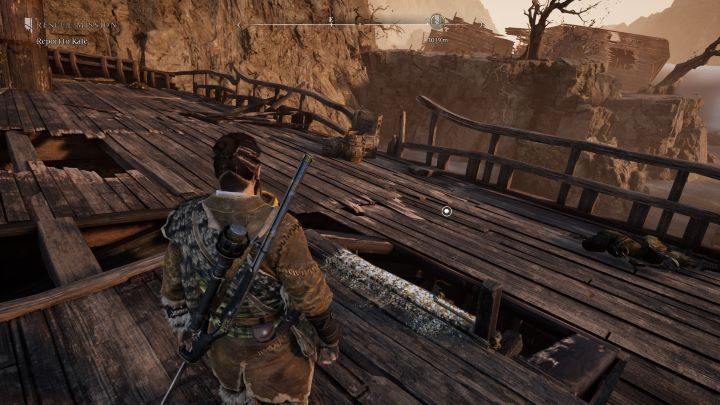
- Before you jump down to the lower floor, switch to Red and shoot down the two hooks holding the wooden barrier in place. Follow the linear path - the barrier will no longer stand in your way. At the end of the path, switch to Red again and shoot down the hook under which there is a wooden footbridge. The footbridge will drop - you can now jump down to the lower floor and cross the footbridge to reach the crystals creating the fog. Destroy them, get rid of the enemies and move on. Drop the rope at the end of the path and descend into the fog again.
You can also go back to the cave from which you dispersed the fog and lower a rope there - you will only find a few units of flax there.
- The path forward is linear - switch to Antea and walk around the ship. Eventually you will reach a wooden barrier in the hull which you must destroy with Outburst. Go through the hole and destroy the crystals generating the fog, then get rid of the enemies.
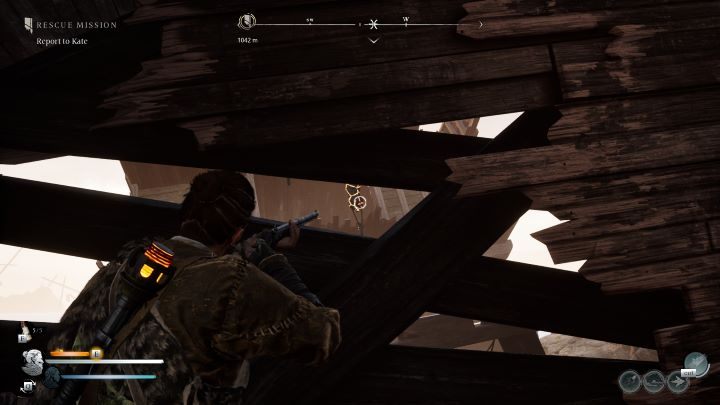
- Go outside and climb the ladder to the upper deck of the ship. There are four hooks here that you need to shoot down - one is hanging inside the ship, two are outside behind loose planks, and one is holding up a platform on the side of the ship. After shooting them all down, you will be able to reach the ladder, which will lead you to the top floor. Get to the top of the ship, kill enemies and shoot down the last hook that holds the hatch on the floor. Lower the rope and go down.
- Open the chest. Inside you will find an Amulet - Voyageur.
The Harrows - Forsaken Farm
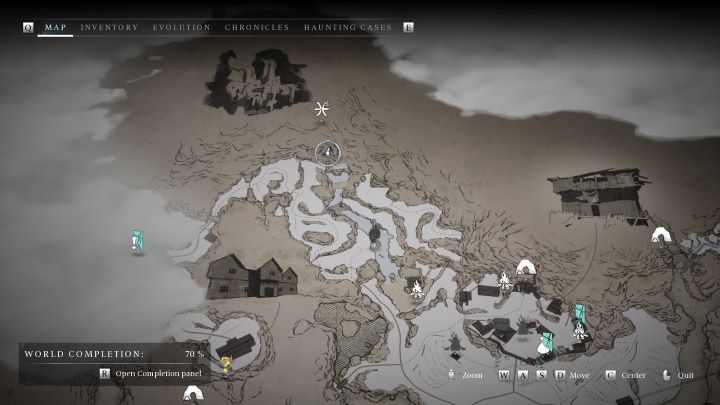
Related map marker: Forsaken Farm @ New Eden
- Location: Far northwest of the settlement, north of the Hills Old House shelter.
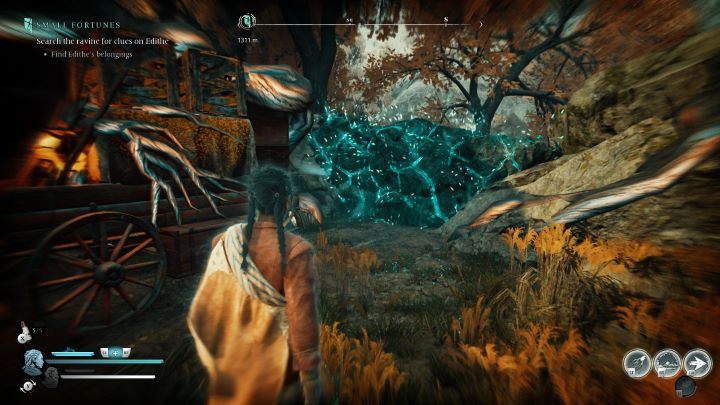
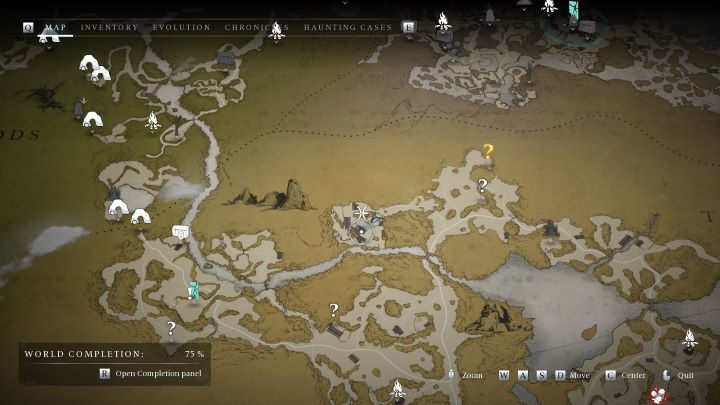
- Walkthrough: After entering the farm, you must destroy three Ghost-wards. They are located in a small booth on the left side of the entrance, on the ground on the right side of the entrance, and at the top of the barn, just above the chest with the reward. After destroying the wards, move the cart on the left to the very end of the path - destroy the stone barricade blocking the road using Outburst.
- After moving the cart, you must destroy the Creeping Ivy. There are four buds to destroy - two on the left, two on the right (one of which is on the cart you just moved). Then return to the farm entrance and destroy the stone barrier on the right side with Outburst.
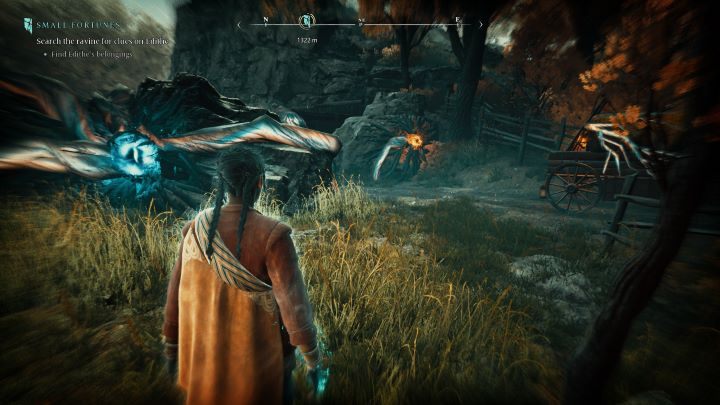
- Go around the wooden building and destroy the stone barrier with Outburst. Once again you have to destroy an ivy - two buds are behind the building. The third one is on the other side of the house nearby - you have to destroy the beam blocking the front door, go through it and shoot the bud on the other side, on the rock to the left of the door.
The hitbox of the ivy core has a bug - to activate it, you have to stand next to the small wooden cart, in the place shown in the picture. You also have very little time to shoot all the buds before they disappear, this ivy requires pixel precision - don't be afraid to lower the difficulty level to gain more time.
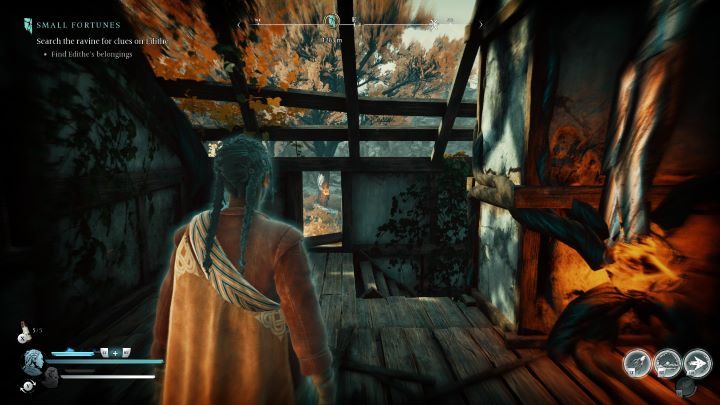
- You have another ivy core to destroy. Go up to the first floor of the house - the core is in the distance on the right. The first bud lies on the floor, the second can be seen through a crack in the wall, the third is on the ground floor.
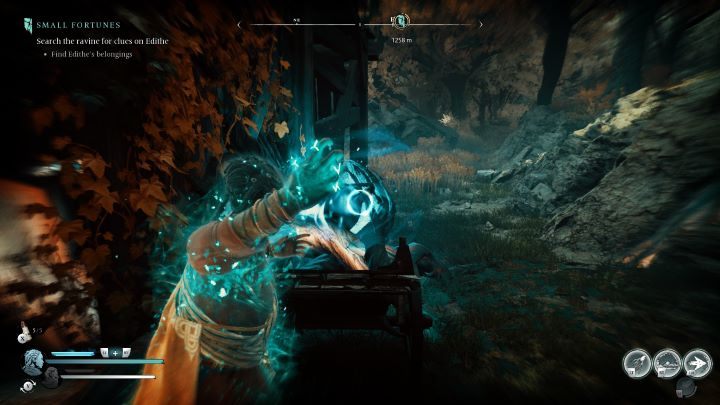
- After destroying the ivy, leave the house and enter the barn, following the linear path. When you reach the end of the path, shoot down the Ghost-ward in the hole full of wooden beams.
- Enter the cave on the left side, destroy the wall with Outburst and squeeze through the hole to the other side of the ivy. You need to destroy four buds - the first is behind you, the second and third are on the ceiling, the fourth is behind the ivy core. After destroying the ivy, you can climb the wall and destroy the Ghost-ward at the top.
- Use Outburst to destroy the stump blocking your way and return to the previous area. You can now destroy the last Creeping Ivy - the first bud is on the right side of the core, the second is above the core, and the third is on the other side of the trunk you just destroyed. After everything, climb up the wall and follow the linear path to the attic of the barn, where there is a chest. Inside you will find the Bane Ring - Halcyon Days.

- Banishers Ghosts of New Eden Guide
- Banishers Ghosts of New Eden: Game Guide
- Banishers Ghosts of New Eden: Secrets and Collectibles
- Banishers Ghosts of New Eden: All Locked chests
- Banishers Ghosts of New Eden: All Lost chests
- Banishers Ghosts of New Eden: All cursed chests
- Banishers Ghosts of New Eden: All Blue chests
- Banishers Ghosts of New Eden: All Nests
- Banishers Ghosts of New Eden: All Elite enemies
- Banishers Ghosts of New Eden: All Scourges
- Banishers Ghosts of New Eden: All Void Breaches
- Banishers Ghosts of New Eden: All Treasure maps
- Banishers Ghosts of New Eden: All Altars
- Banishers Ghosts of New Eden: All Collectibles
- Banishers Ghosts of New Eden: All Haunted Grounds
- Banishers Ghosts of New Eden: Soul Grabbers
- Banishers Ghosts of New Eden: Secrets and Collectibles
- Banishers Ghosts of New Eden: Game Guide
You are not permitted to copy any image, text or info from this page. This site is not associated with and/or endorsed by the developers and the publishers. All logos and images are copyrighted by their respective owners.
Copyright © 2000 - 2026 Webedia Polska SA for gamepressure.com, unofficial game guides, walkthroughs, secrets, game tips, maps & strategies for top games.