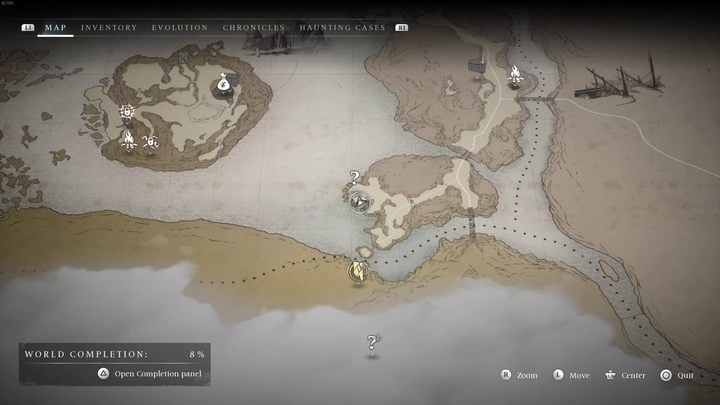
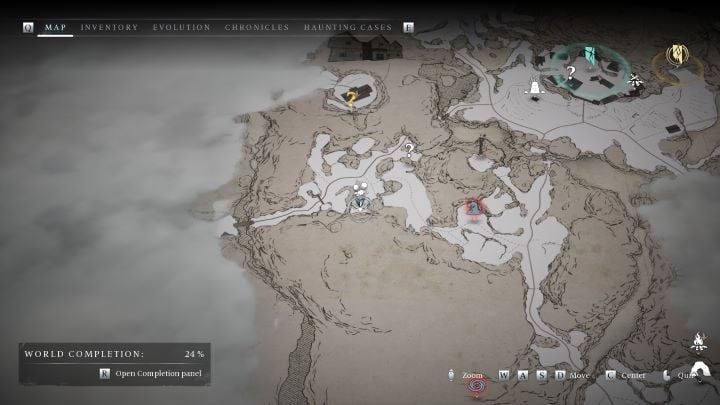
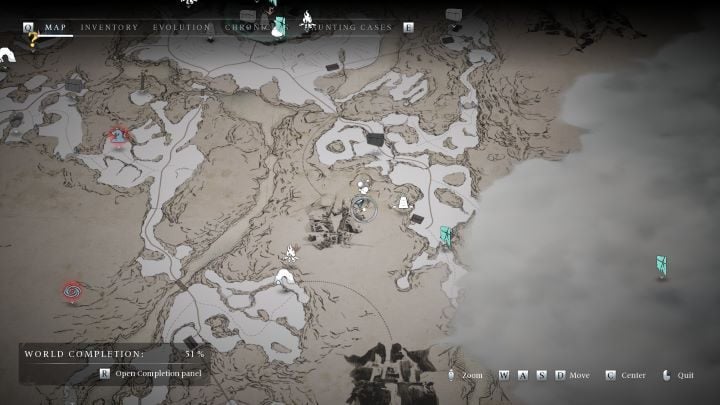
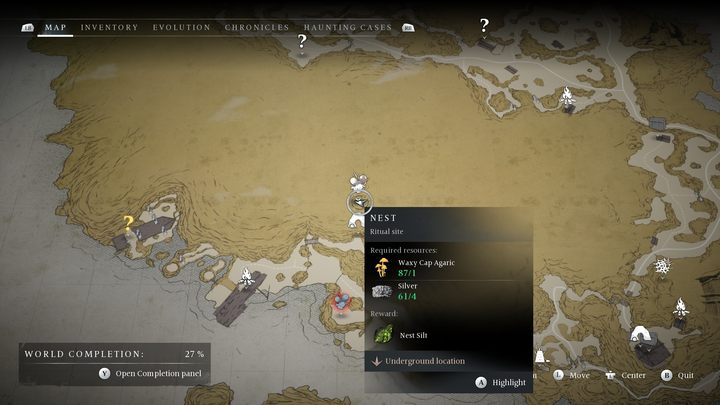
New Eden Banishers Map
Banishers Ghosts of New Eden: All Nests
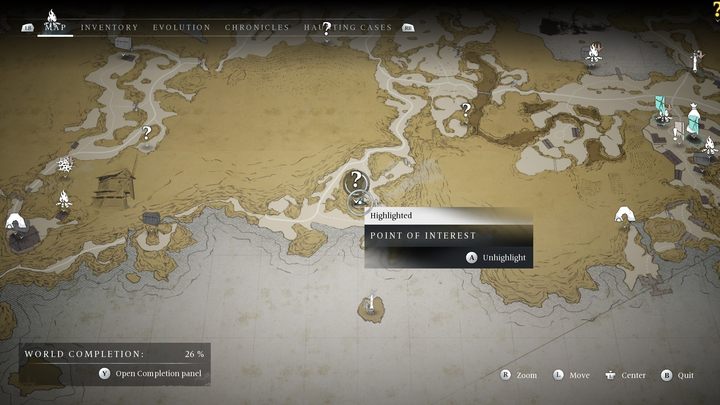
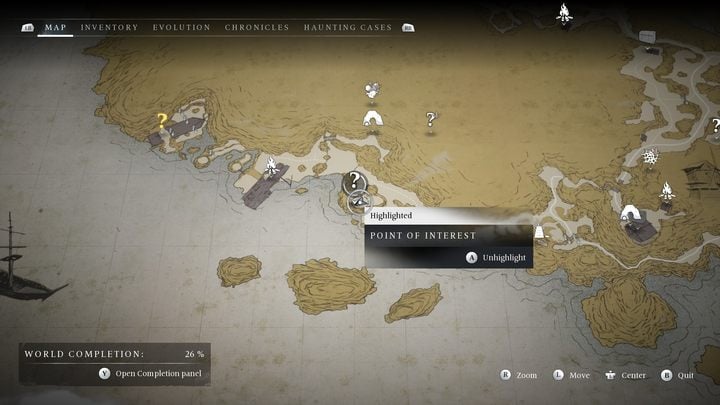
One of the side activities in Banishers Ghosts of New Eden are Nests. On this page of our guide we've listed their locations, how to manifest them and acquire Nest Silts.
Last update:
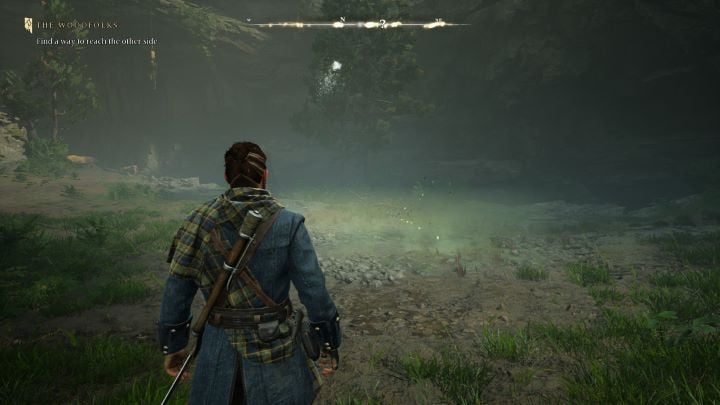
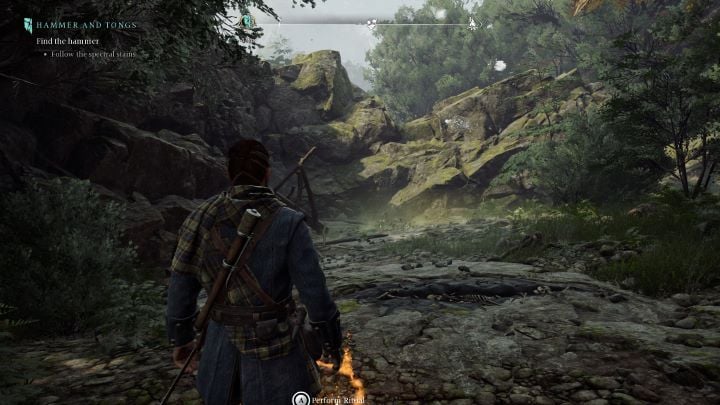
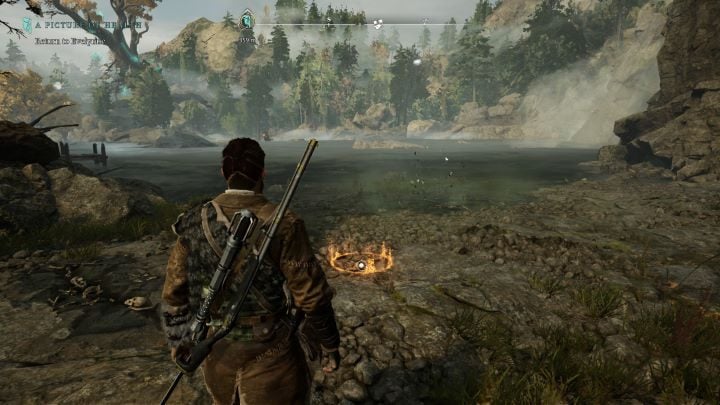
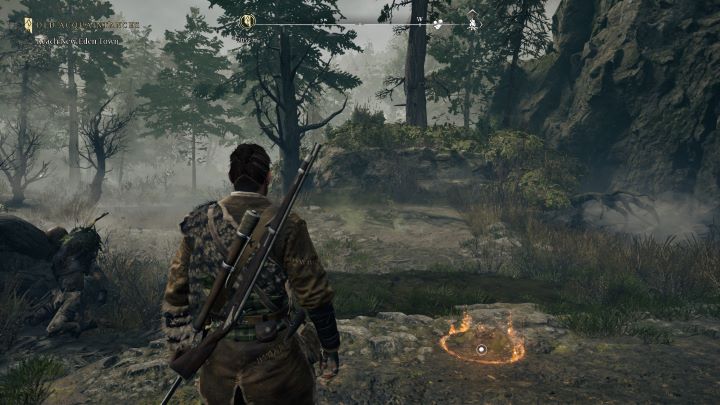
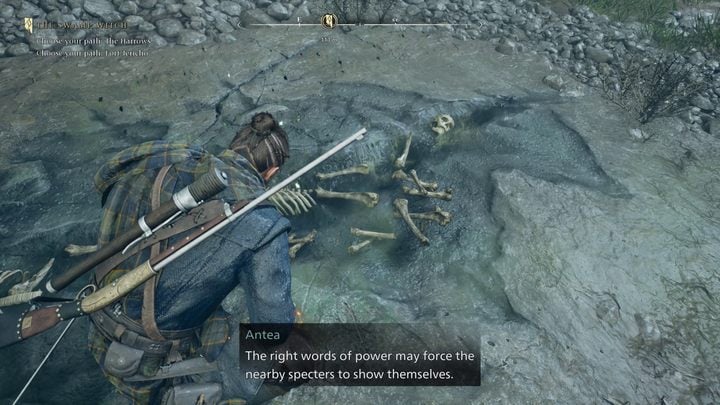
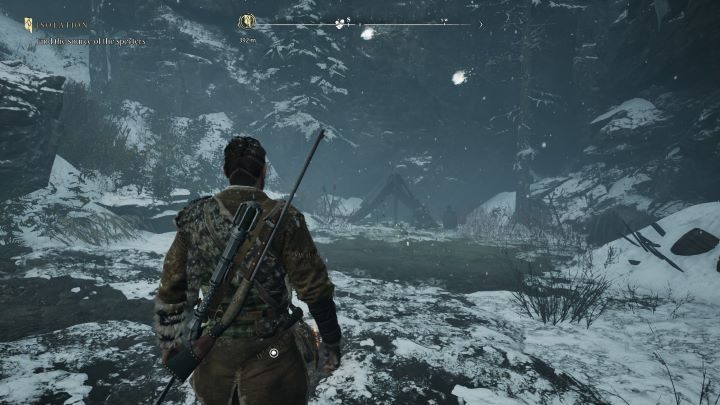
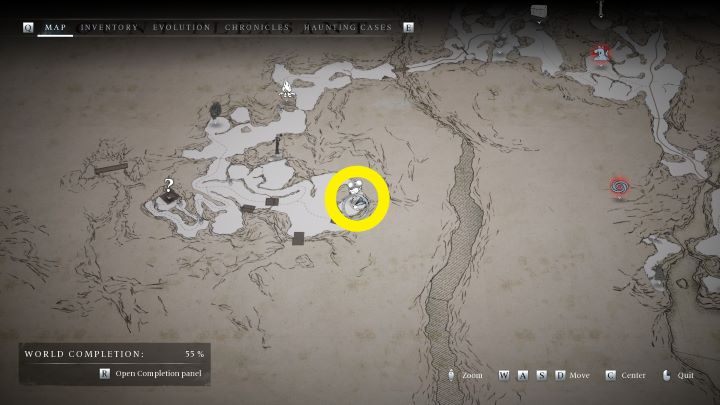
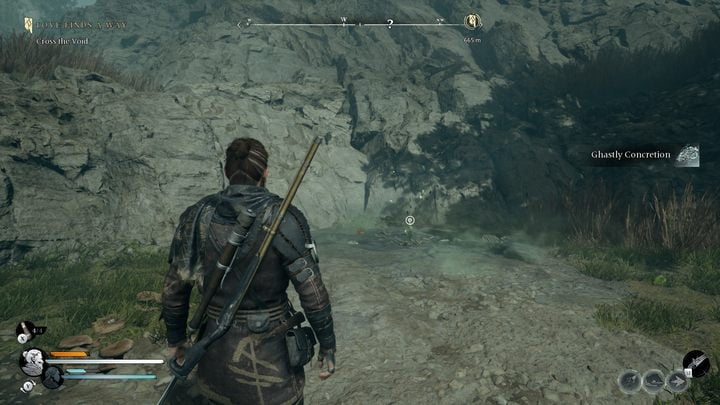
Nests are a side activity you'll encounter in Banishers Ghosts of New Eden. These are optional battles with lots of enemies, each with a special rule that changes the course of the fight. To destroy a Nest, you must explore a place full of spiritual energy and then perform the Make-Manifest ritual. After destroying the Nest, you will increase all character stats and receive Nest Silt, a rare item used for upgrades. On this page we have listed all the Nests in the game and the rules assigned to them.
Some of the haunted places are endless - you can approach them many times, but a single completion is enough for the game to consider them passed. So, we included advice for the infinite haunted places only for their first completion.
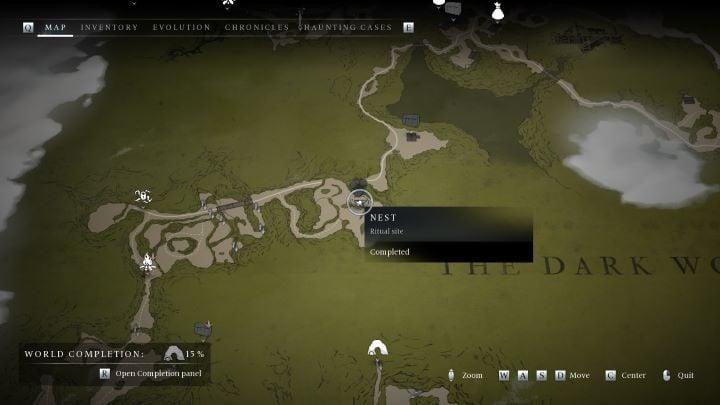
- The Dark Woods - Nest #1
- The Dark Woods - Nest #2
- The Dark Woods - Nest #3
- The Dark Woods - Nest #4
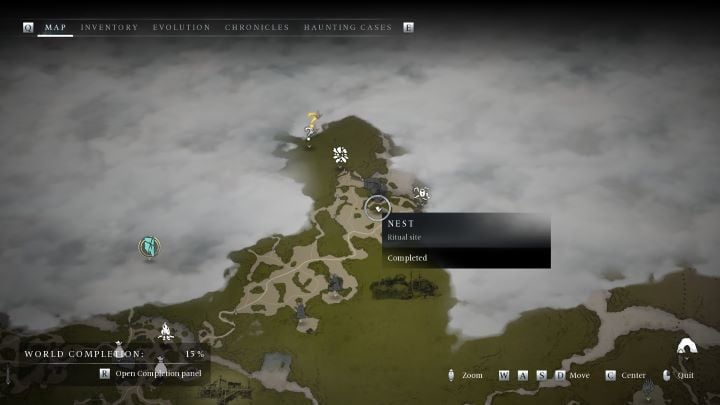
- The Mire Marshes - Nest #1
- The Mire Marshes - Nest #2
- Mount Pleasant - Nest #1
- Mount Pleasant - Nest #2
- Mount Pleasant - Nest #3
- The Harrows - Nest #1
- The Harrows - Nest #2
- The Harrows - Nest #3
- The Harrows - Nest #4
- The Harrows - Nest #5
The Dark Woods - Nest #1
Related map marker: Nest #1 - The Dark Woods @ New Eden
- Location: In the clearing after jumping over the destroyed bridge, right after you take the Oath.
- Rule: Increased damage when Antea has low spiritual energy points.
- Comment: Your damage dealt is significantly reduced when Antea has more than 1/3 of spiritual energy. During the fight, frequently switch between characters, trying to deplete Antea's spiritual energy as quickly as possible. This will allow you to deal a few powerful blows to your enemies when Antea's energy runs out.
The Dark Woods - Nest #2
Related map marker: Nest #2 - The Dark Woods @ New Eden
- Location: Northeast of the hunting camp, near the High Cave shelter.
- Rule: Each successful attack increases the damage dealt. The effect resets after receiving damage.
- Comment: At the beginning of the battle, your damage is reduced, but it increases with each hit. Opponents appear one by one - eliminate them as quickly as possible, overwhelming them with light attacks, which will become increasingly powerful. After some time, you will be killing them with at most two attacks. During the fight, your Banishment bar should charge up - save it for the stronger alpha enemy, who will appear at the end of the horde.
The Dark Woods - Nest #3
Related map marker: Nest #3 - The Dark Woods @ New Eden
- Location: In the area north of the Waterfall shelter, at the river bank. To get here, you need the Ensnare skill to destroy Creeping Ivy.
- Rule: Banishing Move has a faster cool down and deals more damage.
- Comment: The combat tactics here are quite simple - you will face ghosts and possessed swordsmen. Focus on charging your Banishing Move bar by attacking ghosts. When Banishing Move is charged, use it to immediately eliminate the possessed corpse, as they pose a greater threat than ghosts.
The Dark Woods - Nest #4
Related map marker: Nest #4 - The Dark Woods @ New Eden
- Location: Near the Windy Cave shelter, north of the Hunting Camp.
- Rule: Charged heavy attacks deal increased damage.
- Comment: The enemies are at a high level 25 - if you can't handle them, come back later. The first opponents are very simple, but later you will face possessed corpses wielding axes as well as large, red ghosts. Don't rush - they deal very high damage and your charged attacks won't always stagger them. Remember about Antea's Ensnare - trapping one of the more dangerous enemies will give you a few precious seconds to get rid of the remaining ones. Don't sprint - a heavy attack after sprinting will cause you to jump forward, which deals almost no damage.
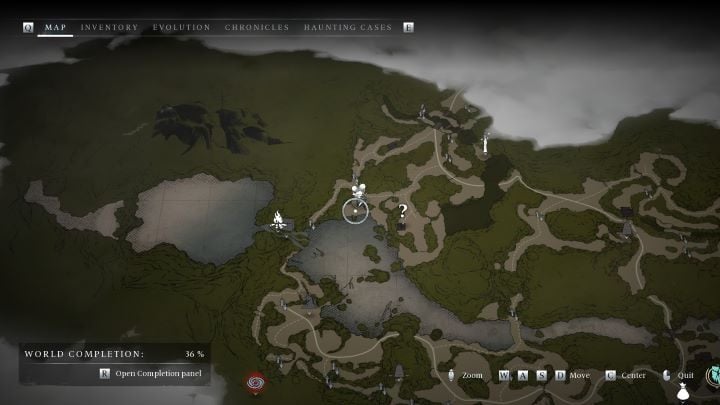
The Mire Marshes - Nest #1
Related map marker: Nest #1 - The Mire Marshes @ New Eden

- Location: In the flooded area south of Mossy Watchtower shelter.
- Rule: Increased damage dealt by Perfect Switch after Parry, Run, and Dodge.
- Comment: This fight may turn out to be very difficult - the enemies deal a lot of damage and it is difficult to parry their attacks. Attacks after running and dodging do not cause significant damage. Your best tool will be the Perfect Switch - we especially recommend the Assault from the Unveil tree (swap after a forward dodge) and the Deathblow from the Outburst tree (swap after a rifle butt strike). You don't have to hit the enemy with an attack to make a perfect switch - just perform a move and then switch characters.
The Mire Marshes - Nest #2
Related map marker: Nest #2 - The Mire Marshes @ New Eden
- Location: On a small promontory, east of the road leading to the Harrows region.
- Rule: Enemies explode when killed.
- Comment: This fight does not differ much from a standard fight with a large number of opponents. After defeating the enemy, it is important to get away from the blast zone as quickly as possible.
Mount Pleasant - Nest #1
Related map marker: Nest #1 Mount Pleasant @ New Eden
- Location: In the area after passing through the tunnel west of Fort Jericho.
- Rule: More damage dealt by Antea's light attacks and fists.
- Comment: This nest shouldn't cause you any problems - use Antea to attack the possessed corpses and then finish off the specter with Red's attacks.
Mount Pleasant - Nest #2
Related map marker: Nest #2 - Mount Pleasant @ New Eden
- Location: In a large cave southeast of Fort Jericho.
- Rule: Charged heavy attacks deal increased damage.
- Comment: The end of the fight is the only challenging part - use Ensnare on the large specter to buy yourself a few seconds to get rid of the main enemy. Don't sprint - a heavy attack after sprinting will cause you to jump forward, which deals almost no damage.
Mount Pleasant - Nest #3
Related map marker: Nest #1 - The Harrows @ New Eden
- Location: Far west of Fort Jericho, behind the Creeping Ivy, in the area at the bottom of the elevator.
- Rule: Increased damage dealt when Red is at full health.
- Comment: Focus on ranged combat, eliminating enemies one by one, not letting them get close. Remember that Red doesn't take damage when you switch to Antea. If things get bad, you can use Ensnare to immobilize the most dangerous enemies.
The Harrows - Nest #1
Related map marker: Nest #2 - The Harrows @ New Eden
- Location: On the seashore, in the eastern part of the region.
- Rule: Enemies with a full health bar take increased damage.
- Comment: As your first and only attack with increased damage, use a charged heavy attack or other enhanced attack. If the opponent does not die immediately, unfortunately, you will have to deplete the rest of the health bar in a rather laborious way.
The Harrows - Nest #2
Related map marker: Nest #3 - The Harrows @ New Eden
- Location: Near the beach in the southern part of the region.
- Rule: Presences deal extra damage.
- Comment: Use almost exclusively Antea, and switch to Red only to charge the Banishing bar. The most effective Presence during this fight will be Leap, which renews quite quickly. Move from one opponent to the other and wait for skills to recharge.
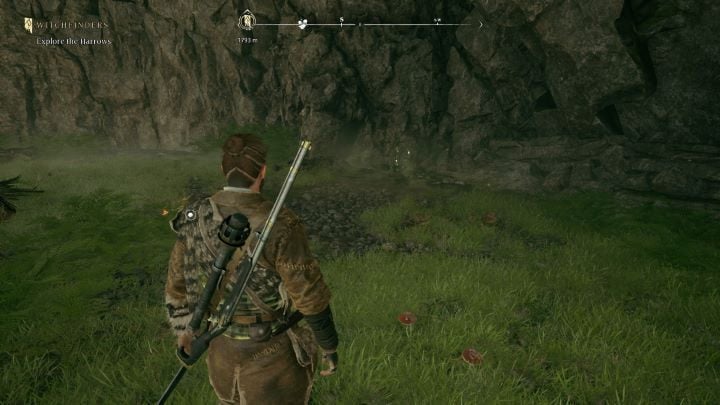
The Harrows - Nest #3
Related map marker: Nest #4 - The Harrows @ New Eden
- Location: Near the shipwreck washed ashore, southern part of the region.
- Rule: Increased rifle and Ensnare damage.
- Comment: Use Antea's Ensnare skill to immobilize the opponents, then aim Red's rifle at the enemy's weak point. Stay away from opponents and dodge their charges.
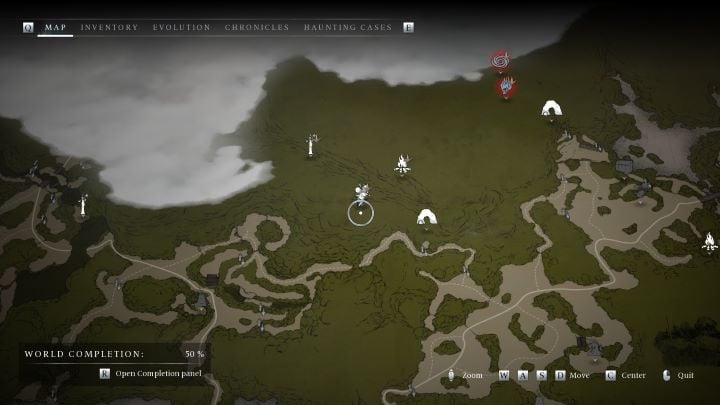
The Harrows - Nest #4
Related map marker: Nest #5 - The Harrows @ New Eden
- Location: Inside the cave, the entrance to which is from the beach.
- Rule: Increased damage dealt by perfect switch and after parrying, running and dodging.
- Comment: If you're not very good at parrying, the easiest way is to run away from your opponents and attack from a running angle. You can also try to perform constant dodges interspersed with single attacks.
The Harrows - Nest #5

- Location: In the central part of the region, south of the hut with a bonfire.
- Rule: Increased damage dealt by Leap (Presence).
- Comment: A fairly simple fight in which you have to keep your distance and then use Leap skill as soon as it cools down.

- Banishers Ghosts of New Eden Guide
- Banishers Ghosts of New Eden: Game Guide
- Banishers Ghosts of New Eden: Secrets and Collectibles
- Banishers Ghosts of New Eden: All Locked chests
- Banishers Ghosts of New Eden: All Lost chests
- Banishers Ghosts of New Eden: All cursed chests
- Banishers Ghosts of New Eden: All Blue chests
- Banishers Ghosts of New Eden: All Nests
- Banishers Ghosts of New Eden: All Elite enemies
- Banishers Ghosts of New Eden: All Scourges
- Banishers Ghosts of New Eden: All Void Breaches
- Banishers Ghosts of New Eden: All Treasure maps
- Banishers Ghosts of New Eden: All Altars
- Banishers Ghosts of New Eden: All Collectibles
- Banishers Ghosts of New Eden: All Haunted Grounds
- Banishers Ghosts of New Eden: Soul Grabbers
- Banishers Ghosts of New Eden: Secrets and Collectibles
- Banishers Ghosts of New Eden: Game Guide
You are not permitted to copy any image, text or info from this page. This site is not associated with and/or endorsed by the developers and the publishers. All logos and images are copyrighted by their respective owners.
Copyright © 2000 - 2026 Webedia Polska SA for gamepressure.com, unofficial game guides, walkthroughs, secrets, game tips, maps & strategies for top games.