New Eden Banishers Map
Banishers Ghosts of New Eden: All Scourges
Scourges are difficult optional enemies in Banishers Ghosts of New Eden. On this page of our guide we've explained where to find them, how to summon them and acquire Scourge Accretions.
Last update:
Scourges are optional opponents that Red and Antea can face in Banishers Ghosts of New Eden. They will only appear on the map after defeating the game's first boss, the Beast. To face a Scourge, you must find a place full of spiritual energy and perform the Summon Scourge ritual. These fights also have special rules that affect how you fight these enemies. For defeating a Scourge, you will receive an increase in all statistics as well as a Scourge Accretion, a rare item used for upgrades. On this page we have listed all the Scourges in the game, the rules assigned to them and how to fight these enemies.
Some of the haunted places are endless - you can approach them many times, but a single completion is enough for the game to consider them passed. So, we included advice for the infinite haunted places only for their first completion.
- The Dark Woods - Scourge #1
- The Dark Woods - Scourge #2 (Endless)
- The Dark Woods - Scourge #3 (Endless)
- The Dark Woods - Scourge #4
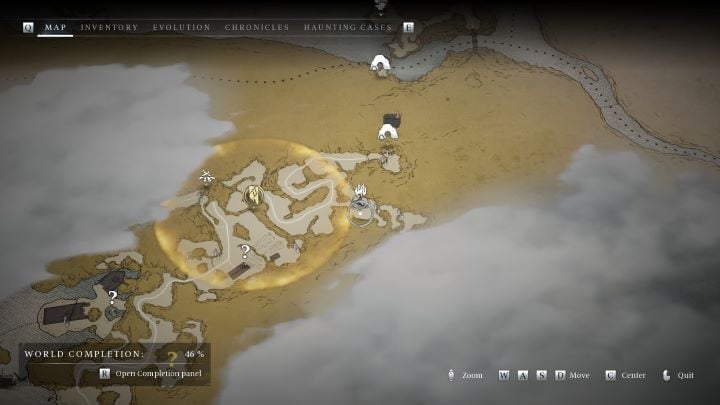
- Mount Pleasant - Scourge #1
- Mount Pleasant - Scourge #2
- The Harrows - Scourge #1
- The Harrows - Scourge #2
- The Harrows - Scourge #3
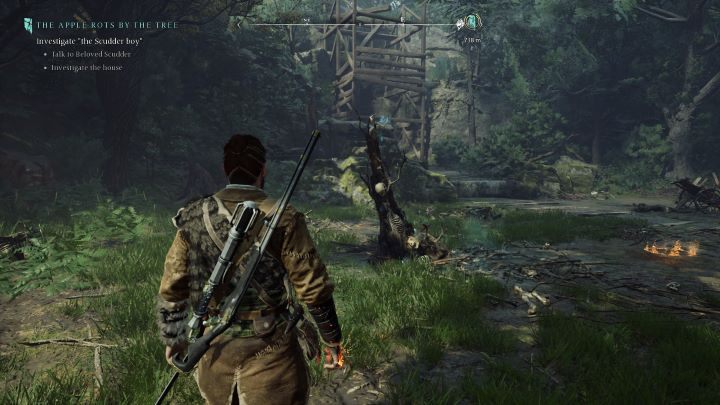
The Dark Woods - Scourge #1
Related map marker: Scourge #1 - The Dark Woods @ New Eden
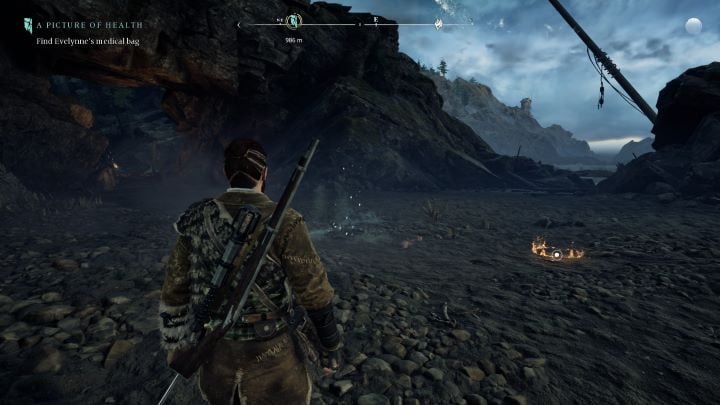

- Location: On the beach near Red's Sickbed, where the main character ended up after the game's prologue.
- Rule: More damage dealt when Red is at full health.
- Comment: The enemy is a weaker form of the Beast, the first boss of the game. Although the enemy itself is weaker, the fight is harder, because the boss can summon possessed wolves. Fight the Scourge from a distance using a rifle and eliminate all the wolves before you focus on the boss. Aim for the heads of all enemies - they are their weak points. As long as you keep the Scourge at a distance, you will only have to worry about the charge attack, which is marked with an orange flash and easy to avoid by dodging to the side.
The Dark Woods - Scourge #2 (Endless)
Related map marker: Scourge #2 (Endless) - The Dark Woods @ New Eden

- Location: Northwest of Jacob's Lean-to shelter, behind the Creeping Ivy.
- Rule: Charged heavy attacks deal increased damage.
- Comment: You will face a modified version of Aul' Saul. The fight is demanding mainly due to its rule. The boss is too big for heavy attacks to stagger him, so you only have time for one blow before you get hit. The remaining attacks do almost nothing to him - he also summons possessed corpses, which Antea cannot effectively get rid of due to her lack of charged heavy attacks. Play defensively - expose the enemy to a charged blow by blocking and parrying his attacks with the scythe or after the enemy finishes his series of attacks. Beware of projectiles in the form of phantom crows - dodge them by moving sideways, and stay away from areas that the boss will cover with spikes. Also eliminate regular enemies before you focus on the boss - even one can cause trouble, and several at once means quick death. Occasionally the boss will take the form of a ghost - try to hit him with a charged attack then, as you will deal him significantly increased damage. This scourge is endless - infinite haunted grounds are described in detail on a separate page of the guide.
The Dark Woods - Scourge #3 (Endless)
Related map marker: Scourge #3 (Endless) - The Dark Woods @ New Eden
- Location: In a cave in the area northeast of the hunting camp, behind a stone barrier that can be destroyed with the Outburst skill.
- Rule: Increased damage dealt by Perfect Switch after Parry, Run, and Dodge.
- Comment: You will face a weaker form of the Beast. The fight is harder, as you are forced to fight at close range due to the rule. Your best source of damage will be parrying - the opponent's attacks are clearly telegraphed and quite easy to parry. When the boss jumps away, run after him and hit him with an attack during the sprint. Don't waste your Banishing moves on the boss - due to the combat rule, they won't deal significant damage to him. Use them on regular opponents, as they have smaller health bars. This Scourge is endless - infinite haunted grounds are described in detail on a separate page of the guide.
The Dark Woods - Scourge #4
Related map marker: Scourge #4 - The Dark Woods @ New Eden

- Location: In the area east of the High Cave shelter, next to a destroyed wooden structure.
- Rule: Defeating opponents restores Decoctions. Using the Decoction inflicts area damage around you.
- Comment: You will face a weaker version of Aul' Saul. This fight should not cause you too much trouble - although the enemies are a bit more resilient, each kill restores one of your Decoctions, allowing you to heal almost indefinitely. Drinking the Decoction near an enemy will also deal significant damage to them.
Mount Pleasant - Scourge #1
Related map marker: Scourge #1 - Mount Pleasant @ New Eden

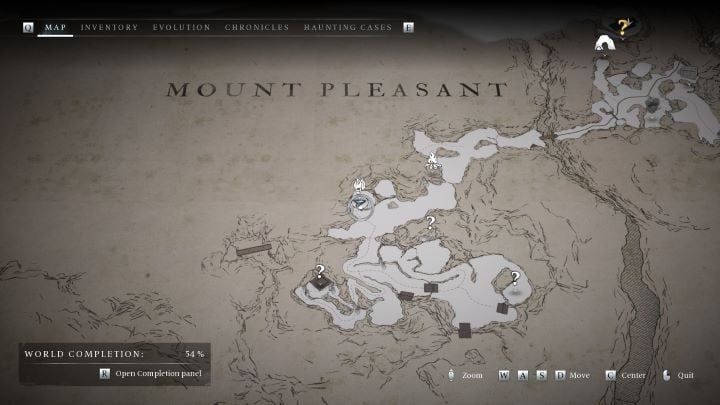
- Location: Far west of Fort Jericho, behind a Creeping Ivy.
- Rule: Increased damage when Antea has low spiritual energy points.
- Comment: You will face a weaker version of Aul' Saul. Try to get rid of your spiritual energy as quickly as possible - the Ensnare skill is expensive and will buy you a few precious seconds. When your Banishing Move bar is charged, use it when you are low on energy. The fight should not cause you too much problems.
Mount Pleasant - Scourge #2
Related map marker: Scourge #2 - Mount Pleasant @ New Eden

- Location: Northwest of Fort Jericho, on the way to Bligh Manor.
- Rule: More damage dealt by Leap.
- Comment: You will face a weaker form of the Beast. There's not much to say about this fight - use Leap whenever you can. Minor opponents appear rarely, but eliminate them immediately - this way you can replenish your spiritual energy.
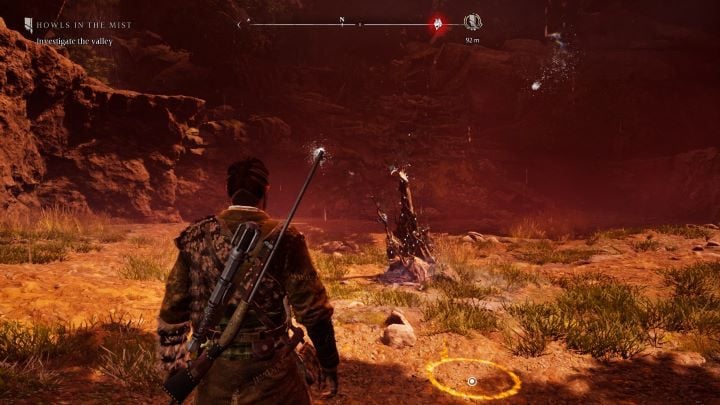
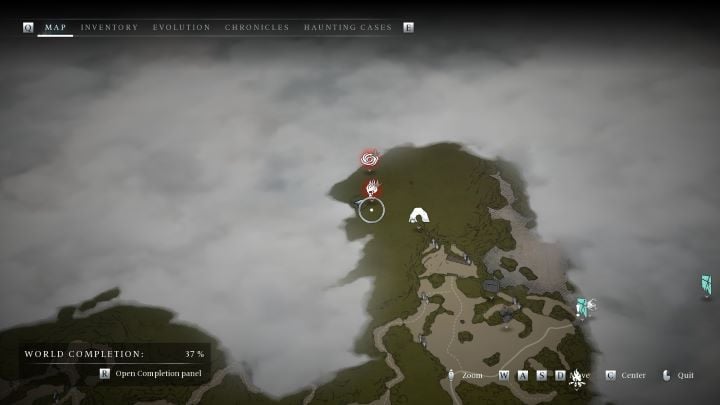
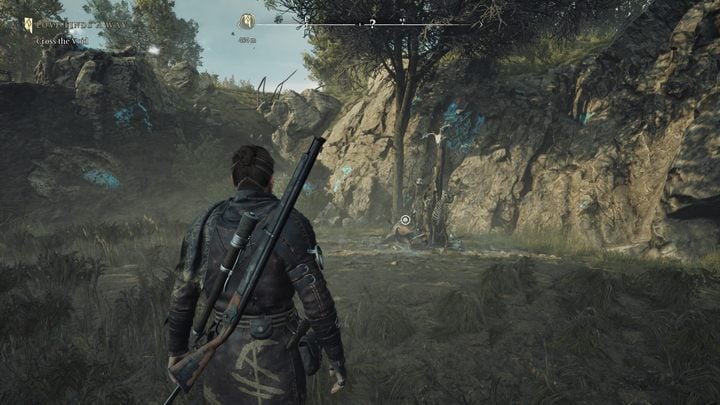
The Harrows - Scourge #1
Related map marker: Scourge #1 - The Harrows @ New Eden
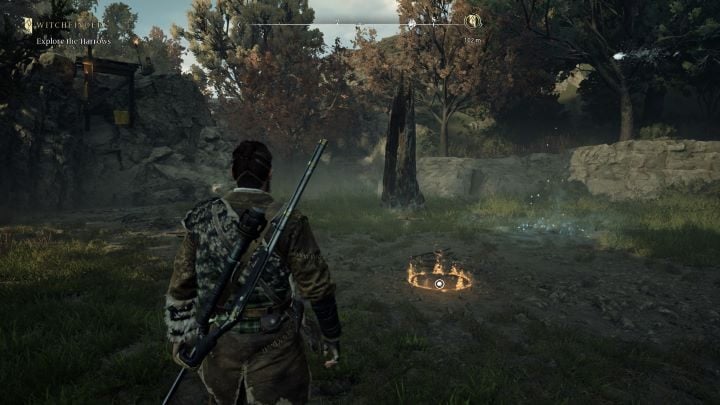
- Location: At the beginning of the region, on a side path after leaving the abandoned smuggler's port.
- Rule: Banishing Move has a faster cool down and deals more damage.
- Comment: You will face a weaker form of the Beast. In this fight, you must remember one thing - continuously eliminate the green ghosts appearing on the rocks around the arena. If you neglect their elimination, by the end of the fight you will be attacked and shot at from all sides, which can lead to a very quick death. Get rid of the green ghosts, and the fight should go smoothly.
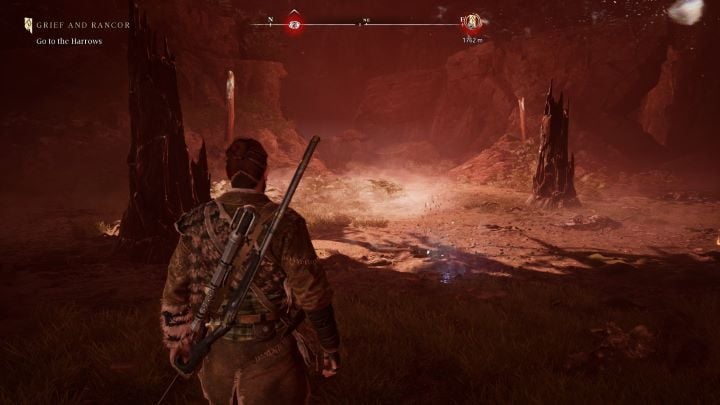
The Harrows - Scourge #2
Related map marker: Scourge #2 - The Harrows @ New Eden
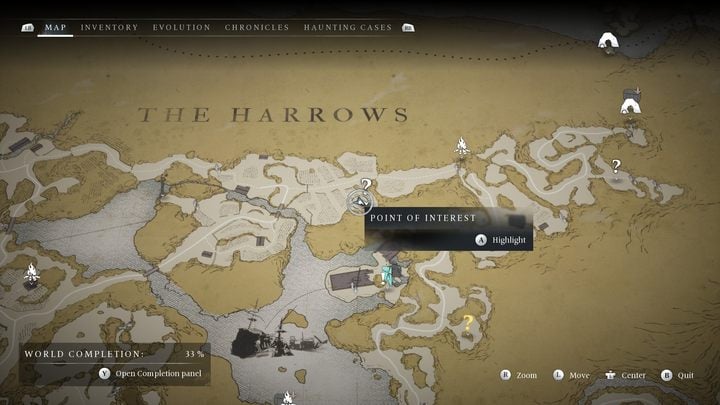
- Location: In the northern part of the region, near farmlands.
- Rule: Each attack increases damage. The effect resets after receiving damage.
- Comment: The key during the fight will be to avoid taking damage. Play defensively, execute quick series of blows and immediately retreat. You can also use the rifle since it is affected by the rule. To avoid chaos, try to eliminate minor opponents who appear on the map as quickly as possible first.
The Harrows - Scourge #3
Related map marker: Scourge #3 - The Harrows @ New Eden

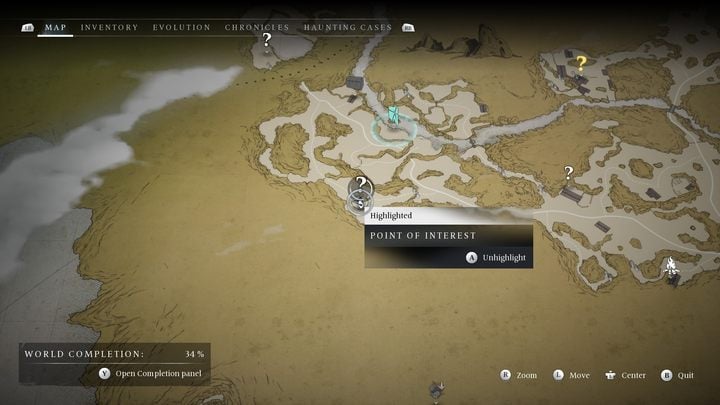
- Location: Eastern part of the region, south of the river.
- Rule: More damage from light attacks and fist attacks.
- Comment: A simple modifier will force you to take a dynamic, aggressive approach to combat. Don't use charged attacks and the rifle. Focus on series of light attacks and dodges. Use the rifle only against single, minor enemies standing in the distance.

- Banishers Ghosts of New Eden Guide
- Banishers Ghosts of New Eden: Game Guide
- Banishers Ghosts of New Eden: Secrets and Collectibles
- Banishers Ghosts of New Eden: All Locked chests
- Banishers Ghosts of New Eden: All Lost chests
- Banishers Ghosts of New Eden: All cursed chests
- Banishers Ghosts of New Eden: All Blue chests
- Banishers Ghosts of New Eden: All Nests
- Banishers Ghosts of New Eden: All Elite enemies
- Banishers Ghosts of New Eden: All Scourges
- Banishers Ghosts of New Eden: All Void Breaches
- Banishers Ghosts of New Eden: All Treasure maps
- Banishers Ghosts of New Eden: All Altars
- Banishers Ghosts of New Eden: All Collectibles
- Banishers Ghosts of New Eden: All Haunted Grounds
- Banishers Ghosts of New Eden: Soul Grabbers
- Banishers Ghosts of New Eden: Secrets and Collectibles
- Banishers Ghosts of New Eden: Game Guide
You are not permitted to copy any image, text or info from this page. This site is not associated with and/or endorsed by the developers and the publishers. All logos and images are copyrighted by their respective owners.
Copyright © 2000 - 2026 Webedia Polska SA for gamepressure.com, unofficial game guides, walkthroughs, secrets, game tips, maps & strategies for top games.