Batman Arkham City: Batman trophies (01-08) Industrial District
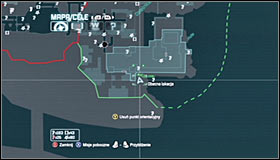
TROPHY 1
Gadgets used: Remote Electrical Charge, Batclaw
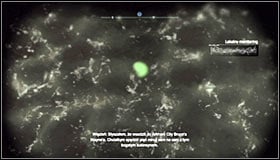 |  |
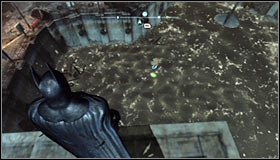
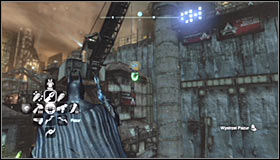
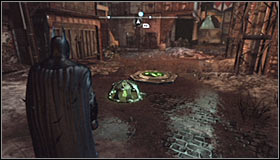
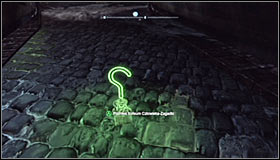
The Trophy is underwater, at the spot with the green sign to be precise #1. You unfortunately can't obtain it with the Freeze Blast, so turn towards the nearby crane #2.
 |  |
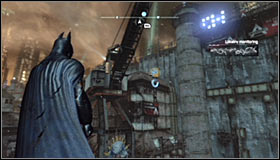
Locate the crane's engine using the Detective Mode #1 and use the Electrical Charge on it. By doing it you will cause the to lower into the water #2.
 |  |
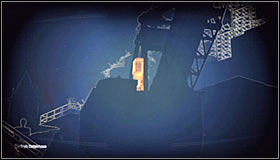
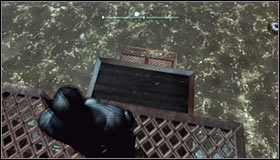
Once again shoot at the engine, this time with the opposite charge and you will cause the hook to raise up again #1. Use the Claw to catch the Trophy\ #2.
TROPHY 2
Gadgets used: Line Launcher
 |  |
After reaching the area where the Trophy is hidden you should note that it's inside a tower #1. The only way of getting inside is breaking through the weak wooden wall #2.
 |  |
You can get rid of the wall in a few ways. One of them is gliding from one of the higher buildings and hitting the wall. I'd recommend the faster method, implying using the Line Launcher north-west of the target #1. The line should break through the wall and all you will have to do it climb up after riding it. The Trophy luckily isn't protected in any way #2.
TROPHY 3
Gadgets used: Remote Controlled Batarang, Batarang
 | 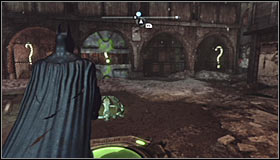 |
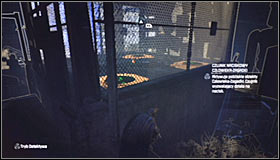
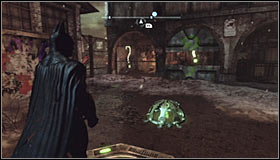
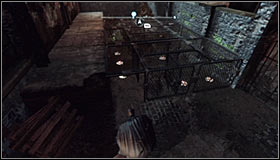
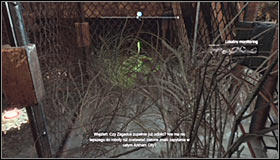
After getting to the destination, search for a pressure plate found right beside the Trophy cage #1. Note that by standing on it you will cause the two metal gates in the distance to open for a short while #2. The key to completing this puzzle is hitting all three interactive question marks with the Batarang before the gates close and make any further attempts impossible.
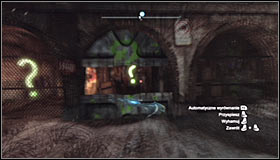 |  |
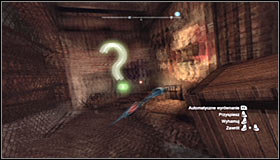
Start off by quickly throwing a Remote Controlled Batarang and leading it towards the metal door #1. Afterwards turn right, towards the question mark in the distance #2. I'd suggest using the boost option activated by pressing the right trigger as often as possible to speed things up.
 |  |
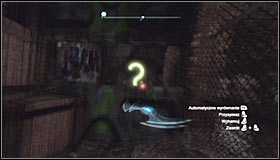
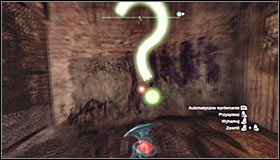
Right after hitting the right question mark, quickly throw a normal Batarang by pressing the left trigger. Therefore you will hit the question mark in front of you #1. Afterwards once again throw a Remote Controlled Batarang and turn left after it flies through the closing metal door #2.
 |  |
You don't have to hurry so much with hitting the third question mark #1. If you have done everything properly, the cage will open and you will be able to pick up the Trophy #2.
TROPHY 4
 | 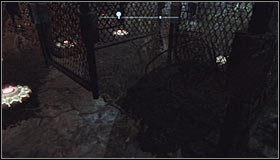 |
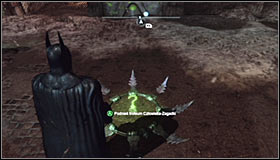
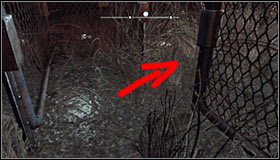
The whole fenced area is a one big minefield #1, through which you have to pass. Curiously, you won't need to use the Disruptor here, as there is a safe path leading to the objective. Crouch and immediately turn right #2.
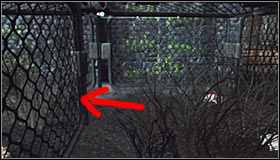 |  |
Turn left after reaching the spot marked in screenshot #1. Head forward, turning left after reaching the reaching the place in screenshot #2.
 |  |
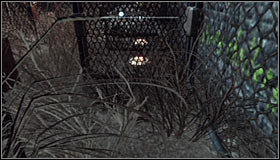
Here, turn right immediately #1. Head to the very end and turn left #2 thanks to which you will reach the Trophy. Afterwards carefully leave the minefield following the same path as before. Luckily, in case you make a mistake, the mine will only hurt Batman and not kill him.
TROPHY 5
 |  |
The Trophy is below the large crane #1. Crouch and collect it #2.
TROPHY 6
 |  |
Head to eastern edge of the Steel Mill and start carefully jumping onto the lower ledges #1. After reaching a bigger balcony, turn around and you should note the Trophy #2.
TROPHY 7
Gadgets used: Remote Electrical Charge, Explosive Gel, Batclaw
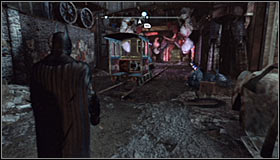 |  |
Stand south of where the Trophy is hidden, nearby the entrance to a small tunnel #1 #2.
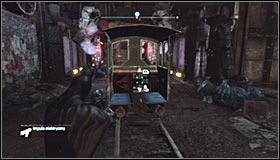 | 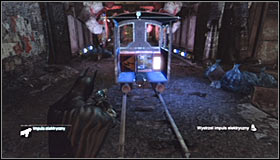 |
Take out the Remote Electrical Charge and shoot at the engine found inside a small locomotive #1. That should cause it to ride north #2.
 |  |
Approach the spot at which it has stopped and jump onto its roof. Look up and destroy the fragile wall fragment with the Explosive Gel #1. In the end use the Batclaw to grab the Trophy from afar #2.
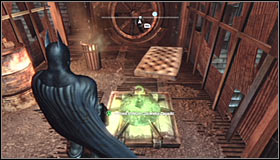
TROPHY 8
Gadgets used: Remote Controlled Batarang, Batclaw

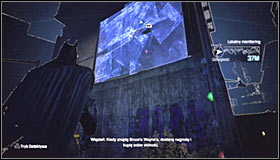
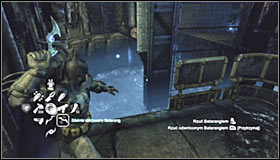
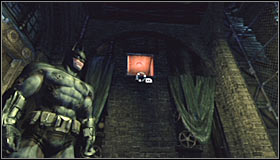
This Trophy can be found inside Zsasz's hideout. For more details concerning unblocking and finding that location, check out the walkthrough of the Cold Call Killer mission. use the door leading inside the building (screen above).
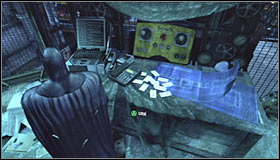 | 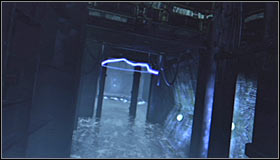 |
Head to the main room and interact with the control panel #1. It should cause electrical discharges to appear directly below the control room #2.
 | 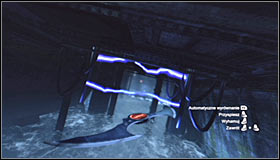 |
Get out of the control room, turn right and wait for the water level to lower. Equip the Remote Controlled Batarang and throw it towards the water #1. Afterwards direct it onto the discharges which have appeared after you activated the console #2.
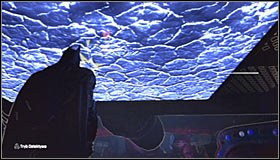
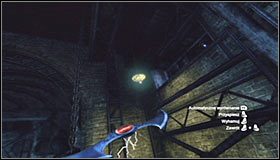 |  |
After the Batarang becomes electrified, lead it towards the ceiling and turn right #1. You need to find the ventilation shaft entrance #2.
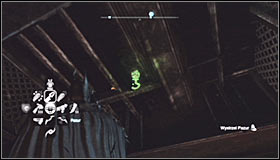
 | 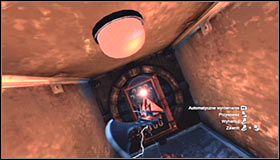 |
Fly the Batarang into the shaft and after reaching the first fork #1 choose the left tunnel. Soon enough the Batarang should reach a fuse box #2. Watch a short cinematic showing the cage with the Trophy getting unlocked.
 | 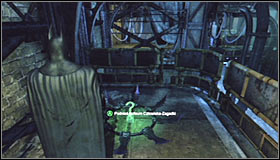 |
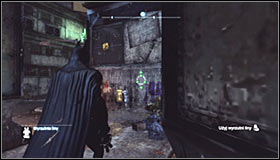
Exit this room and return to the stairs. Turn left and use the Grapnel Hook to enter the ventilation shaft #1. Go through it, jump down onto the well-known balcony and turn left to reach the Trophy cage #2.

- Batman: Arkham City Game Guide
- Batman Arkham City: Game Guide
- Batman Arkham City: Secrets & Challenges
- Batman Arkham City: Industrial District
- Batman Arkham City: Location info & maps Industrial District
- Batman Arkham City: Batman trophies (01-08) Industrial District
- Batman Arkham City: Batman trophies (09-16) Industrial District
- Batman Arkham City: Batman trophies (17-25) Industrial District
- Batman Arkham City: Batman trophies (26-37) Industrial District
- Batman Arkham City: Riddles Industrial District
- Batman Arkham City: TYGER cameras Industrial District
- Batman Arkham City: Balloons Industrial District
- Batman Arkham City: Catwoman trophies Industrial District
- Batman Arkham City: Industrial District
- Batman Arkham City: Secrets & Challenges
- Batman Arkham City: Game Guide
You are not permitted to copy any image, text or info from this page. This site is not associated with and/or endorsed by the developers and the publishers. All logos and images are copyrighted by their respective owners.
Copyright © 2000 - 2026 Webedia Polska SA for gamepressure.com, unofficial game guides, walkthroughs, secrets, game tips, maps & strategies for top games.