Batman Arkham City: Infiltrate the Steel Mill (part 2)
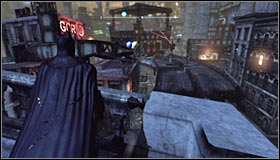 |  |
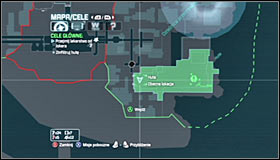
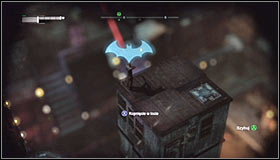
In order to reach the Sionis Steel Mill you of course need to head to the industrial district in the south-east part of Arkham City. DO NOT use the main road, as there are two snipers on the drawbridge #1. Instead, go maximally to the east and only afterwards turn south #2, flying above the water or using the Grapnel Gun to grab one of the cranes.
 |  |
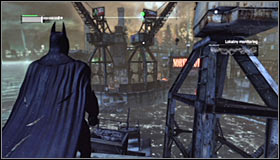
I'd suggest dedicating some time to take care of the nearby snipers, beginning with the one occupying the nearest observation tower #1. It's best to attack each of them by surprise (silent takedown) #2, thanks to which you won't alert any other snipers. If however you will, it's best to jump down and hide between buildings, where the enemies will have a hard time finding Batman.
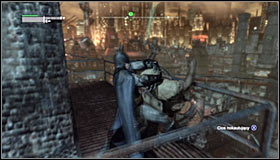 |  |
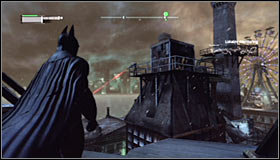
Keep successively moving west, eliminating the sniper on your way #1 and making sure you don't get spotted by any of them prematurely. Using the chance, you can also take care of the two snipers on the drawbridge #2, though it's completely optional.
 |  |
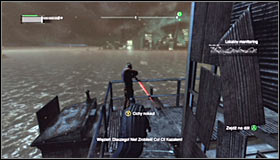
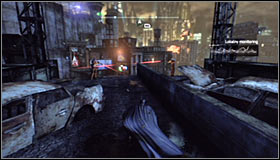
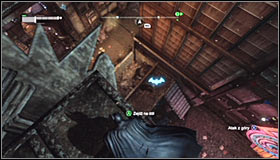
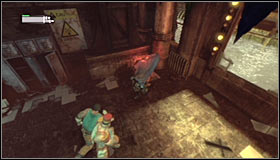
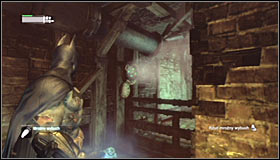
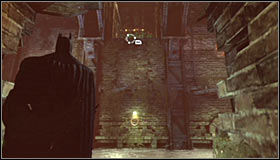
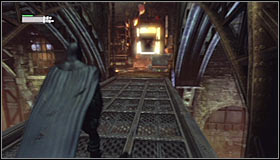
In accordance with the information received from Joker himself, you won't be able to use the large chimney to get back into the Sionis Steel Mill. In result, head to the back of the building (its southern part), encountering new enemies there #1 #2.
 |  |
I'd suggest starting off by eliminating the two snipers occupying the towers, first the one on the higher one #1 and afterwards his buddy on the lower tower #2. Just like during previous fights, try to stay unnoticed thanks to which you won't alert the other enemies prematurely.
 | 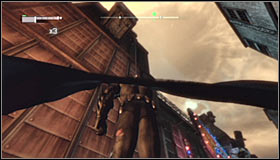 |
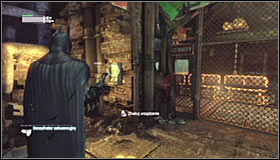
Now you can take care of eliminating the armed enemies patrolling the area. If possible, try to eliminate them one at a time, choosing single targets #1. If you get noticed, help yourself with a quick Smoke Pellet throw, followed by using the Grapnel Gun #2.
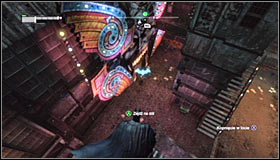 |  |
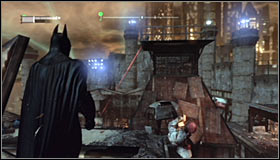
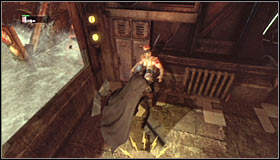
In the end take care of the two enemies guarding the entrance #1. Attack one of them by surprise and afterwards take care of his buddy. Now you can get inside the Sionis Steel Mill #2, reaching the Cooling Tunnel B.
 |  |
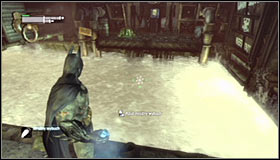
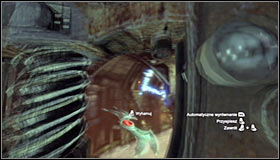
Be careful, as the nearby corridor is guarded by a few enemies. If you want, you can follow that the game instructions and test out the recently gained Freeze Blast here, either by manually aiming at an inmate or pressing the right trigger twice. A frozen enemy won't be able to attack you #1, though you can freeze only one person present on the battlefield. Regardless of what you choose to do, take care of all the guards #2.
 |  |
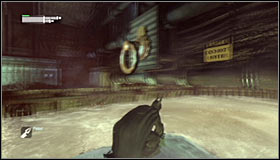
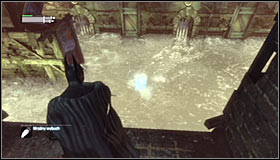
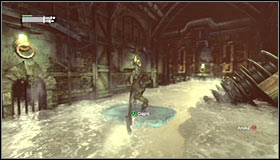
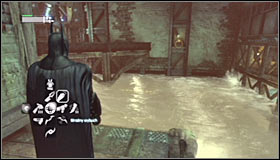
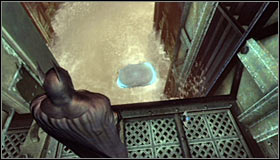
Now head north #1 and jump down onto the lower ledge. Equip the Freeze Blast and aim at the water #2. Shoot and note that the projectile has created an ice floe.
 |  |
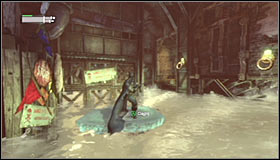
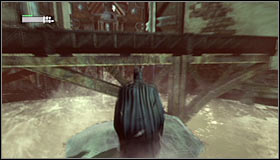
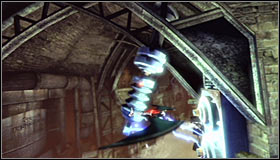
Jump onto the ice floe (Batman should do it automatically, as long as it's not too far away from the ledge), crouch and let the flow take you to a new area #1. After reaching it, take out the Batclaw and shoot the Grapnel Gun into one of the grapple points #2.
 |  |
Keep moving between the grapple points to reach the new ledge #1 and climb onto it. Turn to the north, choose the Freeze Blast again and create a new ice floe #2.
 |  |
Jump onto the ice and once again start grabbing the grapple points #1. As you move north, it's important not to hit the giant drill #2, as it would partially or - at the worst case - destroy the ice floe completely. Carefully plan ahead, successively grabbing the grapple points.
 |  |
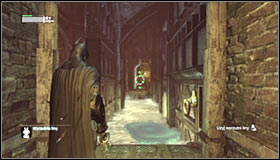
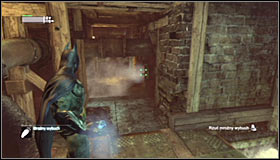
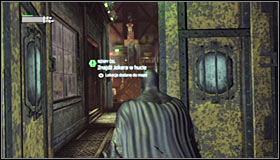
Your goal is to reach the northernmost grapple points #1, as it will let you climb onto the new ledge. Turn left here and interact with the ventilation shaft cover #2. Go through the shaft which will lead you to a new ledge in the west.
 |  |
Go west a bit and place yourself on the highest platform so that you have the glass wall - behind which you should see some enemies - in front of you #1. Press X to perform an aerial attack and Batman will break through the wall #2, knocking out the previously targeted thug.
 |  |
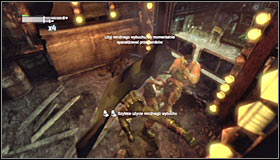
Now you can approach the new fight. During it, most of all try to stop the inmates from collecting any guns from the lockers #1. If you won't manage to keep them away, focus on those with guns in the first place. Also take note of the armoured enemy #2, remembering that you will need to stun him (B) before you can attack.
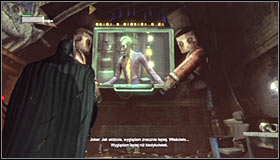 |  |
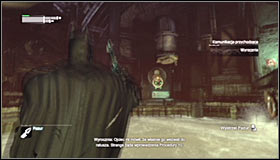
After the fight hear out Joker #1, who has apparently taken the cure and returned to full health. Afterwards you will be able to use the western door #2, leading into Cooling Tunnel D.
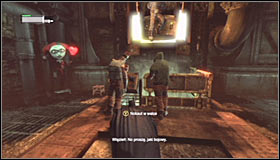 |  |
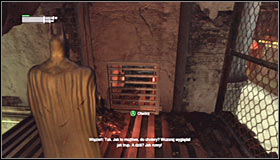
Carefully approach the enemies standing south of here. You will be able to attack one of them by surprise #1, unfortunately the same doesn't apply to the armoured one, as you will have to eliminate him in direct combat. Approach the inmate and press A to save him #2.
 |  |
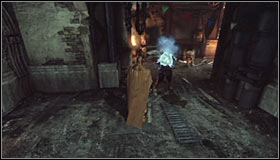
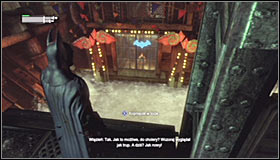
Curiously, the man you have saved will eventually attack you himself #1, so be ready to quickly deal with him with a counterattack. Approach the southern wall #2 and use the Explosive Gel to break through to the other side.
 |  |
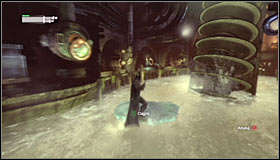
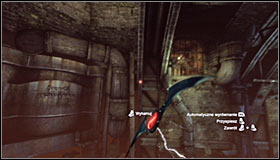
As you have reached yet another river, equip the Freeze Blast and use it to create an ice raft #1. Sail west and look out for more giant drills #2, pulling to the grapple points you pass by.
 |  |
Soon after passing by the drill you should turn right and grab the grapple points nearby the new ledge #1. Sail there and jump onto it. You will now have to turn around, shoot the Line Launcher at the wall in the west #2 and use it to reach the new ledge.
 |  |
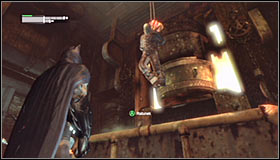
Turn north and use the Freeze Blast to seal the pipe #1, thanks to which (after crouching down) you will be able to move on. In just a few steps you will reach another pipe #2 which you will have to treat the same way.
 |  |
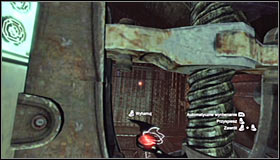
Doing the above will let you reach a new platform surrounded by water #1. Use the Freeze Blast and create an ice flea, though only to jump onto it and therefore reach the upper ledge #2.
 |  |
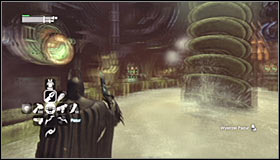
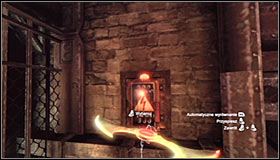
Before you is a rather complicated puzzle which you have to solve to unlock the further passage. Choose the Remote Controlled Batarang and stand opposite to the locked gate #1. Throw out the Batarang and make it fly through one the holes #2.
 |  |
Don't change the direction, as the Batarang needs to reach the coil with discharges visible around it #1. Flying beside it should electrify the Batarang. Turn it around #2, either by pressing the left and right triggers together or leaning the analog stick properly. Also don't forget about being able to slow down the Batarang by holding down the left trigger.
 |  |
The Batarang will start flying back towards Batman, though you need to fly with it through the grates on the right #1. Afterwards turn slightly to the right and make it hit the fuse box #2. If you have done everything properly, you should unlock the further passage.
 |  |
Approach the ledge and once again use the Freeze Blast to create an ice raft #1. Jump onto it and swim north-east, of course helping yourself by grabbing the grapple points. However be sure not to go too far, as there are two large drills at the end of the tunnel. Instead, swim to the small platform in the north #2.
 |  |
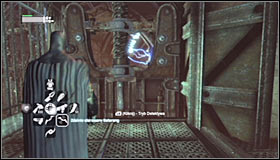
Turn around and use the Grapnel Gun to reach the upper south ledge #1. Take a look around and you should find a control panel that you can hack #2 by using the Cryptographic Sequencer.
 |  |
Solve the mini-game to create the password #1. Note that it has lowered the drawbridge #2 and as a result you will be able to head north.
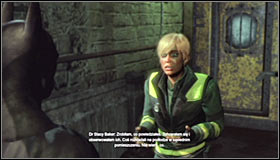 |  |
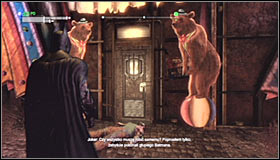
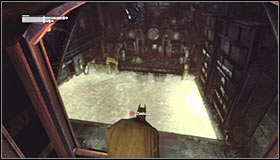
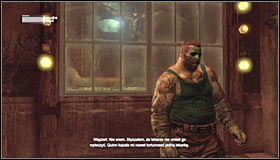
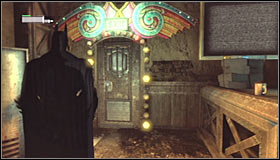
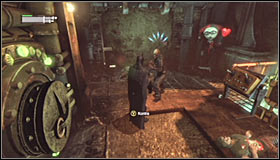
Turn right and don't be scared by Dr. Stacy Baker #1, who will attack Batman taking him for one of the thugs. Listen out to the conversation with her and afterwards use the door #2 to reach the Smelting Chamber and therefore start the exploration of the main part of the Sionis Steel Mill.

- Batman: Arkham City Game Guide
- Batman Arkham City: Game Guide
- Batman Arkham City: Main story
- Batman Arkham City: Prologue
- Batman Arkham City: Climb to higher ground to contact Alfred
- Batman Arkham City: Climb to the top of the ACE Chemical building to collect your equipment
- Batman Arkham City: Locate and enter Two-Face's Courthouse
- Batman Arkham City: Save Catwoman from Two-Face
- Batman Arkham City: Scan the crime scene for ballistic evidence
- Batman Arkham City: Locate the source of the sniper shot
- Batman Arkham City: Scan the sniper rifle for forensic evidence
- Batman Arkham City: Track down the source of the radio signal to locate Joker
- Batman Arkham City: Access the Sionis Steel Mill through the main chimney
- Batman Arkham City: Save the doctor from Joker's thugs
- Batman Arkham City: Break into Joker's office in the Loading Bay
- Batman Arkham City: Track Freeze's location by identifying the coldest point in Arkham
- Batman Arkham City: Locate Mister Freeze and recover the cure
- Batman Arkham City: Rescue Mister Freeze from Penguin in the Museum
- Batman Arkham City: Disable Penguin's Communications Disruptors
- Batman Arkham City: Disable Penguin's Final Communications Disruptor underground
- Batman Arkham City: Rescue Mister Freeze from Penguin in the Museum (part 2)
- Batman Arkham City: Rescue remaining undercover GCPD officers in the Museum
- Batman Arkham City: Collect the security override from Freeze's suit to disable the Freeze Gun
- Batman Arkham City: Confront Penguin in the Iceberg Lounge
- Batman Arkham City: Defeat Solomon Grundy
- Batman Arkham City: Defeat Penguin
- Batman Arkham City: Analyse the assassin's blood to follow her trail
- Batman Arkham City: Follow assassin using tracker device to locate Ra's al Ghul
- Batman Arkham City: Analyze the assassin's bandages for new evidence
- Batman Arkham City: Catch assassin and plant tracking device
- Batman Arkham City: Follow assassin using tracer device to locate Ra's al Ghul
- Batman Arkham City: Reconstruct video data from the Mechanical Guardian
- Batman Arkham City: Locate more Mechanical Guardians to fully reconstruct the video data
- Batman Arkham City: Locate the secret entrance using the video data
- Batman Arkham City: Follow assassin using tracer device to locate Ra's al Ghul (part 2)
- Batman Arkham City: Locate Ra's al Ghul and obtain a sample of his blood
- Batman Arkham City: Defeat Ra's al Ghul
- Batman Arkham City: Return to the GCPD to deliver the blood of Ra's al Ghul to Mister Freeze
- Batman Arkham City: Interrogate Quincy Sharp for information on Hugo Strange
- Batman Arkham City: Return to the GCPD to deliver the blood of Ra's al Ghul to Mister Freeze (part 2)
- Batman Arkham City: Defeat Mister Freeze
- Batman Arkham City: Infiltrate the Steel Mill
- Batman Arkham City: Rescue Vicki Vale from chopper crash site
- Batman Arkham City: Infiltrate the Steel Mill (part 2)
- Batman Arkham City: Locate Joker in the Steel Mill
- Batman Arkham City: Defeat Joker
- Batman Arkham City: Scan the TYGER helicopter to locate the Master Control Program
- Batman Arkham City: Retrieve Master Control Program transmitter from Primary Helicopter
- Batman Arkham City: Gain access to Wonder Tower
- Batman Arkham City: Climb the observation deck to stop Protocol 10
- Batman Arkham City: Follow tracker to save Talia from Joker
- Batman Arkham City: Get the cure from Joker and stop him from becoming immortal
- Batman Arkham City: Main story
- Batman Arkham City: Game Guide
You are not permitted to copy any image, text or info from this page. This site is not associated with and/or endorsed by the developers and the publishers. All logos and images are copyrighted by their respective owners.
Copyright © 2000 - 2026 Webedia Polska SA for gamepressure.com, unofficial game guides, walkthroughs, secrets, game tips, maps & strategies for top games.