Batman Arkham City: Batman trophies (01-15) Steel Mill
TROPHY 1
Gadgets used: Batclaw
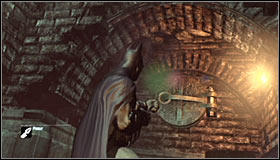 | 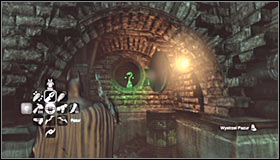 |
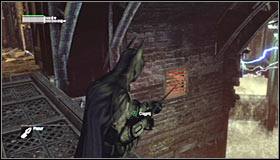
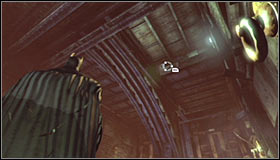
Get inside the tunnel leading from the Waste Exchange to the Loading Bay. You need to find the hatch #1 and open it with the Claw. Afterwards collect the Trophy #2.
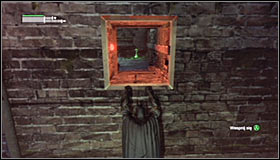
TROPHY 2
Gadgets used: Batclaw
 |  |
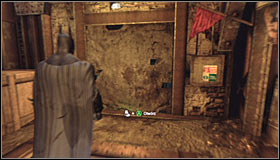
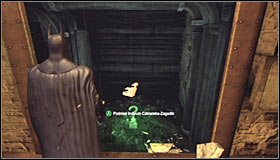
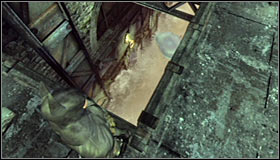
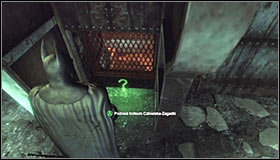
Stay on the upper floor (the one with the Loading Bay) and examine the northern wall. You need to find the hatch #1 and open it with the Claw. Afterwards collect the Trophy #2.
TROPHY 3
Gadgets used: Batclaw, Explosive Gel
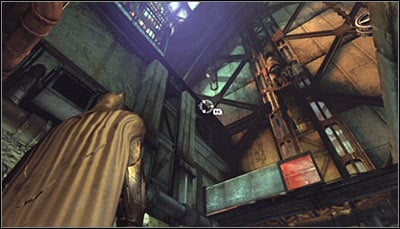
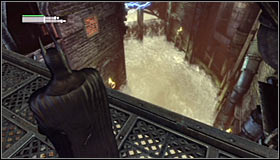
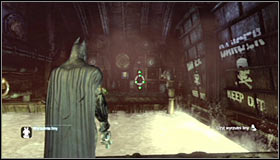
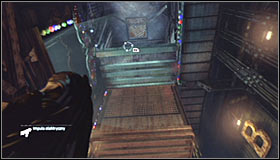
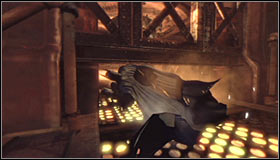
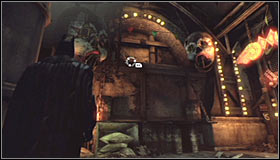
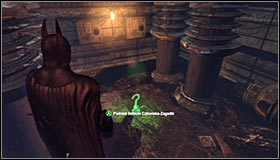
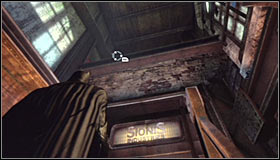
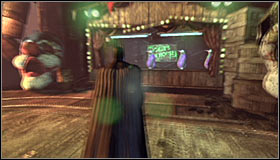
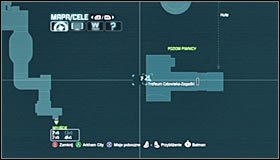
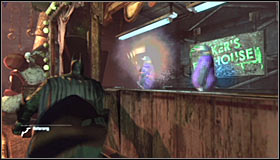
Start in the Assembly Line, standing south-west of where the Trophy is hidden. Look up and search for a ledge which you can grab with the Grapnel Gun (screen above).
 |  |
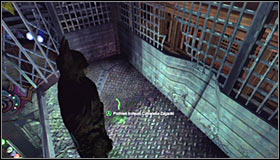
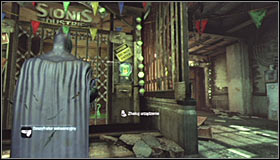
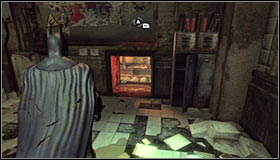
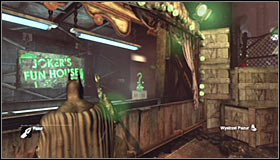
After reaching the upper ledge, equip the Explosive Gel and use it to destroy the wall above the Joker's Funland neon sign #1. Afterwards collect the Trophy #2.
TROPHY 4
Gadgets used: Batclaw
 |  |
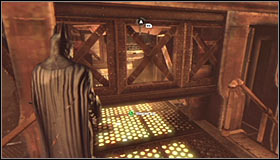
Begin on the bridge north-east of where the Trophy is hidden #1 #2.
 |  |
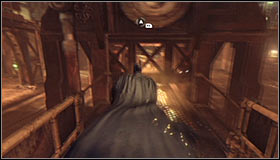
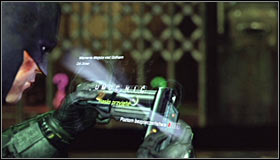
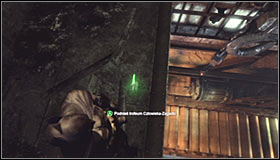
Equip the Batclaw and shoot it at the ventilation shaft grate in the distance #1. Pull it out and afterwards use the Grapnel Gun (or glide) to reach the shaft #2. Pull up, make a few steps and collect the Trophy.
TROPHY 5
Gadgets used: Line Launcher, Cryptographic Sequencer
 |  |
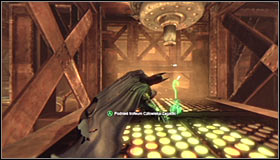
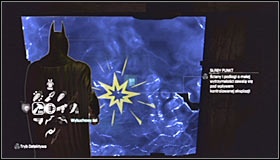
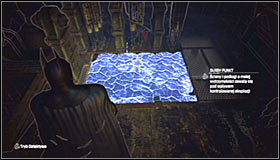
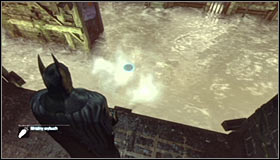
Stand south of the Trophy and equip the Line Launcher. Shoot it at the wall in front of you #1 and wait for Batman to safely reach the new area. After landing, prepare the Cryptographic Sequencer and use it on the nearby control panel #2.
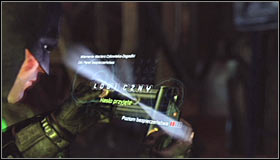 |  |
Approach the hacking mini-game and create he password #1. Pick up the Trophy #2. Notice! If you don't want to waste time on using the Line Launcher, you can use the Freeze Blast (ice float) or hack the control panel remotely and use the Batclaw to grab the Trophy.
TROPHY 6
Gadgets used: Freeze Blast
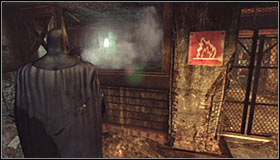 | 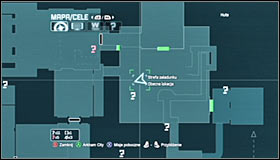 |
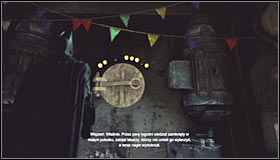
Explore the are below the Loading Bay and stop north-east of the Trophy #1 #2.
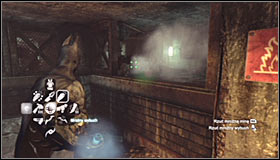 |  |
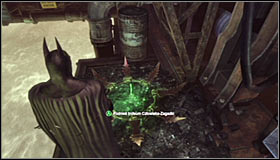
Equip the Freeze Blast and use it to seal the pipe #1. Afterwards climb up and pick up the Trophy #2.
TROPHY 7
Gadgets used: Batclaw
 |  |
Get to the very bottom of the elevator shaft, which has been described in the Hot and Cold walkthrough. After reaching the lowest level, look up and search for a ledge that you can grab with the Grapnel Gun (not the one leading to the engine room!) #1. Use the gadget and pick up the Trophy #2.
TROPHY 8
 |  |
Examine the middle construction of the Smelting chamber and you should note that the Trophy is hidden underneath it #1. Move away and start running into it #2.
 |  |
Perform a slide at the proper moment #1 and note that you will have to grab the Trophy during it #2. Luckily if you won't manage to do it the first time, you will be able to repeat the whole process without any problems.
TROPHY 9
Gadgets used: Freeze Blast, Batclaw
 |  |
Use the Freeze Blast (ice float) and Batclaw to move along the water #1. After reaching the destination point, look up and grab the Trophy hanging from the ceiling with the Batclaw #2. Notice! It would be good to hurry with it, before the ice float approaches the drill!
TROPHY 10
Gadgets used: Batclaw, Explosive Gel
 |  |
Stand east of the secret and use the Grapnel Gun to reach the upper ledge #1. Here, take out the explosive Gel and spray it onto the destructible wall #2. Enter the small area and pick up the Trophy.
TROPHY 11
Gadgets used: Cryptographic Sequencer
 |  |
Stand north of the Trophy and use the Cryptographic Sequencer on the nearby control panel #1. Approach the mini-game and create the password #2. Afterwards collect the Trophy.
TROPHY 12
Gadgets used: Explosive Gel
 |  |
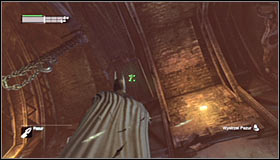
Get to the very bottom of the elevator shaft, which has been described in the Hot and Cold walkthrough. Stand south of the Trophy and look for a destructible floor fragment #1 #2.
 |  |
After the detonation, jump into the newly created hole #1. Head north and soon enough you will come across the Trophy #2.
TROPHY 13
Gadgets used: Batclaw
 |  |
Start exploring the north-west part of the Smelting Chamber to find a shaft entrance #1 #2. Cross it to the other side.
 |  |
After using the shaft, look up and find a spot where you can use the Grapnel Gun #1. It will let you reach the upper ledge, on which the Trophy has been hidden #2.
TROPHY 14
Gadgets used: Freeze Blast, Batclaw
 |  |
After reaching the ledge, use the Freeze Blast to create an ice float #1. Jump onto it, turn east and look up to find a ledge which you can grab using the Grapnel Gun #2.
 |  |
Using the Grapnel Gun should let you reach an otherwise inaccessible upper room #1. Search for the Trophy there #2.
TROPHY 15
Gadgets used: Batarang, Batclaw
 |  |
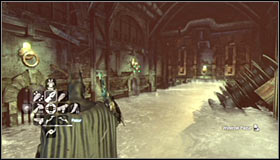
Get to the Boiler Room, which has been described in the Hot and Cold walkthrough. Stand in front of the shooting range #1 #2.
 |  |
Start using the Batarangs to destroy the penguins #1. After you destroy all of them, the Trophy will appear on the line and you will have to grab it with the Batclaw #2.

You are not permitted to copy any image, text or info from this page. This site is not associated with and/or endorsed by the developers and the publishers. All logos and images are copyrighted by their respective owners.
Copyright © 2000 - 2026 Webedia Polska SA for gamepressure.com, unofficial game guides, walkthroughs, secrets, game tips, maps & strategies for top games.