Batman Arkham City: Batman trophies (29-37) Amusement Mile
TROPHY 29
Gadgets used: Remote Controlled Batarang
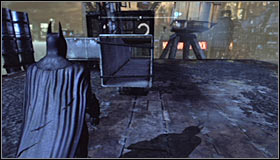 | 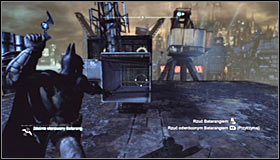 |
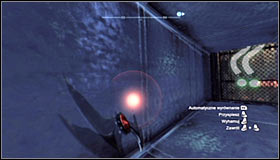
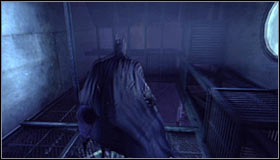
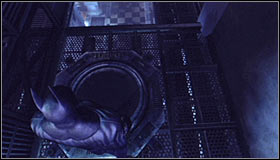
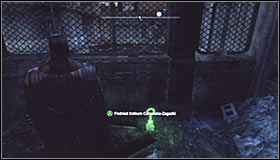
Land on the roof of the Krank Co. Toys building and search for a ventilation shaft nearby the Trophy cage #1. You can't enter it yourself, so equip the Remote Controlled Batarang. You have to choose the right moment to throw the Batarang, as the blockades will keep opening and closing #2.
 | 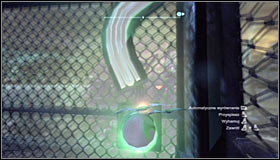 |
After throwing the Batarang, speed it up (right trigger) and fly straight #1. Try to hit the first interactive question mark this way #2.
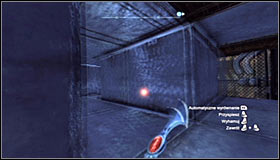 |  |
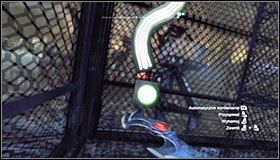
Once again throw the RCB into the shaft, but this time after reaching the first fork #1 turn left. be ready for a right turn soon afterwards #2.
 |  |
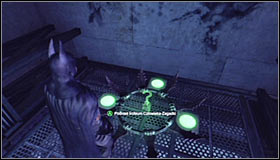
Now you just need to lead the Batarang into the second interactive question mark #1. Approach the open cage and pick up the Trophy #2.
TROPHY 30
Gadgets used: Batclaw, Line Launcher
 |  |
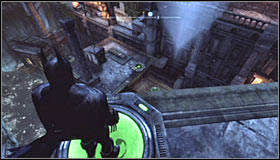
Stand in the corridor east of the secret and look up. you should note that you can use the Grapnel Gun to reach the upper balconies #1. Approach the Trophy cage #2 and take some time to familiarize yourself with the assumptions of this riddle. You will have to activate three pressure plates without standing on any other parts of the floor.
 |  |
Stand on the plate closest to the Trophy #1 and turn east. Equip the Line Launcher and shoot at the wall in front of you #2.
 |  |
Right after jumping onto the line, hold the left trigger to slow down the whole process. After reaching the fork, turn right and shoot at the southern wall #1. Resume the ride but let go of the line soon enough to land on the second pressure plate #2. You can't make it too late, as otherwise Batman won't hit the plate and you will have to repeat the whole process from the beginning.
 |  |
Turn north and shoot at the wall in the distance #1. Here you will have to let go of the line at the right moment as well #2, landing on the third and last pressure plate.
 |  |
If you have done everything correctly, all the plates should deactivate #1. Return to the open cage to collect the Trophy #2.
TROPHY 31
 |  |
The assumption of this puzzle is activating three different pressure plates without touching any other environment elements or the ground. Start off by standing on the pressure plate on the roof of the highest building, south-west of the cage #1 #2.
 |  |
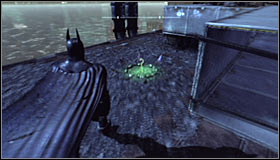
Glide north-east #1 and land on the pressure plate north of the Trophy #2.
 |  |
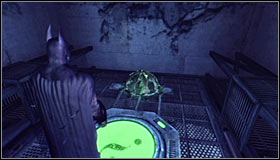
Now turn south and fly to the third pressure plate using the same method #1. Return to the cage and take the Trophy from inside #2.
TROPHY 32
Gadgets used: Batclaw
 |  |
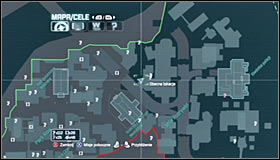
After reaching the destination it will turn out that the Trophy is hidden inside a cage #1. The only way to open it is touching the pressure plate below, though it can't be done in an ordinary way as the passage is blocked by a large horizontal gate #2. As a result you will have to reach the gate from a different place.
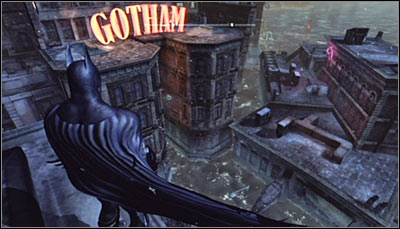
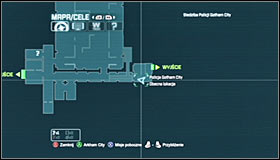
In order to solve this puzzle, get onto the roof of the GCPD building, located south-east from here (screen above).
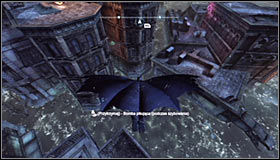 |  |
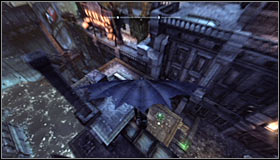
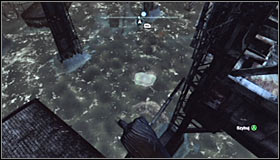
Jump off the edge and start gliding towards the mentioned pressure plate #1. Remember not to fly too high or too low. Lead Batman onto the plate #2.
 |  |
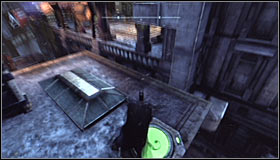
You can't just normally hit the plate, so at the last moment let go of the glide button and press X #1. Don't however bounce off the plate. Note that a horizontal gate has opened above you. Quickly use the Grapnel Gun to get above #2. Now you can take the Trophy from the cage.
TROPHY 33
Gadgets used: Cryptographic Sequencer
 |  |
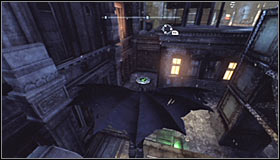
After reaching the area where the Trophy is hidden, search for a control panel that you can hack and use the Cryptographic Sequencer on it #1. Start the mini-game and create the password #2 thanks to which you will unlock access to the Trophy.
TROPHY 34
Gadgets used: Remote Electrical Charge, Explosive Gel
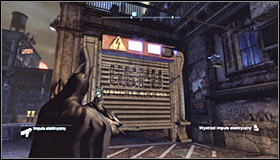 |  |
Stand south of the Trophy, opposite to the gate used to access the police station to be precise #1. Use the Electrical Charge on the engine above the gate in the well known way and slide underneath it #2.
 |  |
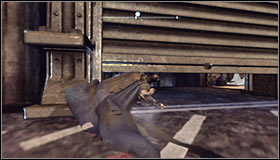
Now head north, choosing the ramp leading down. Destroy the wall with the Explosive Gel #1 and you will be able to pick up the Trophy #2.
TROPHY 35
Gadgets used: Freeze Blast, Batclaw
 |  |
The Trophy is underneath the drawbridge. Use the Freeze Blast aiming nearby it #1. Afterwards glide towards the ice float, look up and grab the Trophy with the Claw #2.
TROPHY 36
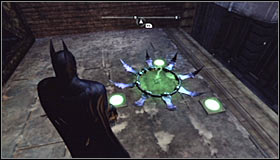
Gadgets used: Batarang
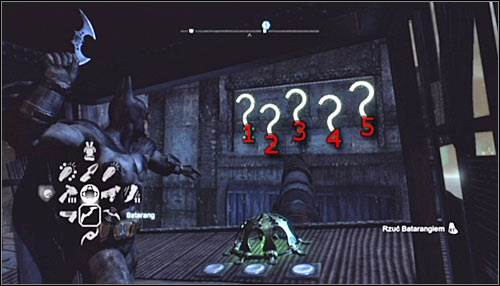
After reaching the area where the Trophy is hidden, stand on the pressure plate and note that by doing that you have causes the question marks to light up. The idea behind this puzzle is hitting the question marks in the exact same order in which they have been activated by using the Batarang. There are three sequences in total to complete.
First sequence: first, third, fifth, second, fourth.
Second sequence: fourth, third, first, fifth, second.
Third sequence: third, fifth, second, first, fourth.
Now you can collect the Trophy from the open cage.
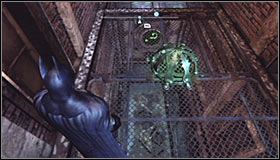
TROPHY 37
Gadgets used: Remote Controlled Batarang
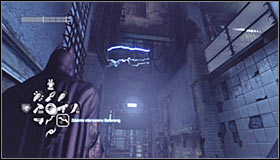 |  |
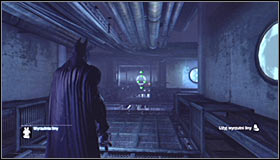
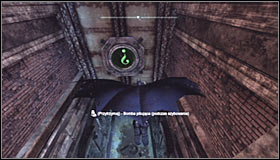
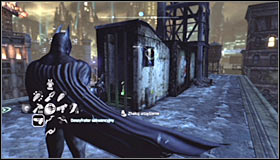
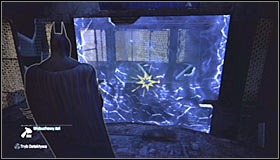
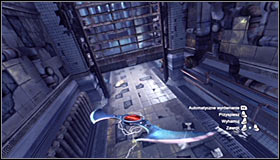
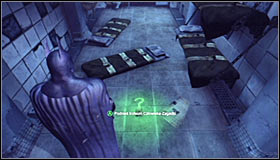
The Trophy can be found inside a cell that you can't access normally. Head to the eastern part of the station, to the area of the morgue (if you haven't been here yet, you should note that you can access it using the Freeze Blast). Stop when you note discharges above you #1 #2.
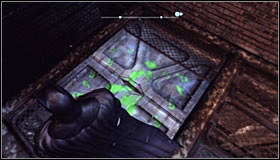
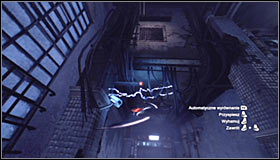 |  |
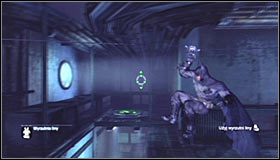
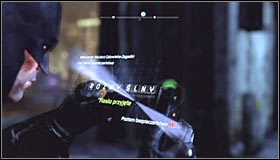
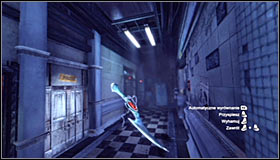
Equip the Remote Controlled Batarang and throw it towards the discharges to electrify it #1. Now lead it west, flying below the gate #2 and following the main corridor.
 | 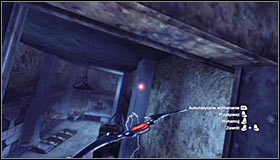 |
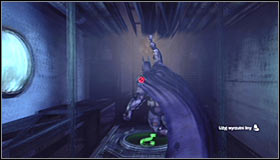
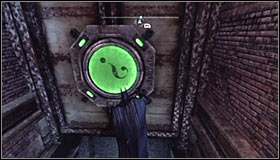
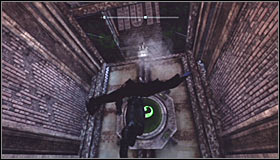
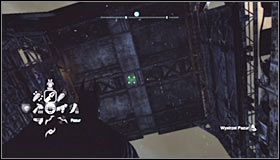
After reaching the fork turn north #1. Fly to the Trophy cell using the small hole above the door #2.
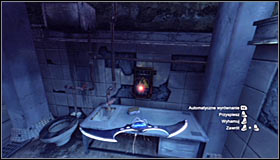 |  |
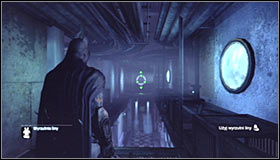
Now you need to lead the Batarang to the fuse box #1. Watch a short cutscene and head there yourself to pick up the Trophy #2.
- Batman: Arkham City Game Guide
- Batman Arkham City: Game Guide
- Batman Arkham City: Secrets & Challenges
- Batman Arkham City: Amusement Mile
- Batman Arkham City: Location info & maps Amusement Mile
- Batman Arkham City: Batman trophies (01-10) Amusement Mile
- Batman Arkham City: Batman trophies (11-18) Amusement Mile
- Batman Arkham City: Batman trophies (19-28) Amusement Mile
- Batman Arkham City: Batman trophies (29-37) Amusement Mile
- Batman Arkham City: Riddles Amusement Mile
- Batman Arkham City: TYGER cameras Amusement Mile
- Batman Arkham City: Balloons Amusement Mile
- Batman Arkham City: Catwoman trophies Amusement Mile
- Batman Arkham City: Amusement Mile
- Batman Arkham City: Secrets & Challenges
- Batman Arkham City: Game Guide
You are not permitted to copy any image, text or info from this page. This site is not associated with and/or endorsed by the developers and the publishers. All logos and images are copyrighted by their respective owners.
Copyright © 2000 - 2026 Webedia Polska SA for gamepressure.com, unofficial game guides, walkthroughs, secrets, game tips, maps & strategies for top games.