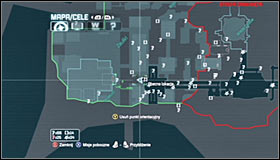
Batman Arkham City: Batman trophies (10-21) Bowery
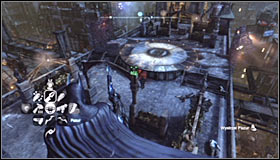
TROPHY 10
Used skills: Dive Bomb
Gadgets used: Batclaw
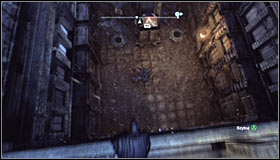 |  |
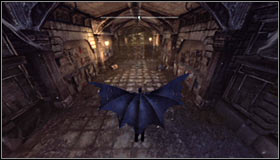
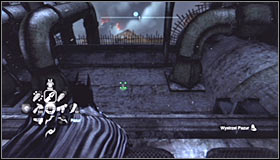
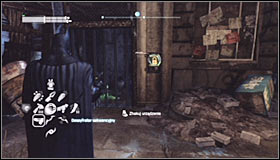
IT would be good to start off by taking a look around the area. Find a balustrade north of the Museum building, which after jumping over lets you reach the lower level #1. If you then head east, you should note that there's an electrified fence between you and the Trophy #2. The idea behind this puzzle will be finding a way to fly above it.
 |  |
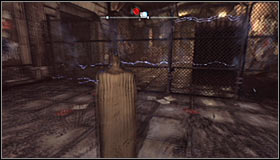
Head back west and look for a large pillar whose top you can using the Grapnel Gun #1 #2.
 |  |
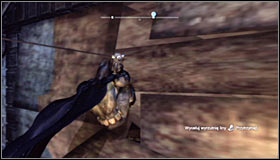
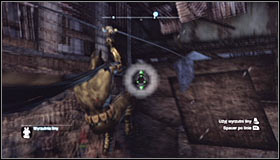
Now turn east, jump off the edge and use the Dive Bomb by holding down the right trigger in mid-air #1. The key to success here is letting go of the trigger at the right moment, together with leaning out the left analog stick back #2. Try not to hit the ground and don't fly too low.
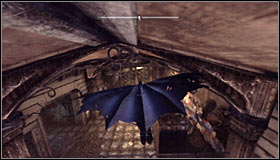 | 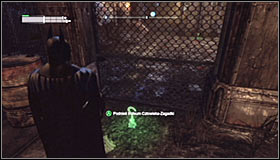 |
Now you just need to safely fly over the fence #1, landing only after reaching the previously inaccessible area. Afterwards you can safely look for the Trophy #2. Notice! In order to leave this are safely, make use of the crates which will let you jump over the fence.
TROPHY 11
 | 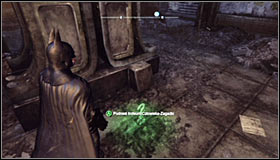 |
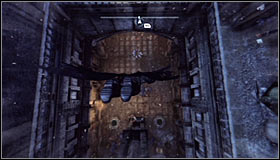
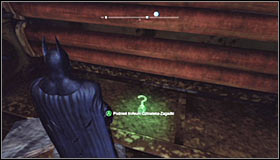
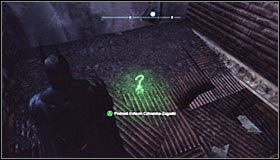
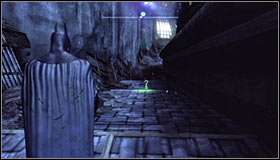
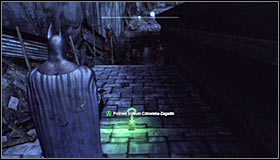
The Trophy is on the lowest level, so look for a balustrade which you can jump over nearby it #1. The secret is hidden beside one of the pillar #2.
TROPHY 12
Gadgets used: Batclaw
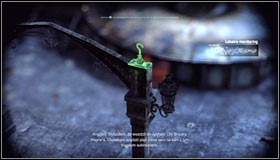 |  |
The Trophy can be found on the roof which is guarded by armed enemies, i.e. at the very top of one of the pillars there #1 #2. It's best to catch it from a distance, with the help of the Claw.
TROPHY 13
Gadgets used: Batclaw
 |  |
Reach the balcony adjoining the Arkham City Processing Center entrance #1. Look up and use the Claw to catch the Trophy attached to the wall here #2.
TROPHY 14
Gadgets used: Line Launcher
 | 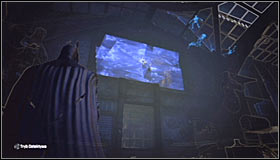 |
Now start exploring the corridors below the main Museum entrance #1. You should note that one of the higher walls can be destroyed #2 and that will be your next objective.
 |  |
Head east from where the Trophy is hidden. Stop on one of the higher ledges from which you will have a direct view of the fragile wall #1 #2.
 |  |
Equip the Line Launcher and shoot it at the wooden wall. After hitting it, Batman should automatically break through #1. You can now collect the Trophy #2.
TROPHY 15
Gadgets used: Cryptographic Sequencer + Cryptographic Sequencer Power Amplifier, Batclaw
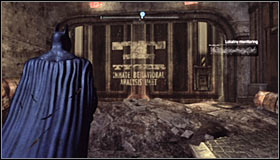 | 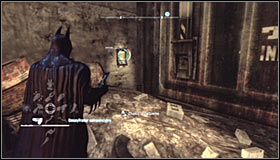 |
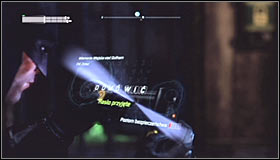
Approach the Trophy from the north, reaching a large TYGER gate #1. Take out the Cryptographic Sequencer and use it on the control panel on the left #2.
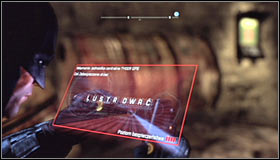 |  |
Approach the hacking mini-game and create the password #1. Note that the gate is partially open now, so crouch and head to the other side. Equip the Batclaw and grab the Trophy attached to the ceiling #2.
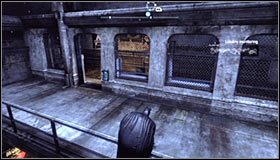
TROPHY 16
Gadgets used: Batclaw
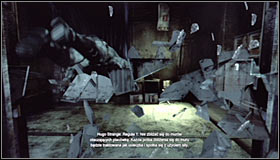 |  |
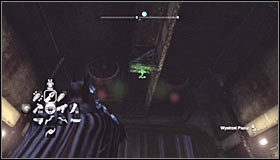
Approach the Trophy from the south. Stand in front of the one-way mirror and break through it. Curiously, you don't need to use the Explosive Gel here, as jumping will be enough #1. After reaching the seemingly inaccessible room, equip the Batclaw and use it to grab the Trophy attached to the ceiling #2.
TROPHY 17
Gadgets used: Line Launcher + Tightrope, Batarang
 | 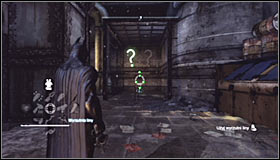 |
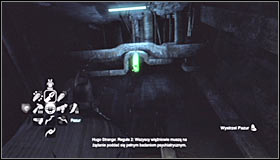
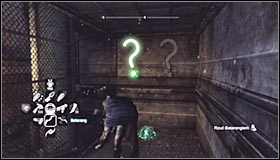
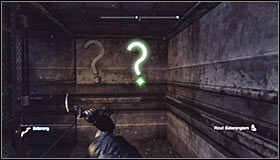
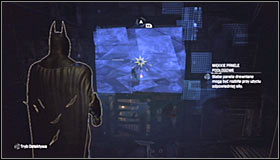
Start off by standing on the pressure plate #1. This puzzle is more difficult than it might seem at first, as you can't use neither Batarang nor the Explosive Gel to switch off the question marks. As a result equip the Line Launcher and shoot at the fragment of the wall between the two interactive question marks #2.
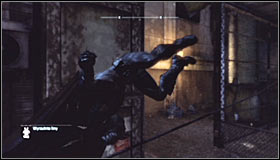 |  |
Start riding the line and after a short while press RB to make Batman jump onto the line #1. Using this skill, get to the big cage inside of which the question marks are #2.
 | 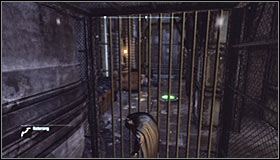 |
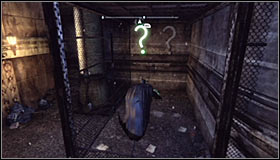
Now equip the Batarang and throw it into the left question mark #1. Note that it has led to the grates behind your back to raise #2, but you shouldn't trouble yourself with it now.
 | 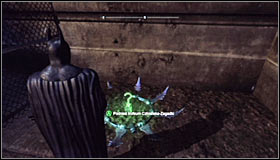 |
Once again use the Batarang, this time aiming at the question mark on the right #1. Afterwards collect the Trophy #2.
TROPHY 18
Gadgets used: Cryptographic Sequencer
 |  |
After reaching the area where the Trophy is hidden, equip the Cryptographic Sequencer and use it on the right control panel #1. Solve the mini-game and create the password #2. Afterwards collect the Trophy.
TROPHY 19
Gadgets used: Remote Electrical Charge
 |  |
Approach the Trophy from the west. Equip the Remote Electrical Charge and shoot at the engine above the locked door #1. Quickly slide underneath to reach the small room and collect the Trophy #2.
TROPHY 20
Gadgets used: Line Launcher
 |  |
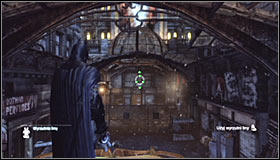
Stand on one of the higher platforms, directly west of where the Trophy is #1. Turn on the Detective Mode, thanks to which you should note that you can destroy the nearby wooden wall #2.
 |  |
Next, use the Line Launcher, aiming at the wall and destroying it upon contact #1. Afterwards collect the Trophy #2.
TROPHY 21
 |  |
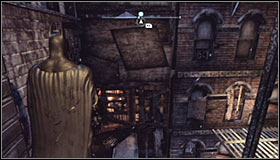
This Trophy is easily accessible. Get onto the roof of the Museum and search for the collectible #1 #2.

- Batman: Arkham City Game Guide
- Batman Arkham City: Game Guide
- Batman Arkham City: Secrets & Challenges
- Batman Arkham City: Bowery
- Batman Arkham City: Location info & maps Bowery
- Batman Arkham City: Batman trophies (01-09) Bowery
- Batman Arkham City: Batman trophies (10-21) Bowery
- Batman Arkham City: Batman trophies (22-30) Bowery
- Batman Arkham City: Batman trophies (31-39) Bowery
- Batman Arkham City: Riddles Bowery
- Batman Arkham City: TYGER cameras Bowery
- Batman Arkham City: Catwoman trophies Bowery
- Batman Arkham City: Bowery
- Batman Arkham City: Secrets & Challenges
- Batman Arkham City: Game Guide
You are not permitted to copy any image, text or info from this page. This site is not associated with and/or endorsed by the developers and the publishers. All logos and images are copyrighted by their respective owners.
Copyright © 2000 - 2026 Webedia Polska SA for gamepressure.com, unofficial game guides, walkthroughs, secrets, game tips, maps & strategies for top games.