Shadow of the Tomb Raider: Exploration of the Belly and Head of the Serpent - The Hidden City
This page contains a walkthrough for Belly of the Serpent story mission of Shadow of the Tomb Raider.
This page contains description of Lara's first visit in the Hidden City in Shadow of the Tomb Raider (The Hidden City mission). The most important parts of this mission are exploration of the Belly of the Serpent and the Head of the Serpent.
Meeting Unuratu
The Hidden City is a large area. Therefore, you should do as Unuratu says and spend some time on exploring it. You can find a lot of secrets, start new side missions or check goods offered by the merchants.
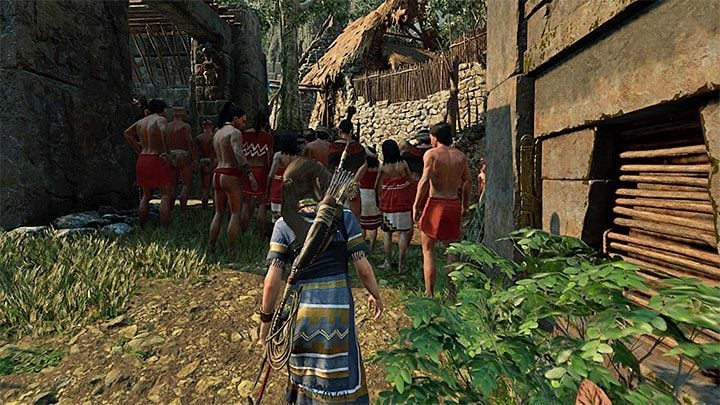
Reach the bridge in the trading district to continue the main storyline. Go through the group of people - you can also approach this place form another side. Watch a longer cut-scene. After that you will get Amaru's photo.
Exploring the Belly of the Serpent
Lara must meet with Etzli in the west part of the city. Listen to the plan. After that you must squeeze through the rocks - this will allow you to explore the new area. Keep going through the rooms. You reach a chasm. First, you must jump towards the bar and then towards the climbable wall. Slide down the rope and then swing on it. Your goal is to jump on the new larger ledge.
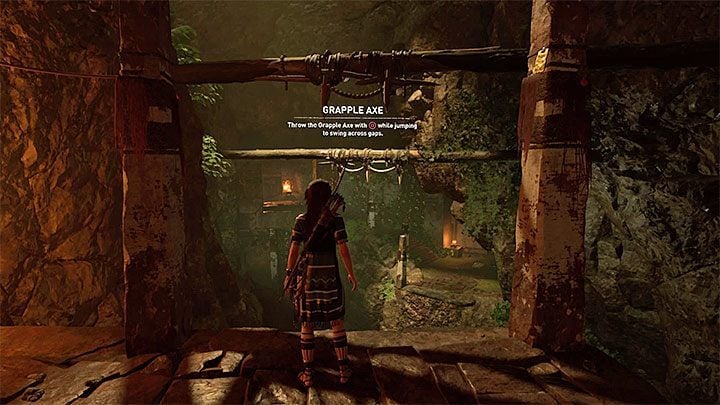
The picture above shows the place where you will have to use your grapple axe. Release it when you are still in the air. Use it to reach another climbable wall. Climb on the ledge located above - by doing that you reach the Belly of the Serpent.
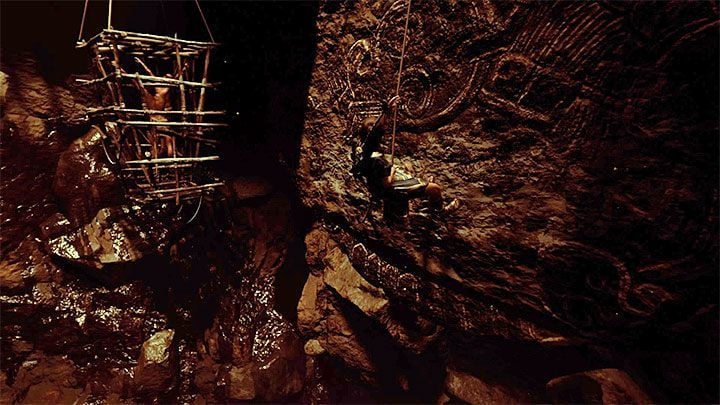
Follow the main path and remember to squeeze through places where the walls get narrower. Lara must climb a bit in the bigger room in the Belly of the Serpent. Walk on the narrow beam and then jump towards the wall. Use your axe to reach another climbable wall. Slide down the rope and then jump towards the cage presented in the picture above.
Jump towards the adjacent cage. Climb on it and then jump towards the interactive wall. Lara has to climb it in order to reach the narrow ledge located above.
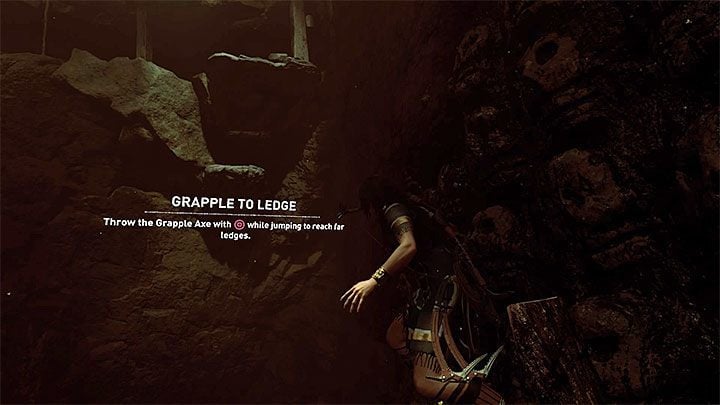
Move to the side and prepare yourself for another jump (do it in the place presented in the picture). Press the grapple axe button while you are in the air. Then, you must climb up the rope to reach the wall's interactive edges.
Start climbing up the wall. Stop in the place where you can make a jump towards the ledge on the left. Keep moving left until you reach a small climbable wall. Grapple it with your axe and then slide down the rope to reach the balcony located beneath that wall (you can recognize it by blood stains).
Lara must go through narrow tunnels full of corpses and body parts. You reach a room with a hostile cultist (see the picture above). Use the fact that he is turned back towards you. Sneak up on him and press the execution button.
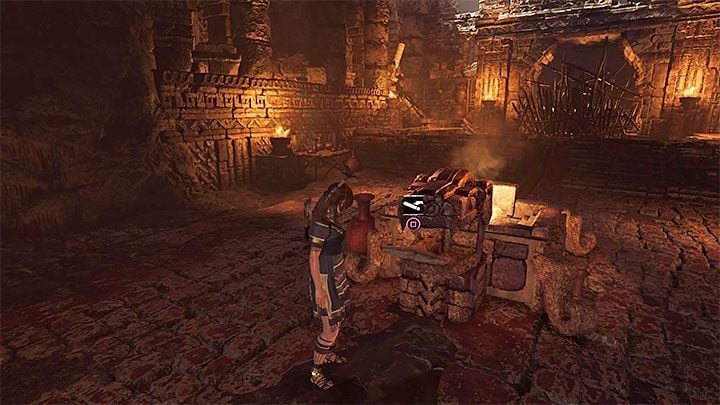
You can examine the corpse on the altar but this step is optional. Find a weaker part of the wall and destroy it with your axe to leave this place. The new passage leads to the Head of the Serpent.
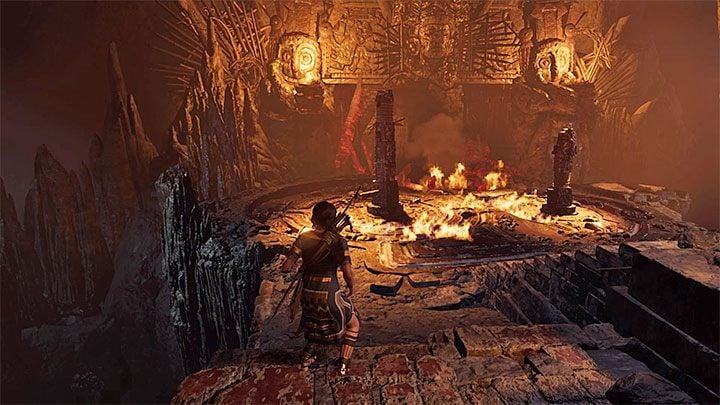
Exploring the Head of the Serpent
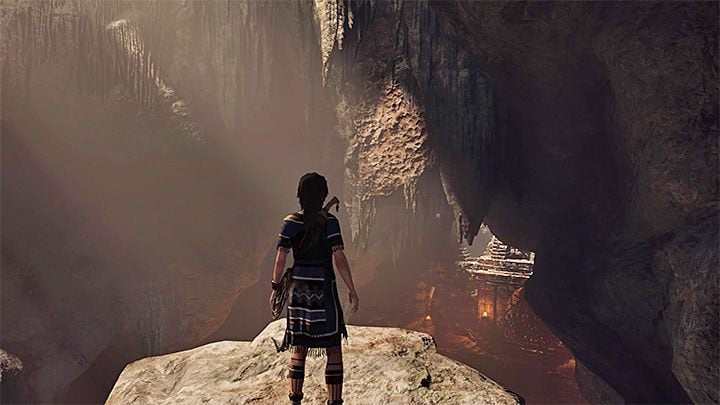
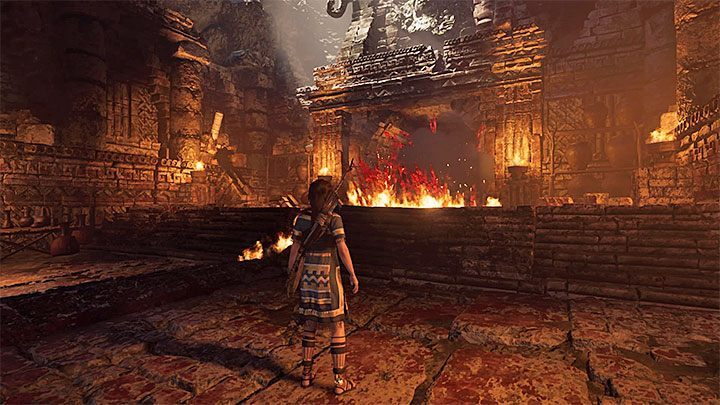
Follow the linear path until you reach the stone ledge presented in the picture. Jump towards the climbable wall. Grapple it with your axe and then slide down the rope to the very bottom. Swing on the rope and then jump. Here, you must complete the Trial of the Serpent.
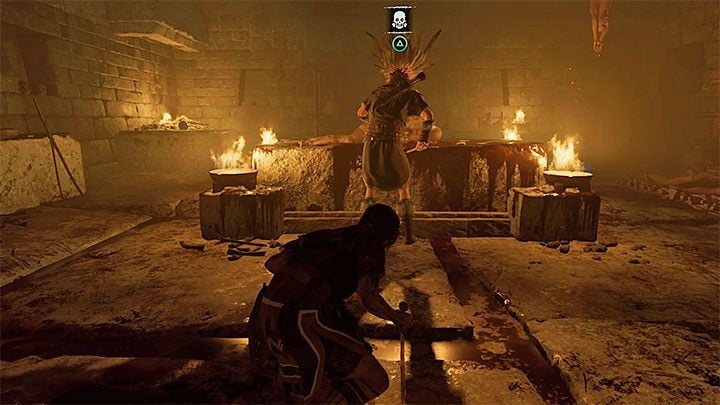
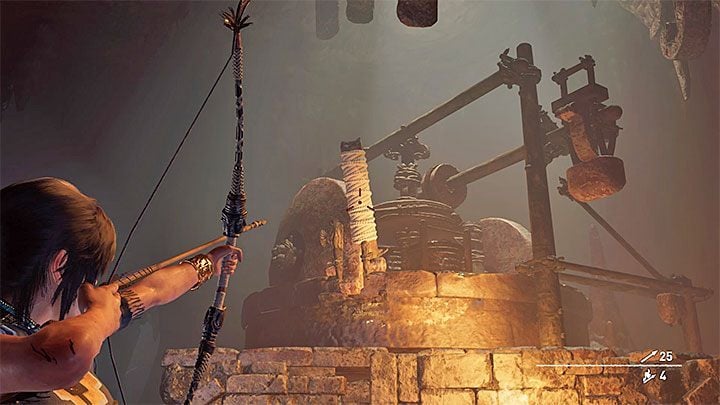
Start with locating the lever with ropes located left from the barricade (the picture above). Aim at the lever with your bow and shoot an arrow with a rope. Lara pulls the lever - by doing that you spill a flammable substance (a mix of oil and blood). The substance will gather up in the tank right in front of the barricade.
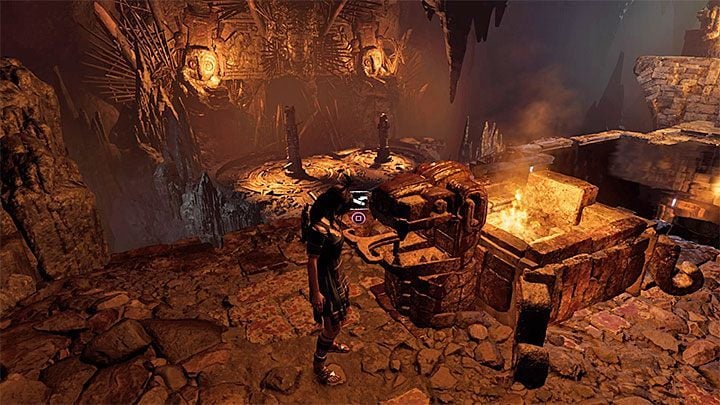
Get closer to the mechanism in the center presented in the picture 1. Interact with it - this starts fire. The flames burn the barricade - proceed forward (the picture 2).
Jump towards the climbable wall and then slide down the rope.
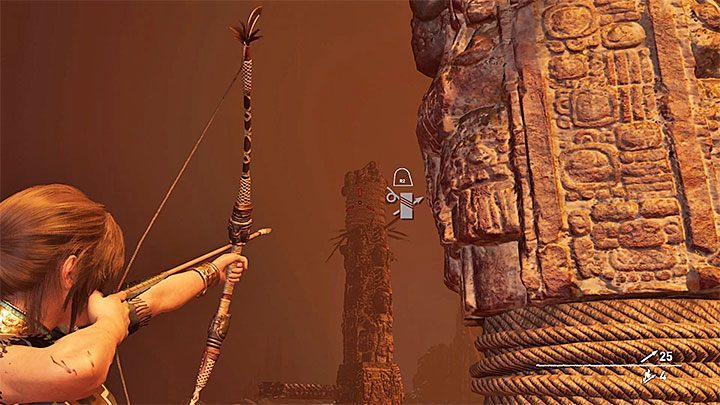
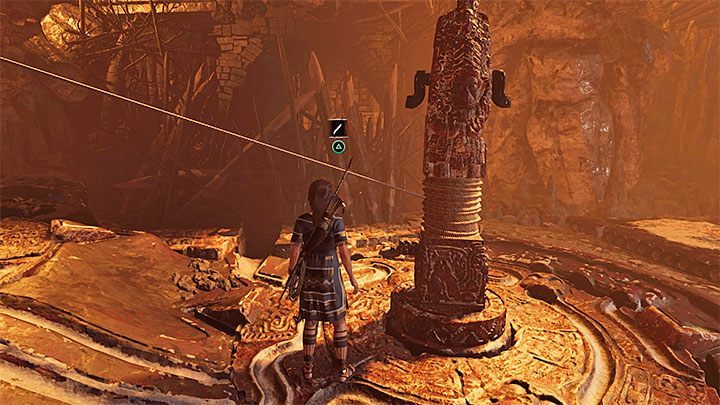
Reach the barricade and take a look at the two pillars. Stand near the shorter pillar and then aim your bow at the ropes on the taller one (the picture 1). Your goal is to connect both pillars with a rope (the picture 2).
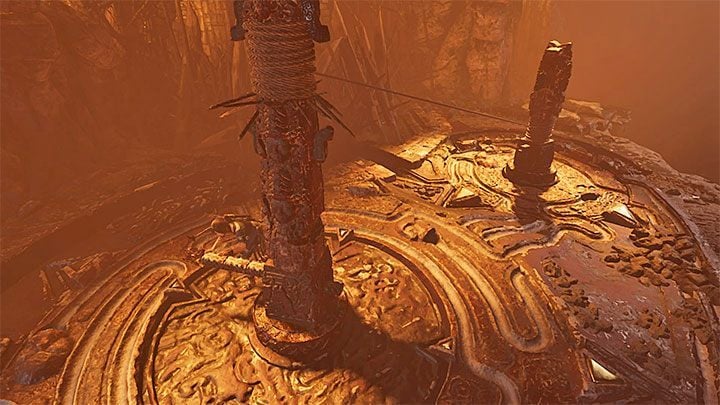
Approach the lever near the taller pillar and start pushing it. The grooves around the shorter pillar have to be in the right place - see the picture above.
The next step is to change the alignment of the grooves around the taller pillar - this means that you have to disconnect the pillars. Go to the shorter pillar and use your knife to cut the rope.
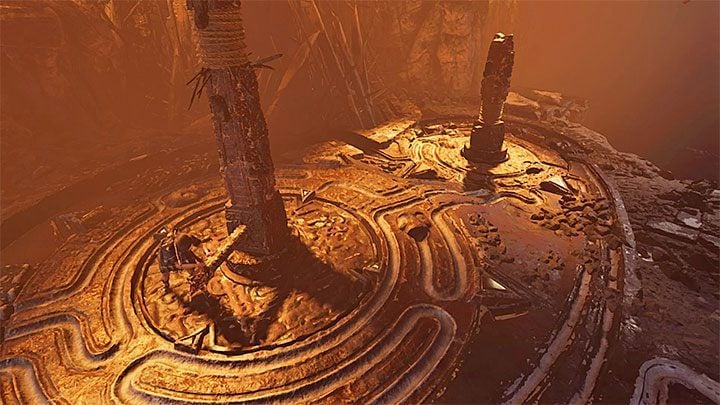
Go back to the rotating mechanism near the taller pillar. Align the grooves - thanks to that the flammable substance will be able to flow around both pillars. Check the picture above for the solution.
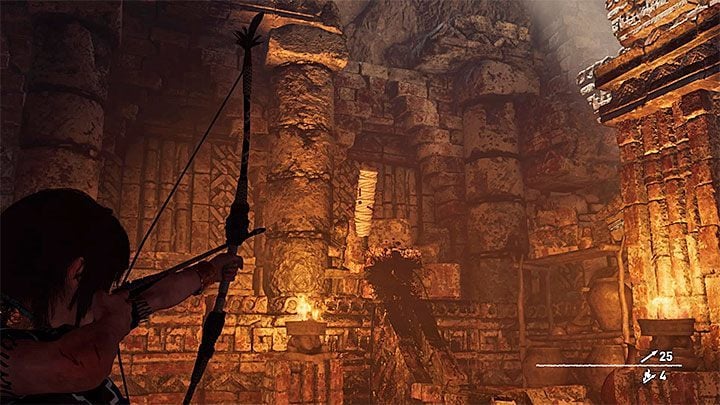
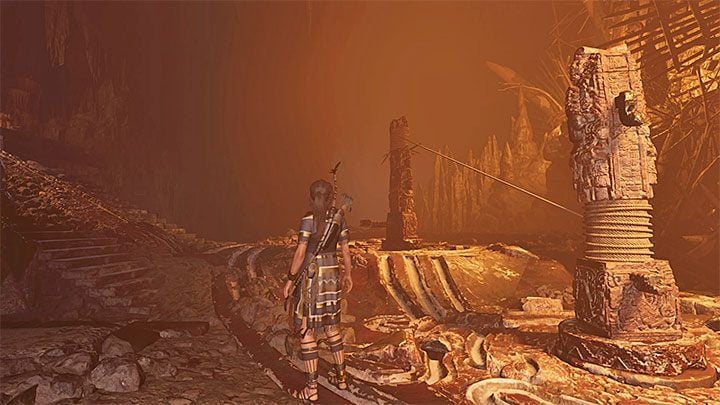
Go back to the upper part of the room and find a new lever with ropes (the picture above). Shoot it with an arrow with a rope. Lara will pull the lever. This causes the flammable substance to start spilling. It should fill the tank near the second barricade (provided that the grooves were aligned correctly).
The last step is obvious - interact with the mechanism presented in the picture 1 to set the substance on fire. This destroys the barricade (the picture 2).
Enter the last room and watch a longer cut-scene - Lara finds the Silver Box of Ix Chel.
Escape
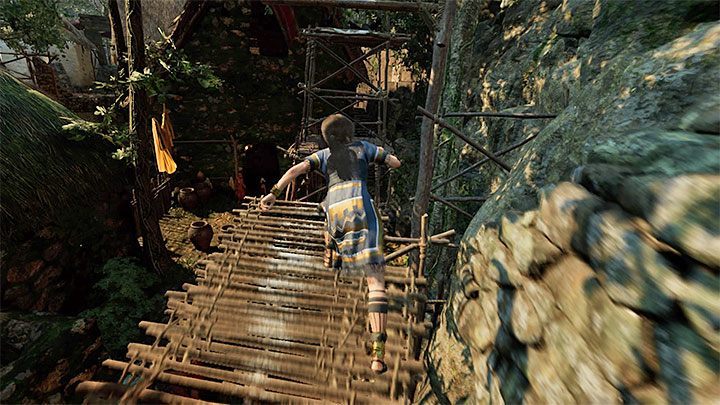
The last part of the mission is to escape the cultists. Don't stop and don't try to fight with the cultists - Lara will get caught and killed. The escape route is linear. However, you still have to avoid obstacles and make single jumps.
Lose the cultists. After that you must go to Unuratu's house in the Hidden City. This ends this mission and starts another.

You are not permitted to copy any image, text or info from this page. This site is not associated with and/or endorsed by the developers and the publishers. All logos and images are copyrighted by their respective owners.
Copyright © 2000 - 2026 Webedia Polska SA for gamepressure.com, unofficial game guides, walkthroughs, secrets, game tips, maps & strategies for top games.