Shadow of the Tomb Raider: Completing the Trial of the Eagle - Path to the Hidden City
This page contains a walkthrough for Path to the Hidden City story mission (Completing the Trial of the Eagle) of Shadow of the Tomb Raider.
The following page contains the description of complete the Trial of the Eagle in Shadow of the Tomb Raider (continuation of the Path to the Hidden City mission).. It's one of the most complicated environmental puzzles in the whole game. Lara's task will be to climb to the top of an unusual tower. There several smaller puzzles awaiting her on the way to the top, as well as precise jumps and mechanical traps of the tower itself.
- Reaching the tower
- First part of the puzzle - reaching the first sail
- Second part of the puzzle - reaching the second sail
- Third part of the puzzle - reaching the main tower exit
- Reaching the Hidden City area
Reaching the tower
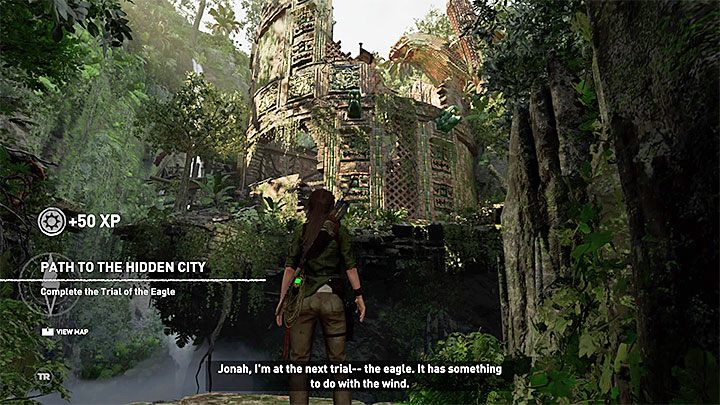
Not long after you begin, you'll approach a large tower - the place, where you'll be spending the next dozen or so minutes. First, you'll need to reach it, though. Grab the shelf and move to the side. You'll pass along a new camp on the way.
Jump across a small chasm and climb on the shelf above to reach the base of the tower. Now you can take on the puzzles of the Trial of the Eagle.
First part of the puzzle - reaching the first sail
The tower has numerous moving mechanisms, and you'll need to watch out for them, as most of them will kill Lara on the spot if they touch her. Many spots will also require flawless jumps, otherwise Lara will fall to her death.
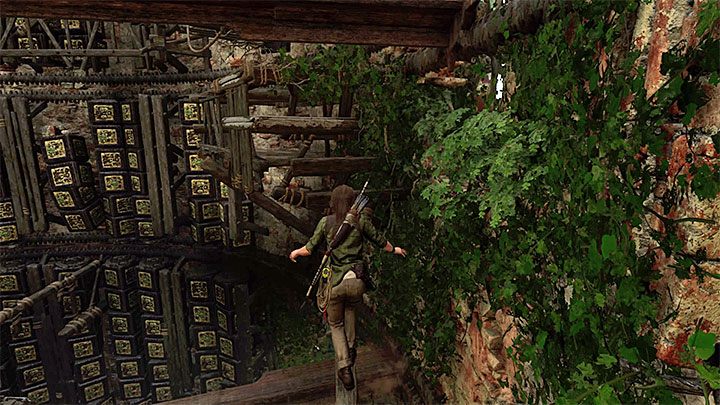
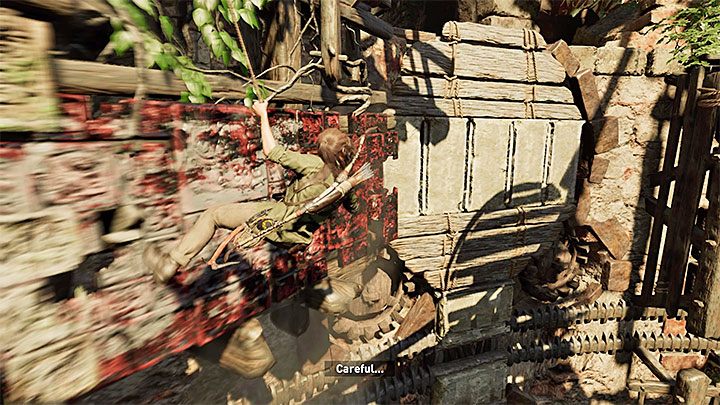
Not long after you start the puzzle, you'll need to grab the ledge seen on the picture above and proceed to the side.
One more problematic spot is shown on the picture above. After Lara gets to a climbing wall, she'll need to rappel down in the rope and reach platform beneath her.
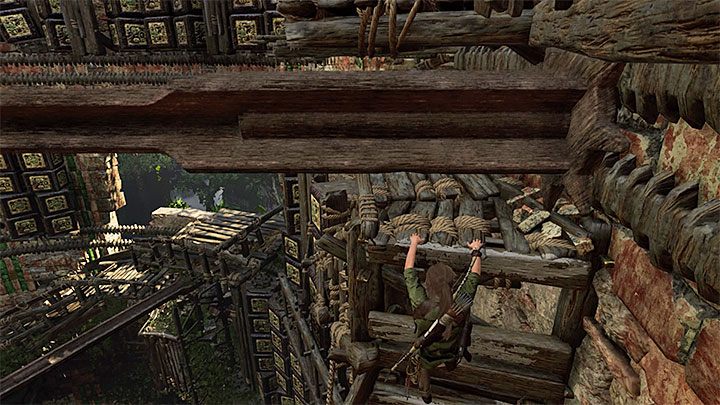
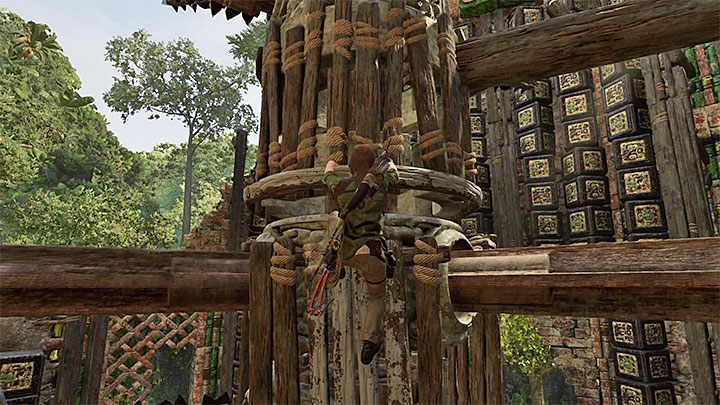
Jump on the marked wall (you'll need to rebound from the other surface to be able to grab the higher ledge). Begin climbing and move to the right to find yourself on the outside of the tower
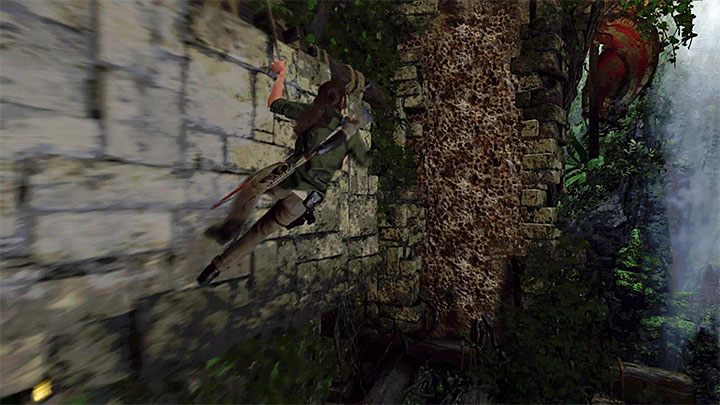
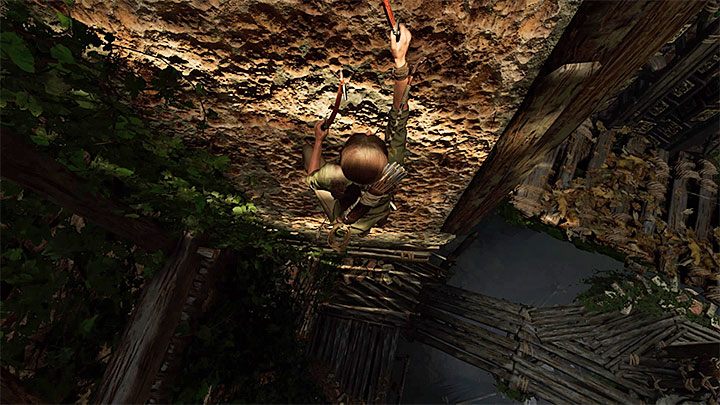
Lara will reach a new climbing wall. After you "stick" to it, start rappelling down, and lower yourself as much as you can. Now, run across the wall to gain momentum. This will enable you to jump onto the next climbing wall, shown on the picture above.
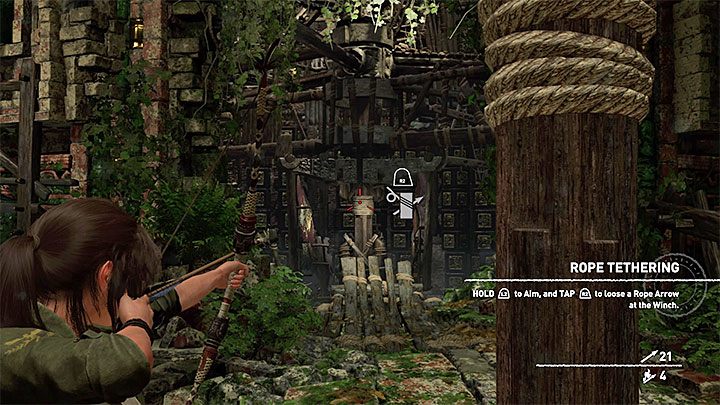
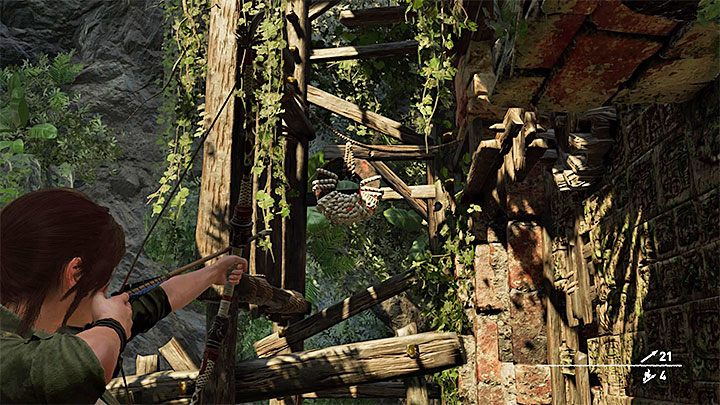
Climb to the top, and you'll find yourself near a structure resembling a sail. Position yourself near the sail and aim at the rope coil shown on the picture. This will open a passage to proceed.
Second part of the puzzle - reaching the second sail
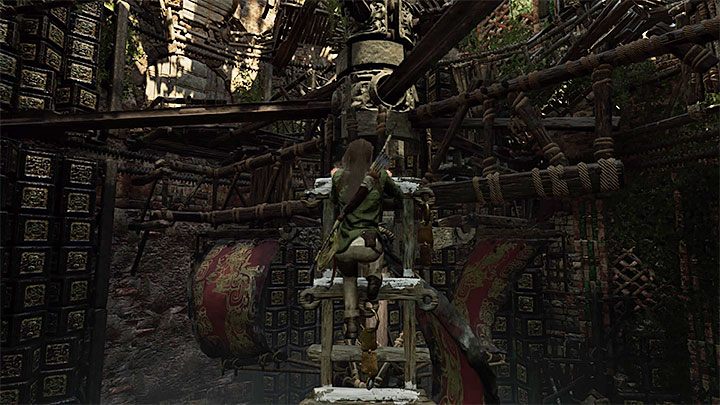
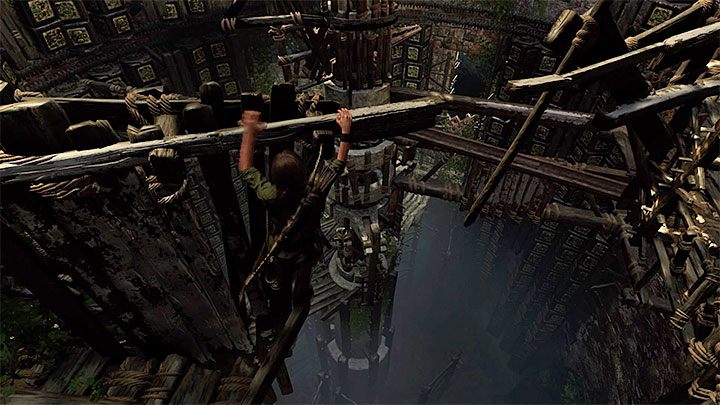
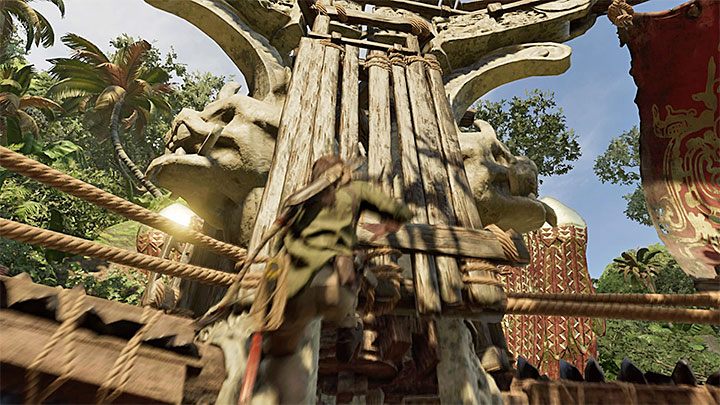
Approach the rotating central structure. You'll need to jump on the depicted ladder at the moment when it is located right in front of Lara.
Climb on the beam, but watch out for the mechanisms. Avoid them, as any direct contact may kill Lara. You'll need to reach the rotating structure on the wall of the tower, which is shown on the picture above. Wait for it to stop in a position, which will allow you to climb it, and quickly proceed.
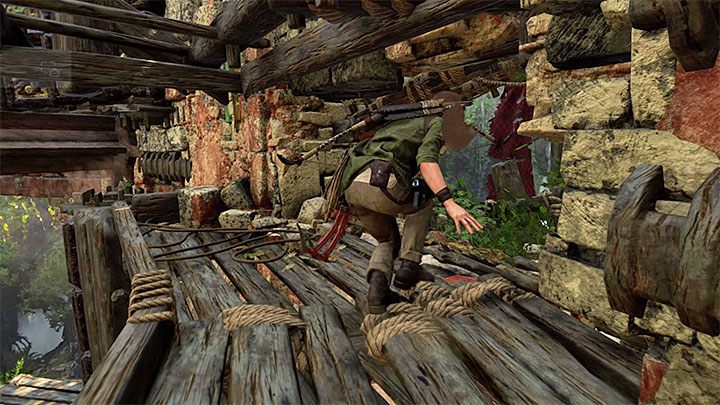
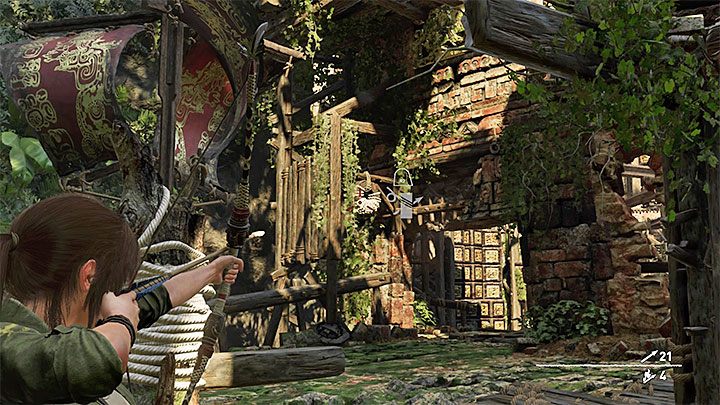
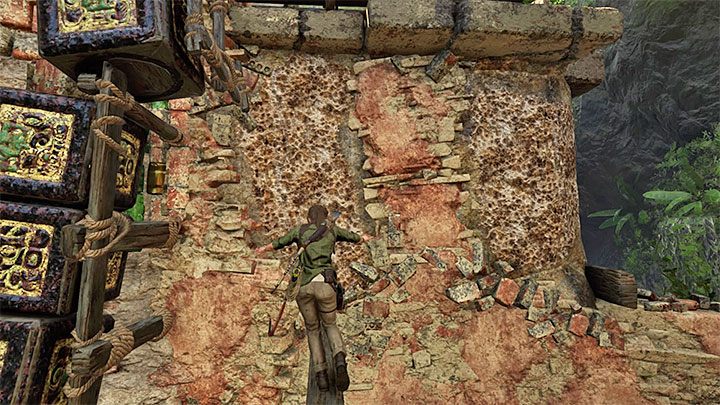
Having reached a larger shelf, proceed across the beam and jump in the spot shown on the picture. Lara will spot another sail behind the damaged wall, but you won't get through at this point.
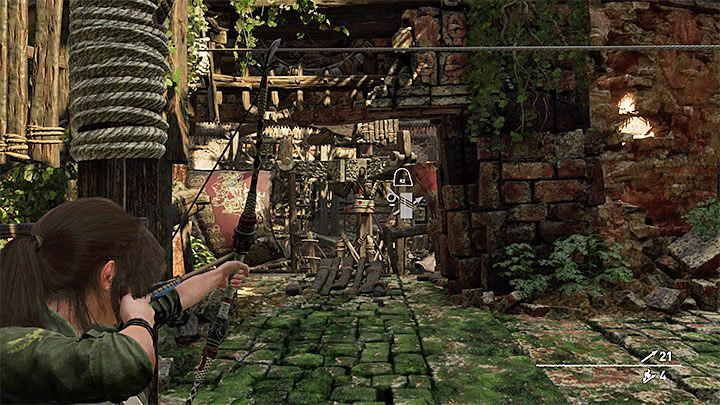
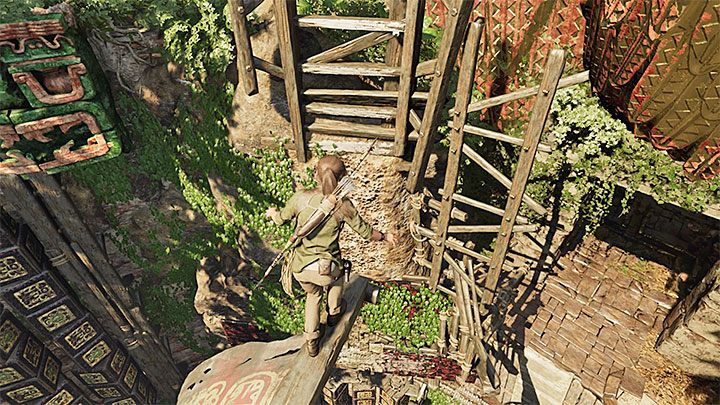
Jump on the new ledge, but don't climb on top just yet, as there is a working mechanism there - shown on picture 1. Wait until it passes Lara, and only the climb and quickly reach the hole to the right, shown in the picture 2. You are now near the second sail.
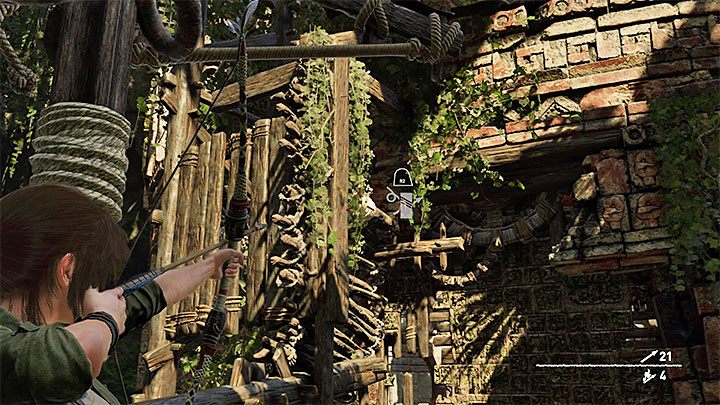
Stand near the sail and aim at the rope coil shown on the picture. This will destroy part of the wooden construction.
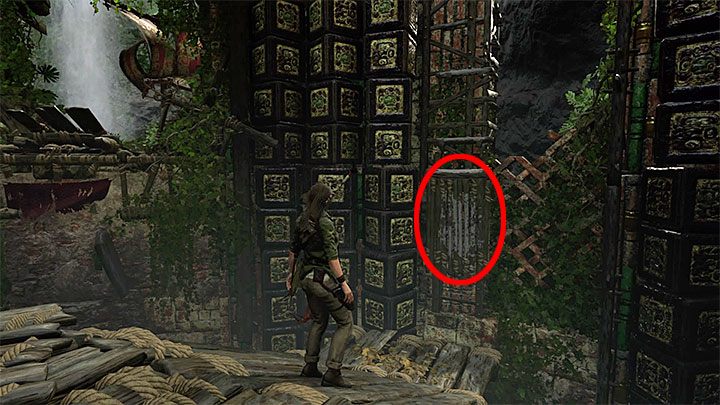
Examine the damaged exterior section of the tower, and you will find a round lever, shown on the picture above. You can hit it with a rope arrow. Lara will pull the lever and open (unfortunately only for a short time) and passage on the right.
Now, you'll need to act quickly, as the lever will soon return to its default position, and the passage on the right will close.
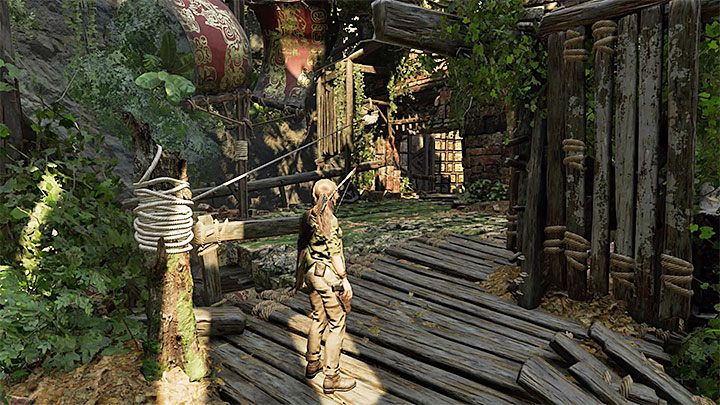
Reach the rope coil to left of the sail, and shoot the lever from there with a rope arrow (picture 1). By combining these two actions, you will be able to secure the lever in the correct position and the passage will be permanently opened (picture 2).
Now you can once again stan near the sail. This time, aim your arrow at the rope coil in the center section of the tower - shown on the picture above. Only the third, final section of the puzzle remains.
Third part of the puzzle - reaching the main tower exit
Same as previously, wait for a good moment to jump on one of the ladder on the central mechanism. Climb it, and jump on the center of the device.
Move across the beam and the two climbing walls depicted on the screenshot. Remember about pressing the climbing ace button.
Having reached the highest shelf, walk across another beam and jump on the ledge near the red section of the central structure. Now, wait for the right moment to jump to the two higher ledges (see the picture).
Climb the top beam and go to its end. Wait until you are close the climbing wall depicted on the picture, and perform a long jump (using the grappling axe).
Rappel down using the rope and start running across the wall. You'll need to jump on the ledges located on your right.

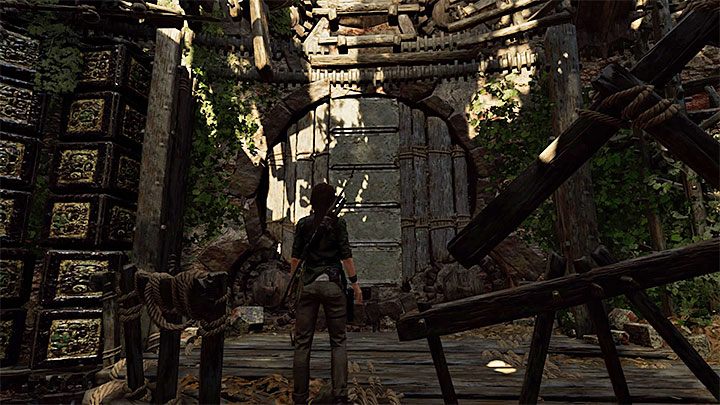
Part of the structure will crumble, but it's a scripted event. Have Lara climb, and she will reach the exit, as shown on the picture.
Reaching the Hidden City area
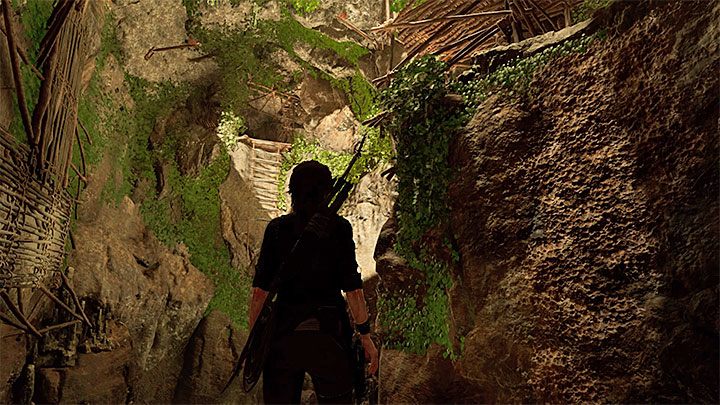
Take the narrow path, which leads the character to a new climbing wall. Jump towards it and use the axe. Climb the wooden structure, face the ladder, and jump on it.
Use the new passage, leading to a mountain camp (Quipo Overlook). It's an entirely new game location, presented on another page of the walkthrough.

You are not permitted to copy any image, text or info from this page. This site is not associated with and/or endorsed by the developers and the publishers. All logos and images are copyrighted by their respective owners.
Copyright © 2000 - 2026 Webedia Polska SA for gamepressure.com, unofficial game guides, walkthroughs, secrets, game tips, maps & strategies for top games.