Dark Souls: Anor Londo - p. 2
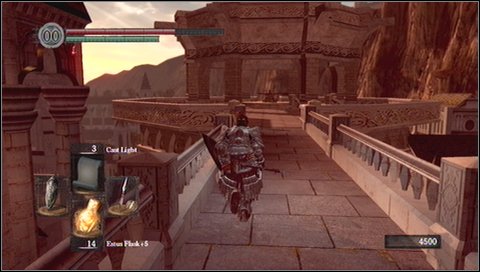
When you get to end of the bay, jump down on the balcony below.

Inside the cathedral, fight with two white ninjas (one will jump from above). Your opponents are similar to enemies from Undead Burg.
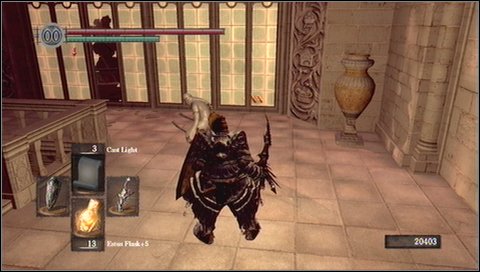
Now shoot the chain of the chandelier - an item which hangs on it, will fall down (you will collect it later on the way to Painted World of Ariamis).

Go up the ladder.

Now prepare for quite problematic fragment - you have to walk over narrow boards and fighting ninjas same time. It is best to lure them one by one and defeat carefully, parrying their blows with a shield.
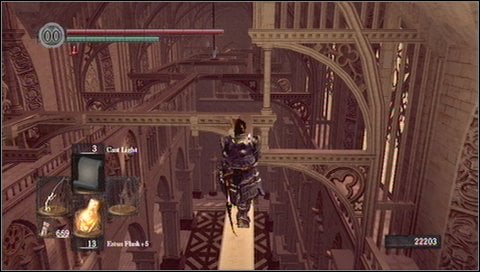
A problem with ninjas lies in fact, that opponents will throw arrows at you from a distance. So you have to raise your shield and slowly approach them. In the fight on boards you might use the spear because then you attack in front of you and do not move during strokes (so you do not risk falling down).
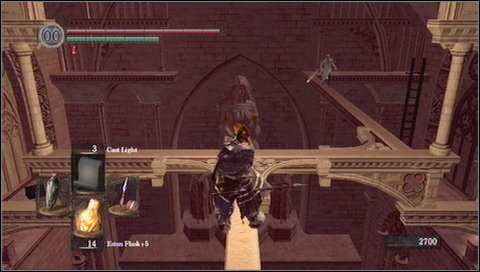
On the other side go down the ladder.
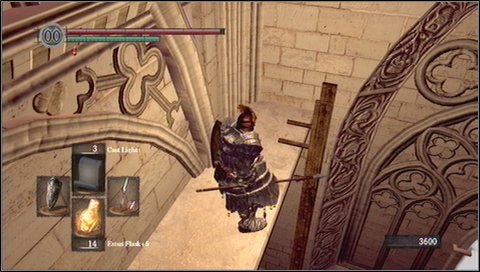
Use the foggy passage on the left.
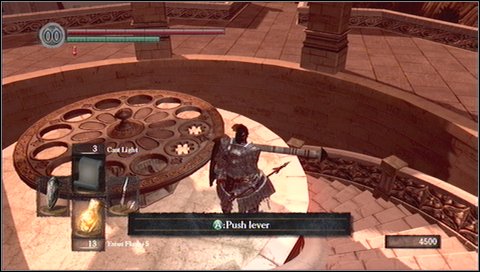
Run inside another elevator and activate it.
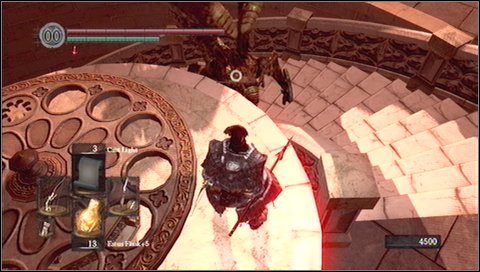
You'll have to deal with another Gargoyle.
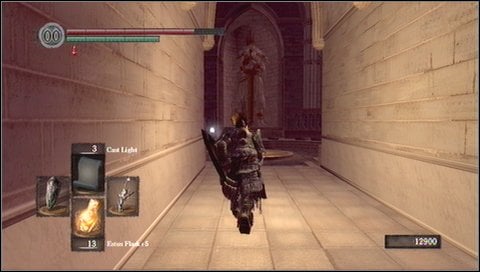
Try to use elevator to get as low as possible. From here you can enter the lower level of the cathedral, where you previously were walking under the ceiling. There is a huge painting there - if you possess Peculiar/Strange Doll, you can enter the secret location (a doll can be found in the cell, where you start a game after return to Undead Asylum). But this is an optional place - you should be interested in the lower part.
Go down the stairs next to the elevator. You'll get to a smaller chamber with the bonfire. Light it on and pick up Ring of The Sun's Firstborn. It is worth noting that from this place you can go to the boss Gwyndolin and leader of Covenant - Blade of the Dark Moon. But in order to get there, you have to put on Darkmoon Seance Ring (you'll find it in Catacombs).
Go back to the elevator and place it in the middle position. Now move down towards the large stairs.
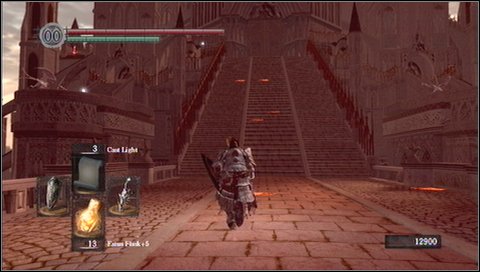
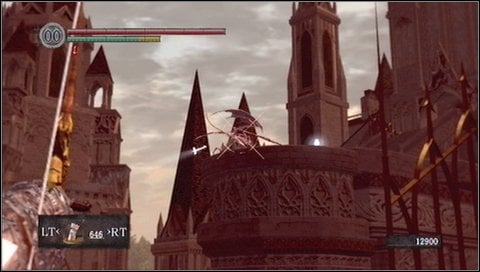
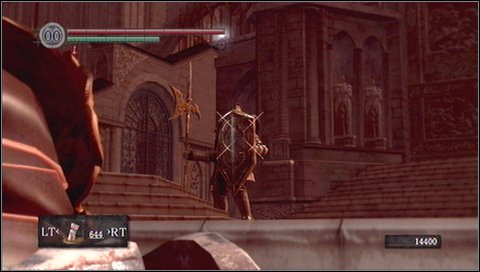
When you going up the stairs, it is worth to shoot pink gargoyles visible on the left and right towers - some of them are so stupid that they will fall down.
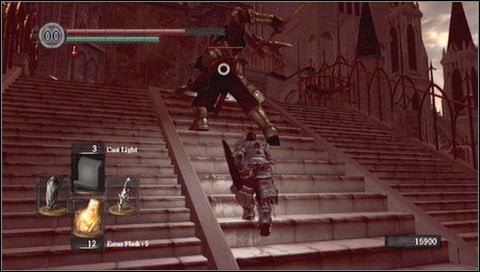
At the top of the stairs, in front of the door, you'll encounter two mighty knights. You have to lure them out one by one and kill them. They are powerful but also slow - so stay behind them, dodging or blocking their attacks (if possible).
At all costs avoid a strike with the shield to the ground. After this blow you can inflict a lot of damage to your enemy, because he is completely exposed for a while.

- Dark Souls Game Guide & Walkthrough
- Dark Souls: Game Guide
- Dark Souls: Walkthrough
- Dark Souls: In which order should you visit locations?
- Dark Souls: Undead Asylum
- Dark Souls: Firelink Shrine
- Dark Souls: Firelink Shrine -> Undead Burg
- Dark Souls: Undead Burg - p. 1
- Dark Souls: Undead Burg - p. 2
- Dark Souls: Undead Burg - A bridge with Wyvern
- Dark Souls: Undead Parish - p. 1
- Dark Souls: Undead Parish - p. 2
- Dark Souls: Undead Parish - p. 3
- Dark Souls: Undead Burg -> Depths
- Dark Souls: Depths - p. 1
- Dark Souls: Depths - p. 2
- Dark Souls: Depths - p. 3
- Dark Souls: Blighttown - p. 1
- Dark Souls: Blighttown - p. 2
- Dark Souls: Blighttown - p. 3
- Dark Souls: Blighttown - Swamps
- Dark Souls: Blighttown -> Quelaag's Domain
- Dark Souls: Darkroot Garden - p. 1
- Dark Souls: Darkroot Garden - p. 2
- Dark Souls: Darkroot Basin
- Dark Souls: Sen's Fortress - p. 1
- Dark Souls: Sen's Fortress - p. 2
- Dark Souls: Sen's Fortress - p. 3
- Dark Souls: Sen's Fortress - p. 4
- Dark Souls: Sen's Fortress - p. 5
- Dark Souls: Anor Londo - p. 1
- Dark Souls: Anor Londo - p. 2
- Dark Souls: Anor Londo - p. 3
- Dark Souls: Anor Londo - p. 4
- Dark Souls: Anor Londo - p. 5
- Dark Souls: Anor Londo - p. 6
- Dark Souls: Lordvessel
- Dark Souls: Darkroot Basin -> Darkroot Garden II
- Dark Souls: Darkroot Garden II
- Dark Souls: New Londo Ruins - p. 1
- Dark Souls: New Londo Ruins - p. 2
- Dark Souls: New Londo Ruins - Lower level
- Dark Souls: The Catacombs - p. 1
- Dark Souls: The Catacombs - p. 2
- Dark Souls: The Catacombs - p. 3
- Dark Souls: Tomb of Giants - p. 1
- Dark Souls: Tomb of Giants - p. 2
- Dark Souls: Demon Ruins - p. 1
- Dark Souls: Demon Ruins - p. 2
- Dark Souls: Lost Izalith - p. 1
- Dark Souls: Lost Izalith - p. 2
- Dark Souls: The Duke's Archives - p. 1
- Dark Souls: The Duke's Archives - p. 2
- Dark Souls: The Duke's Archives - Prison
- Dark Souls: The Duke's Archives II - p. 1
- Dark Souls: The Duke's Archives II - p. 2
- Dark Souls: Crystal Cave
- Dark Souls: Kiln of the First Flame
- Dark Souls: Two game endings
- Dark Souls: Bonus - Valley of Drakes
- Dark Souls: Bonus - The Great Hollow
- Dark Souls: Bonus - Ash Lake
- Dark Souls: Bonus - Painted World of Ariamis - p. 1
- Dark Souls: Bonus - Painted World of Ariamis - p. 2
- Dark Souls: Bonus - Painted World of Ariamis - p. 3
- Dark Souls: Walkthrough
- Dark Souls: Game Guide
You are not permitted to copy any image, text or info from this page. This site is not associated with and/or endorsed by the developers and the publishers. All logos and images are copyrighted by their respective owners.
Copyright © 2000 - 2026 Webedia Polska SA for gamepressure.com, unofficial game guides, walkthroughs, secrets, game tips, maps & strategies for top games.