Dark Souls: The Duke's Archives - Prison
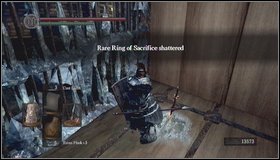 |  |
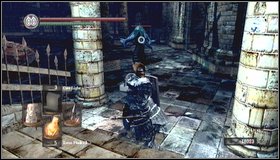
After death you'll find yourself in a prison cell. Light on fire. [1] Kill monsters lurking in the cell. [2]
Then attack a lizard leaning on a grate on the other side and pick up the key.
 | 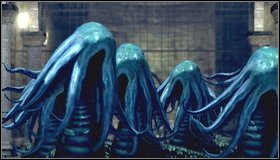 |
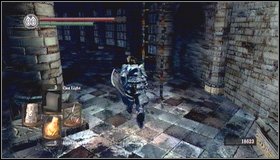
After leaving the cell you'll see a cutscene, in which another Lizard starts some kind of mechanism. [1] Octopuses appear from the bottom. [2]
 |  |
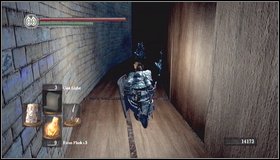
These enemies are dangerous in a direct combat, but also have one trait - they run towards only when you're in the main corridor. [1] So you could hide from them in a cell and kill them using a bow. Of course you can go outside to lure them closer if needed. [2]
 |  |
After killing closest octopuses, you can go up and climb the ladder. [1]
 |  |
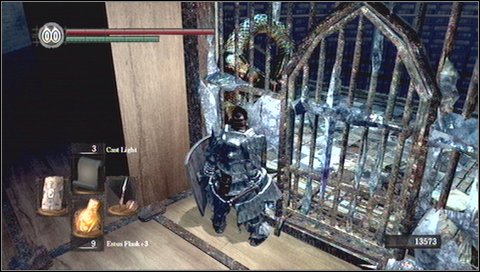
The exit door is closed (a key is located at the very bottom), but from this place you can go to wooden walkway and jump down to a lower platform. [1] Inside the cell you'll find Maiden set and White Seance Ring. [2]
 |  |
After picking up the item run down, watching out for octopuses (they can notice you). Use the key to one of the cell under your starting place [1] - inside you'll encounter an enemy. [2]
 |  |
Another cell below is closed. So go to the third cell from your starting cell. [1] Inside you can down from the ledge to a lower part of the prison. [2]
Kill enemy there and take another key. It can be used to open a cell above (you'll find a soul there).
Your next task is to get to a walkway with the mechanism guarded by Lizards.
 |  |
At the bottom you can fight with octopuses (be very careful because you'll die if they catch you!) [1] or ignore them and climb up the ladder. [2]
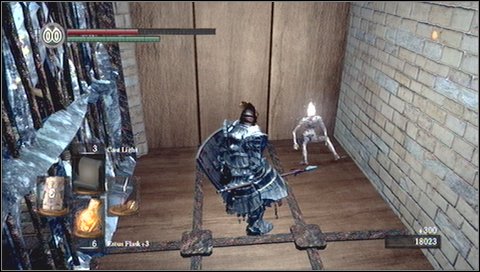
Once you get to the top, watch out - there are two warriors and a mage.
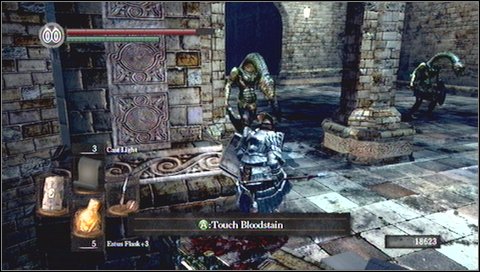
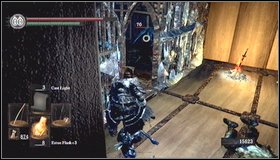
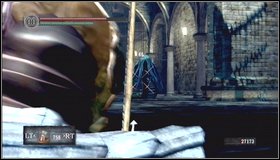
 | ![After killing them, take a key to the door at the very top (from the chest) [1] and turn off the alarm to calm down octopuses - The Dukes Archives - Prison | Walkthrough - Walkthrough - Dark Souls Game Guide & Walkthrough](/darksouls/gfx/word/468641468.jpg) |
After killing them, take a key to the door at the very top (from the chest) [1] and turn off the alarm to calm down octopuses. [2]
 |  |
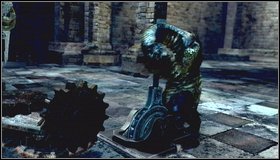
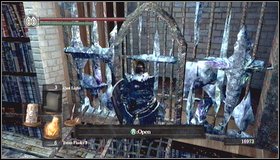
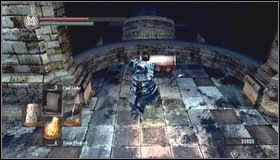
Alternatively you can kill all monsters to get to their chamber. The easiest way is to use a bow to shoot them. [1] Two such enemies drop miracles Bountiful Sunlight and Soothing Sunlight. A grate in the beast chamber can be opened with the key, which you'll find later next to the entrance to Crystal Cave (so you'll have to go back). [2]
Exit through the door at the top.

- Dark Souls Game Guide & Walkthrough
- Dark Souls: Game Guide
- Dark Souls: Walkthrough
- Dark Souls: In which order should you visit locations?
- Dark Souls: Undead Asylum
- Dark Souls: Firelink Shrine
- Dark Souls: Firelink Shrine -> Undead Burg
- Dark Souls: Undead Burg - p. 1
- Dark Souls: Undead Burg - p. 2
- Dark Souls: Undead Burg - A bridge with Wyvern
- Dark Souls: Undead Parish - p. 1
- Dark Souls: Undead Parish - p. 2
- Dark Souls: Undead Parish - p. 3
- Dark Souls: Undead Burg -> Depths
- Dark Souls: Depths - p. 1
- Dark Souls: Depths - p. 2
- Dark Souls: Depths - p. 3
- Dark Souls: Blighttown - p. 1
- Dark Souls: Blighttown - p. 2
- Dark Souls: Blighttown - p. 3
- Dark Souls: Blighttown - Swamps
- Dark Souls: Blighttown -> Quelaag's Domain
- Dark Souls: Darkroot Garden - p. 1
- Dark Souls: Darkroot Garden - p. 2
- Dark Souls: Darkroot Basin
- Dark Souls: Sen's Fortress - p. 1
- Dark Souls: Sen's Fortress - p. 2
- Dark Souls: Sen's Fortress - p. 3
- Dark Souls: Sen's Fortress - p. 4
- Dark Souls: Sen's Fortress - p. 5
- Dark Souls: Anor Londo - p. 1
- Dark Souls: Anor Londo - p. 2
- Dark Souls: Anor Londo - p. 3
- Dark Souls: Anor Londo - p. 4
- Dark Souls: Anor Londo - p. 5
- Dark Souls: Anor Londo - p. 6
- Dark Souls: Lordvessel
- Dark Souls: Darkroot Basin -> Darkroot Garden II
- Dark Souls: Darkroot Garden II
- Dark Souls: New Londo Ruins - p. 1
- Dark Souls: New Londo Ruins - p. 2
- Dark Souls: New Londo Ruins - Lower level
- Dark Souls: The Catacombs - p. 1
- Dark Souls: The Catacombs - p. 2
- Dark Souls: The Catacombs - p. 3
- Dark Souls: Tomb of Giants - p. 1
- Dark Souls: Tomb of Giants - p. 2
- Dark Souls: Demon Ruins - p. 1
- Dark Souls: Demon Ruins - p. 2
- Dark Souls: Lost Izalith - p. 1
- Dark Souls: Lost Izalith - p. 2
- Dark Souls: The Duke's Archives - p. 1
- Dark Souls: The Duke's Archives - p. 2
- Dark Souls: The Duke's Archives - Prison
- Dark Souls: The Duke's Archives II - p. 1
- Dark Souls: The Duke's Archives II - p. 2
- Dark Souls: Crystal Cave
- Dark Souls: Kiln of the First Flame
- Dark Souls: Two game endings
- Dark Souls: Bonus - Valley of Drakes
- Dark Souls: Bonus - The Great Hollow
- Dark Souls: Bonus - Ash Lake
- Dark Souls: Bonus - Painted World of Ariamis - p. 1
- Dark Souls: Bonus - Painted World of Ariamis - p. 2
- Dark Souls: Bonus - Painted World of Ariamis - p. 3
- Dark Souls: Walkthrough
- Dark Souls: Game Guide
You are not permitted to copy any image, text or info from this page. This site is not associated with and/or endorsed by the developers and the publishers. All logos and images are copyrighted by their respective owners.
Copyright © 2000 - 2026 Webedia Polska SA for gamepressure.com, unofficial game guides, walkthroughs, secrets, game tips, maps & strategies for top games.