Dark Souls: Bonus - Painted World of Ariamis - p. 2
In the chamber below you'll find Painting Guardian Set (in the chest).
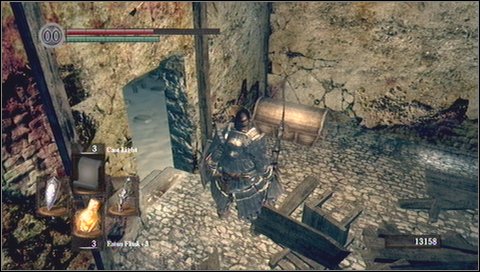
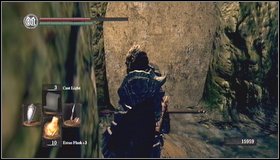
Return down and exit on the other side of the building. Run towards a round tower and go down over its left side.
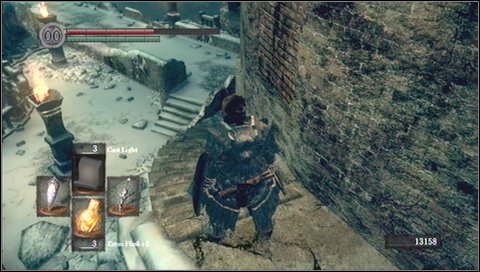
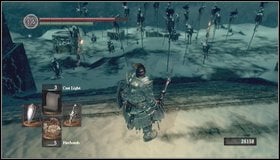
You'll encounter there human-like crow - kill him.
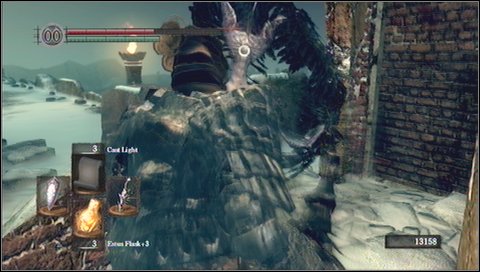
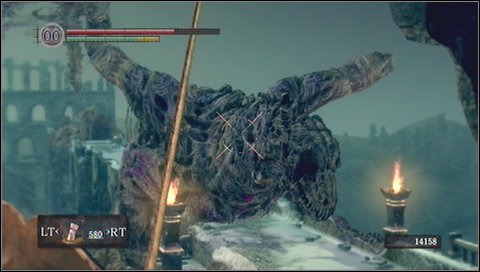
On the bridge in the distance you'll see an undead dragon. If you approach him, he will run on you furiously. Retreat.
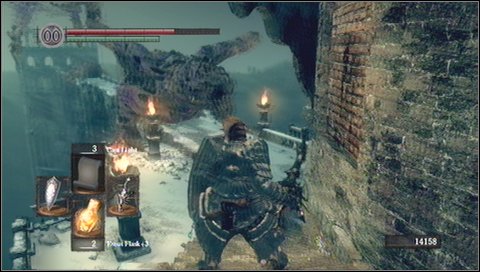
It is best to kill him with a bow but you need much patience and many arrows. On the bridge guarded by the dragon you'll find Bloodshield among other things.
 |  |
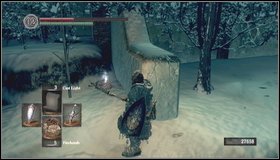
Now go down to the lower part of the round tower. [1] Go through fog there. [2]
Behind fog you'll encounter a large group of monsters with shields and spears (Phalanx). You have to attack them from side or back - and you have to be very careful because there are many of them and repelling their attack might be very difficult. So you can go back and lure them towards the door or run outside and circle around them, hitting from time to time.
 |  |
From this place you can go in several directions. First head to the field with a corpse on a pole. Kill all enemies there and pick up souls. [1] Behind the wall you'll find a spell Pyromancy - Acid Surge. [2]
Next open the door on the left. You'll create a shortcut to the bonfire.

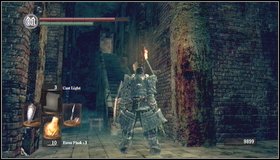 |  |
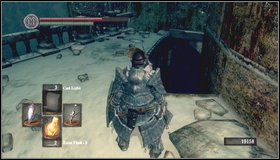
Return to the courtyard with Phalanx and use the side stairs. [1] Inside explore the outside part. [2]
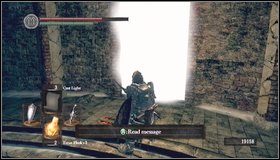
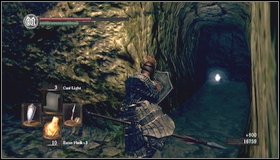
 | ![Then move deeper [1] until you find a ladder down - Bonus - Painted World of Ariamis - p. 2 | Walkthrough - Walkthrough - Dark Souls Game Guide & Walkthrough](/darksouls/gfx/word/469317421.jpg) |
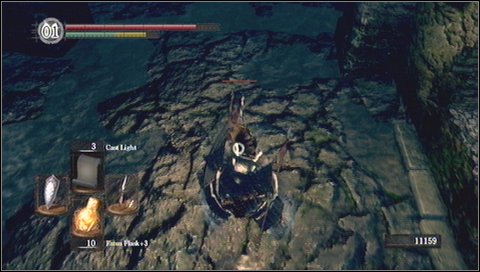
Then move deeper [1] until you find a ladder down. [2]
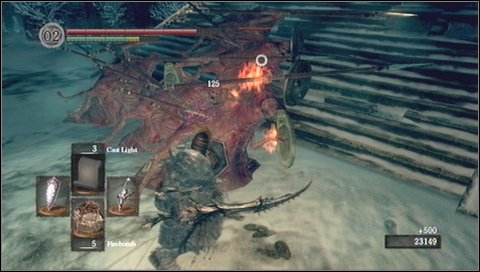
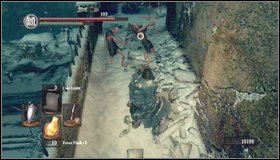
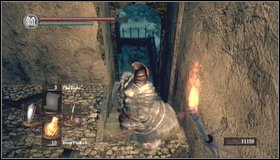
At the bottom you'll find Pinwheels. Go slowly deeper to lure out single enemies. It is best to pin them to wall.
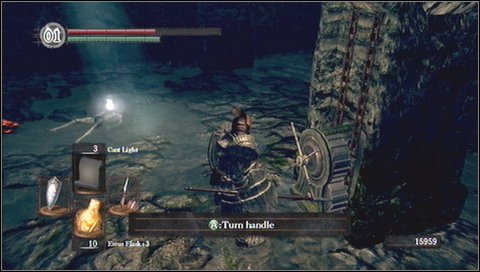
After eliminating enemies, pick up items and use the reel on one of the columns.
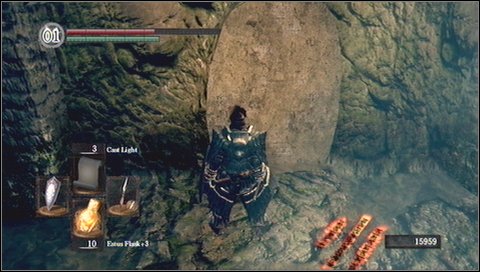
Next to the mechanism you'll find a hidden passage - hit the wall to open it.
 |  |
Inside the tunnel look for another secret passage to the right. [1] If you go this path along the right wall, you'll encounter next Pinwheel and an item - Annex Key. [2]

- Dark Souls Game Guide & Walkthrough
- Dark Souls: Game Guide
- Dark Souls: Walkthrough
- Dark Souls: In which order should you visit locations?
- Dark Souls: Undead Asylum
- Dark Souls: Firelink Shrine
- Dark Souls: Firelink Shrine -> Undead Burg
- Dark Souls: Undead Burg - p. 1
- Dark Souls: Undead Burg - p. 2
- Dark Souls: Undead Burg - A bridge with Wyvern
- Dark Souls: Undead Parish - p. 1
- Dark Souls: Undead Parish - p. 2
- Dark Souls: Undead Parish - p. 3
- Dark Souls: Undead Burg -> Depths
- Dark Souls: Depths - p. 1
- Dark Souls: Depths - p. 2
- Dark Souls: Depths - p. 3
- Dark Souls: Blighttown - p. 1
- Dark Souls: Blighttown - p. 2
- Dark Souls: Blighttown - p. 3
- Dark Souls: Blighttown - Swamps
- Dark Souls: Blighttown -> Quelaag's Domain
- Dark Souls: Darkroot Garden - p. 1
- Dark Souls: Darkroot Garden - p. 2
- Dark Souls: Darkroot Basin
- Dark Souls: Sen's Fortress - p. 1
- Dark Souls: Sen's Fortress - p. 2
- Dark Souls: Sen's Fortress - p. 3
- Dark Souls: Sen's Fortress - p. 4
- Dark Souls: Sen's Fortress - p. 5
- Dark Souls: Anor Londo - p. 1
- Dark Souls: Anor Londo - p. 2
- Dark Souls: Anor Londo - p. 3
- Dark Souls: Anor Londo - p. 4
- Dark Souls: Anor Londo - p. 5
- Dark Souls: Anor Londo - p. 6
- Dark Souls: Lordvessel
- Dark Souls: Darkroot Basin -> Darkroot Garden II
- Dark Souls: Darkroot Garden II
- Dark Souls: New Londo Ruins - p. 1
- Dark Souls: New Londo Ruins - p. 2
- Dark Souls: New Londo Ruins - Lower level
- Dark Souls: The Catacombs - p. 1
- Dark Souls: The Catacombs - p. 2
- Dark Souls: The Catacombs - p. 3
- Dark Souls: Tomb of Giants - p. 1
- Dark Souls: Tomb of Giants - p. 2
- Dark Souls: Demon Ruins - p. 1
- Dark Souls: Demon Ruins - p. 2
- Dark Souls: Lost Izalith - p. 1
- Dark Souls: Lost Izalith - p. 2
- Dark Souls: The Duke's Archives - p. 1
- Dark Souls: The Duke's Archives - p. 2
- Dark Souls: The Duke's Archives - Prison
- Dark Souls: The Duke's Archives II - p. 1
- Dark Souls: The Duke's Archives II - p. 2
- Dark Souls: Crystal Cave
- Dark Souls: Kiln of the First Flame
- Dark Souls: Two game endings
- Dark Souls: Bonus - Valley of Drakes
- Dark Souls: Bonus - The Great Hollow
- Dark Souls: Bonus - Ash Lake
- Dark Souls: Bonus - Painted World of Ariamis - p. 1
- Dark Souls: Bonus - Painted World of Ariamis - p. 2
- Dark Souls: Bonus - Painted World of Ariamis - p. 3
- Dark Souls: Walkthrough
- Dark Souls: Game Guide
You are not permitted to copy any image, text or info from this page. This site is not associated with and/or endorsed by the developers and the publishers. All logos and images are copyrighted by their respective owners.
Copyright © 2000 - 2026 Webedia Polska SA for gamepressure.com, unofficial game guides, walkthroughs, secrets, game tips, maps & strategies for top games.