Dark Souls: Tomb of Giants - p. 2
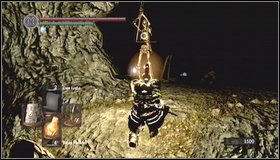 |  |
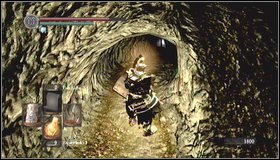
After killing both dogs, move towards and archer on the other side and kill him. [1] Go downstairs through the hole in the ground. [2]
 |  |
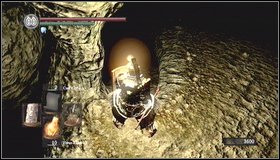
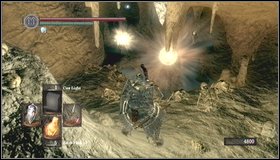
You'll get to the junction - if you go to the right, you'll reach a dead end with Effigy Shield. [1] Go opposite direction and head down. You'll find yourself in a place with 1 dog and one giant skeleton. Lure him out with an arrow and kill him. [2]
 |  |
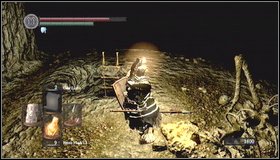
Now deal with a dog. Kill him [1] and head to the left. When you go past the rock, you'll find a bonfire. [2] Light it on and strengthen it.
 |  |
Leave the area with the bonfire and go down. [1] Unfortunately you have to eliminate a dog, lurking behind you. [2]
 |  |
Once you get down, pick up an item. [1] It is very likely that a skeleton above will notice you. [2]
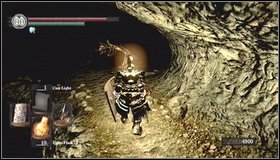 |  |
Kill one more dog on your way. [1] Move a little further and you'll see one more beast to the left - [2] you can ignore it though and turn to the right.
 |  |
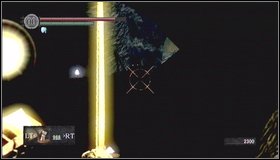
Go down the ramp. Turn back under the ramp and you'll get an optional item. [1] A further way leads down the ladder. [2]
You'll get to the lit part of the area. Run along the escarpment.
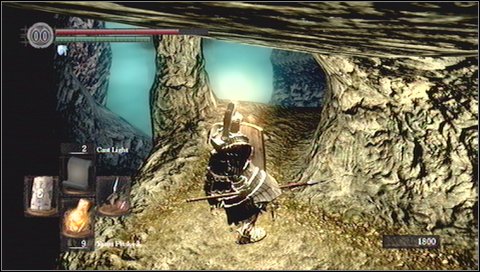
Turn right to the cavern.

 | 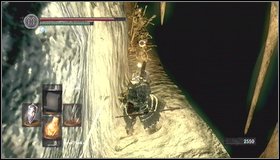 |
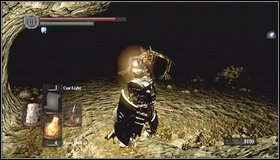
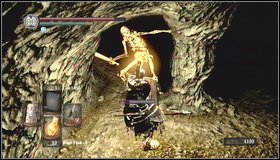
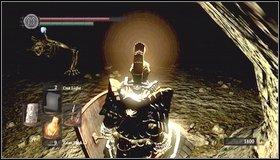
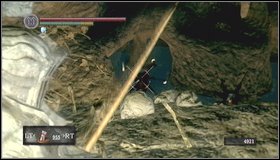
Inside you'll see bone towers and a skeleton archer in the distance. There will be also a skeleton with the sword next to the archer. [1] Move slowly forwards, eliminating towers - new enemies will jump out of the ground (also behind you). [2]
Watch out for two skeletons - it is best to kill an archer from the distance, to clear the field for fighting with swordsman (he won't attack you until you approach him).

 |  |
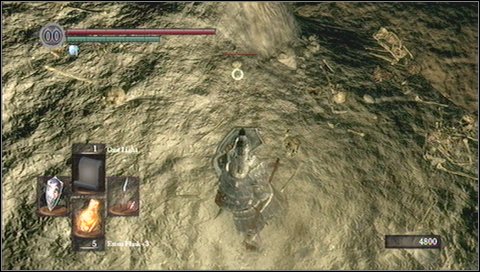
Enter the next section of the cavern - here you'll encounter smaller and weaker versions of Pinwheels. [1] If you have a good bow, you can kill them from a distance. [2] They cast rather weak spells.
Warning - Small skeletons will probably disturb your walk. Kill them because they are toxic. Local water is very specific - your every step creates more of them! So walk into water only if needed.
 |  |
Move forwards along the left wall. [1] You can go down to collect an item lying in the water behind the rock. [2]
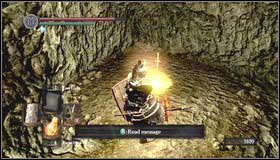
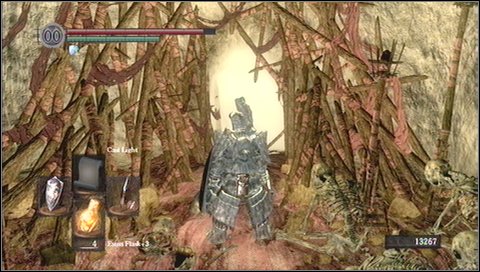
Keep going until you reach a passage covered with fog. Behind it you'll find the boss Nito.

- Dark Souls Game Guide & Walkthrough
- Dark Souls: Game Guide
- Dark Souls: Walkthrough
- Dark Souls: In which order should you visit locations?
- Dark Souls: Undead Asylum
- Dark Souls: Firelink Shrine
- Dark Souls: Firelink Shrine -> Undead Burg
- Dark Souls: Undead Burg - p. 1
- Dark Souls: Undead Burg - p. 2
- Dark Souls: Undead Burg - A bridge with Wyvern
- Dark Souls: Undead Parish - p. 1
- Dark Souls: Undead Parish - p. 2
- Dark Souls: Undead Parish - p. 3
- Dark Souls: Undead Burg -> Depths
- Dark Souls: Depths - p. 1
- Dark Souls: Depths - p. 2
- Dark Souls: Depths - p. 3
- Dark Souls: Blighttown - p. 1
- Dark Souls: Blighttown - p. 2
- Dark Souls: Blighttown - p. 3
- Dark Souls: Blighttown - Swamps
- Dark Souls: Blighttown -> Quelaag's Domain
- Dark Souls: Darkroot Garden - p. 1
- Dark Souls: Darkroot Garden - p. 2
- Dark Souls: Darkroot Basin
- Dark Souls: Sen's Fortress - p. 1
- Dark Souls: Sen's Fortress - p. 2
- Dark Souls: Sen's Fortress - p. 3
- Dark Souls: Sen's Fortress - p. 4
- Dark Souls: Sen's Fortress - p. 5
- Dark Souls: Anor Londo - p. 1
- Dark Souls: Anor Londo - p. 2
- Dark Souls: Anor Londo - p. 3
- Dark Souls: Anor Londo - p. 4
- Dark Souls: Anor Londo - p. 5
- Dark Souls: Anor Londo - p. 6
- Dark Souls: Lordvessel
- Dark Souls: Darkroot Basin -> Darkroot Garden II
- Dark Souls: Darkroot Garden II
- Dark Souls: New Londo Ruins - p. 1
- Dark Souls: New Londo Ruins - p. 2
- Dark Souls: New Londo Ruins - Lower level
- Dark Souls: The Catacombs - p. 1
- Dark Souls: The Catacombs - p. 2
- Dark Souls: The Catacombs - p. 3
- Dark Souls: Tomb of Giants - p. 1
- Dark Souls: Tomb of Giants - p. 2
- Dark Souls: Demon Ruins - p. 1
- Dark Souls: Demon Ruins - p. 2
- Dark Souls: Lost Izalith - p. 1
- Dark Souls: Lost Izalith - p. 2
- Dark Souls: The Duke's Archives - p. 1
- Dark Souls: The Duke's Archives - p. 2
- Dark Souls: The Duke's Archives - Prison
- Dark Souls: The Duke's Archives II - p. 1
- Dark Souls: The Duke's Archives II - p. 2
- Dark Souls: Crystal Cave
- Dark Souls: Kiln of the First Flame
- Dark Souls: Two game endings
- Dark Souls: Bonus - Valley of Drakes
- Dark Souls: Bonus - The Great Hollow
- Dark Souls: Bonus - Ash Lake
- Dark Souls: Bonus - Painted World of Ariamis - p. 1
- Dark Souls: Bonus - Painted World of Ariamis - p. 2
- Dark Souls: Bonus - Painted World of Ariamis - p. 3
- Dark Souls: Walkthrough
- Dark Souls: Game Guide
You are not permitted to copy any image, text or info from this page. This site is not associated with and/or endorsed by the developers and the publishers. All logos and images are copyrighted by their respective owners.
Copyright © 2000 - 2026 Webedia Polska SA for gamepressure.com, unofficial game guides, walkthroughs, secrets, game tips, maps & strategies for top games.