Dark Souls: Sen's Fortress - p. 2
You have to go up. Sprint towards stairs when the ball bypasses you.
When you get to the middle of the stairs, you'll see a foggy passage to the left. Hide there.
Before you enter fog, you might run up to the chamber guarded by a mage.

In the chamber you'll find a chest with Ring of Steel Protection.
Go back to fog and enter it. The first chamber is empty but in the next you'll find lurking lizard. Be careful, because there is a button in the floor between chambers, which activates arrow trap. You can use it to kill a lizard (just lure him out and flee - he will activate a trap).
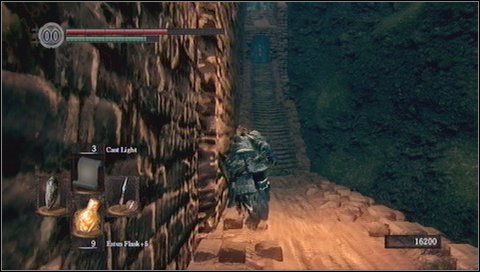
A bit further you'll get to the staircase, with the same giant ball as previously, rolling down.
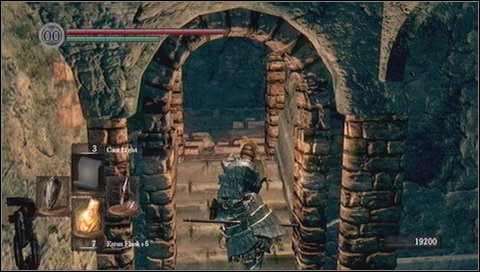
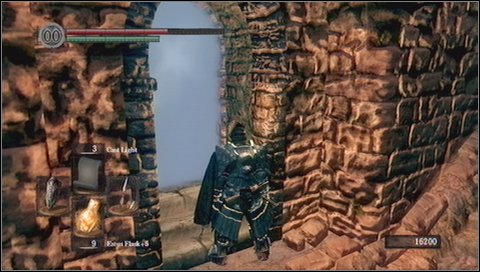
In this situation it is best to do like this: wait until ball passes you and quickly run the stairs up. Keep running until you reach a place with damaged column and then jump down next to it. You'll get to the lower platform guarded by a lizard mage.

Now enter the corridor with stairs. At its end you'll find Black Sorcerer set and spell Hush.

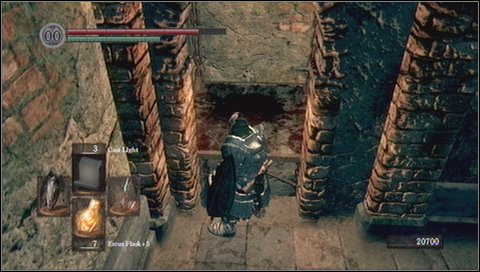
Now open the cell above and enter it. Then go to the left.

You'll see a ramp to a chamber, where giant rocks are loaded. You'll come back here soon. Now move forwards.

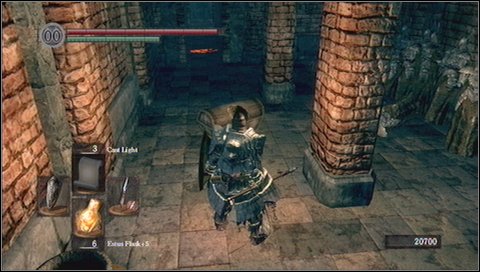
Move down the elevator, but only when it goes down, because there are spikes at the top!
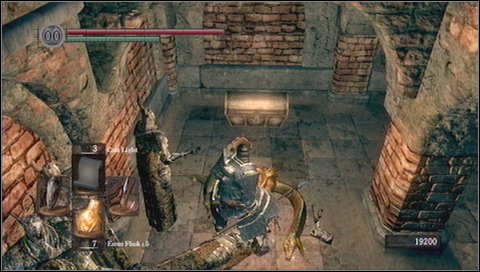
At the bottom you'll see a chest - DO NOT OPEN IT. It's a Mimic, monster. Attack the chest and fight it. His blows are very powerful, but he is slow. Surround him and block his attacks. For killing mimic you'll get Lighting Spear - very good weapon.
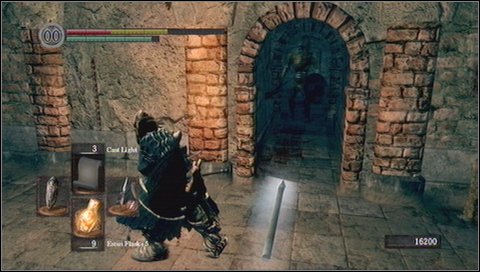
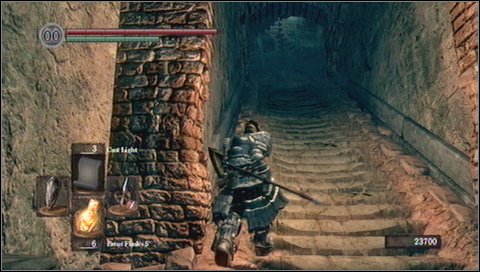
Go to the corridor with balls and turn left. Wait until balls fill a hole. The next rock will destroy the wall.

On the other side collect Covetous Gold Serpent Ring.

Now return to the place, which leads to a chamber where rock balls start their "journey" (use the elevator to go up).

- Dark Souls Game Guide & Walkthrough
- Dark Souls: Game Guide
- Dark Souls: Walkthrough
- Dark Souls: In which order should you visit locations?
- Dark Souls: Undead Asylum
- Dark Souls: Firelink Shrine
- Dark Souls: Firelink Shrine -> Undead Burg
- Dark Souls: Undead Burg - p. 1
- Dark Souls: Undead Burg - p. 2
- Dark Souls: Undead Burg - A bridge with Wyvern
- Dark Souls: Undead Parish - p. 1
- Dark Souls: Undead Parish - p. 2
- Dark Souls: Undead Parish - p. 3
- Dark Souls: Undead Burg -> Depths
- Dark Souls: Depths - p. 1
- Dark Souls: Depths - p. 2
- Dark Souls: Depths - p. 3
- Dark Souls: Blighttown - p. 1
- Dark Souls: Blighttown - p. 2
- Dark Souls: Blighttown - p. 3
- Dark Souls: Blighttown - Swamps
- Dark Souls: Blighttown -> Quelaag's Domain
- Dark Souls: Darkroot Garden - p. 1
- Dark Souls: Darkroot Garden - p. 2
- Dark Souls: Darkroot Basin
- Dark Souls: Sen's Fortress - p. 1
- Dark Souls: Sen's Fortress - p. 2
- Dark Souls: Sen's Fortress - p. 3
- Dark Souls: Sen's Fortress - p. 4
- Dark Souls: Sen's Fortress - p. 5
- Dark Souls: Anor Londo - p. 1
- Dark Souls: Anor Londo - p. 2
- Dark Souls: Anor Londo - p. 3
- Dark Souls: Anor Londo - p. 4
- Dark Souls: Anor Londo - p. 5
- Dark Souls: Anor Londo - p. 6
- Dark Souls: Lordvessel
- Dark Souls: Darkroot Basin -> Darkroot Garden II
- Dark Souls: Darkroot Garden II
- Dark Souls: New Londo Ruins - p. 1
- Dark Souls: New Londo Ruins - p. 2
- Dark Souls: New Londo Ruins - Lower level
- Dark Souls: The Catacombs - p. 1
- Dark Souls: The Catacombs - p. 2
- Dark Souls: The Catacombs - p. 3
- Dark Souls: Tomb of Giants - p. 1
- Dark Souls: Tomb of Giants - p. 2
- Dark Souls: Demon Ruins - p. 1
- Dark Souls: Demon Ruins - p. 2
- Dark Souls: Lost Izalith - p. 1
- Dark Souls: Lost Izalith - p. 2
- Dark Souls: The Duke's Archives - p. 1
- Dark Souls: The Duke's Archives - p. 2
- Dark Souls: The Duke's Archives - Prison
- Dark Souls: The Duke's Archives II - p. 1
- Dark Souls: The Duke's Archives II - p. 2
- Dark Souls: Crystal Cave
- Dark Souls: Kiln of the First Flame
- Dark Souls: Two game endings
- Dark Souls: Bonus - Valley of Drakes
- Dark Souls: Bonus - The Great Hollow
- Dark Souls: Bonus - Ash Lake
- Dark Souls: Bonus - Painted World of Ariamis - p. 1
- Dark Souls: Bonus - Painted World of Ariamis - p. 2
- Dark Souls: Bonus - Painted World of Ariamis - p. 3
- Dark Souls: Walkthrough
- Dark Souls: Game Guide
You are not permitted to copy any image, text or info from this page. This site is not associated with and/or endorsed by the developers and the publishers. All logos and images are copyrighted by their respective owners.
Copyright © 2000 - 2026 Webedia Polska SA for gamepressure.com, unofficial game guides, walkthroughs, secrets, game tips, maps & strategies for top games.