Dark Souls: Demon Ruins - p. 2
Under the centipede you'll find a bonfire - light it on. Warning: remember that after lighting the bonfire, Capra Demons will return. So from this position you'll have to kill one of them in order to go further.
 |  |
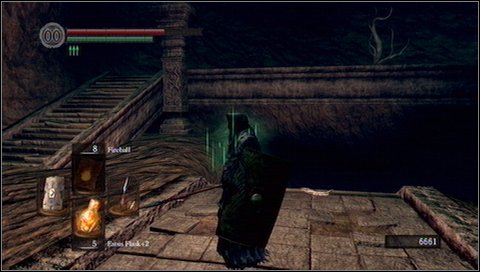
Run down the stairs towards a foggy passage. [1] Fight more statues on your way. [2]
At the bottom Taurus will attack you - apply the same tactics as previously. Then retreat to the bridge, because there will be one more centipede coming from the right.
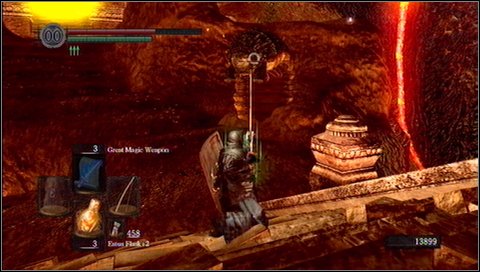
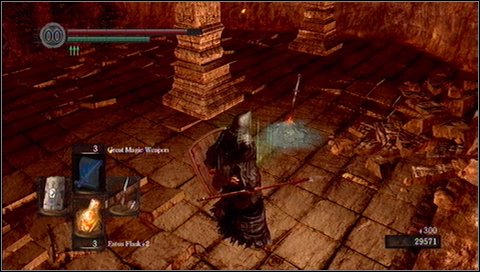
Kill the worm from a distance or in a melee fight.
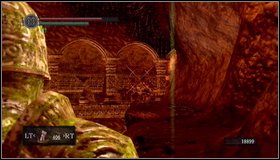 |  |
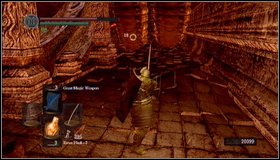
Right behind the bridge you'll find an optional path to the left. If you go there, you'll encounter 2 Tauruses and reach a corridor with several centipedes. At its end you'll find Large Flame Ember. [1] You can fight tauruses on the narrow path, if you can defend yourself against their attacks. In this case keep always next to the wall! [2]
 |  |
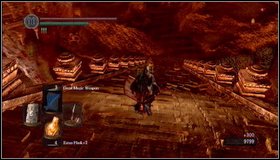
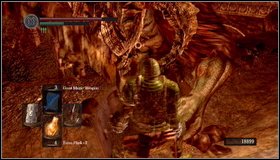
In a corridor behind Tauruses watch out for worms - there are several of them in total. [1] In case of problems, retreat and kill them with a bow. [2]
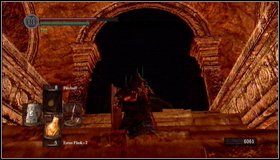 | 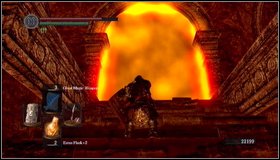 |
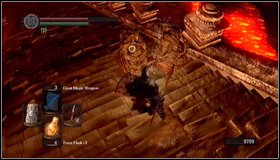
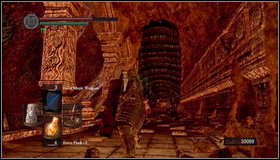
Go back to the main path and head towards fog. When you get near, you'll have to kill two more statues. [1] Now you're ready to fight with Demon Firesage. An orange fog (if you can see it) [2] can be removed by using Lordvessel obtained in Anor Londo! Check the description of this artifact.
 | Before the fight, you'll see a path to the right - you can pick up an item there. At the end of this road is a passage, available only for Chaos Servant Covenant members at level 2 (you must spend 30 Humanity). IF you go there, you can avoid two bosses, what is not a good idea, because you would miss their souls and items! |
Behind the demon chamber you'll encounter 2 more statues and the junction - stairs up and down. If you go up, you'll find a shortcut to chamber of Quelaag. Stairs down lead to another boss - Centipede Demon.
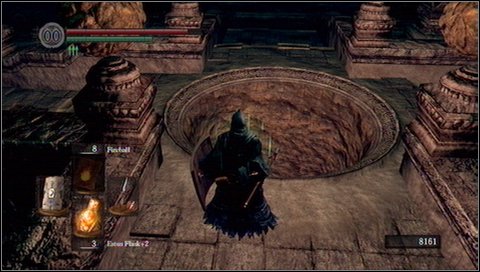
To activate a shortcut, you have to stand on the round elevator.
 |  |
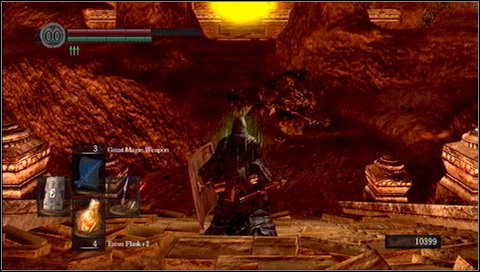
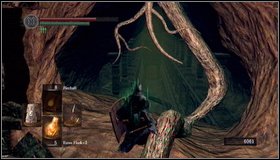
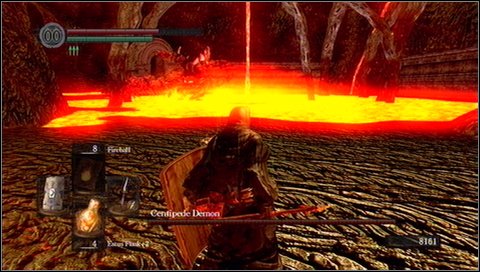
Go to the demon (down the stairs) and you'll find another bonfire. [1] To reach the beast, use the branch downward. [2]

- Dark Souls Game Guide & Walkthrough
- Dark Souls: Game Guide
- Dark Souls: Walkthrough
- Dark Souls: In which order should you visit locations?
- Dark Souls: Undead Asylum
- Dark Souls: Firelink Shrine
- Dark Souls: Firelink Shrine -> Undead Burg
- Dark Souls: Undead Burg - p. 1
- Dark Souls: Undead Burg - p. 2
- Dark Souls: Undead Burg - A bridge with Wyvern
- Dark Souls: Undead Parish - p. 1
- Dark Souls: Undead Parish - p. 2
- Dark Souls: Undead Parish - p. 3
- Dark Souls: Undead Burg -> Depths
- Dark Souls: Depths - p. 1
- Dark Souls: Depths - p. 2
- Dark Souls: Depths - p. 3
- Dark Souls: Blighttown - p. 1
- Dark Souls: Blighttown - p. 2
- Dark Souls: Blighttown - p. 3
- Dark Souls: Blighttown - Swamps
- Dark Souls: Blighttown -> Quelaag's Domain
- Dark Souls: Darkroot Garden - p. 1
- Dark Souls: Darkroot Garden - p. 2
- Dark Souls: Darkroot Basin
- Dark Souls: Sen's Fortress - p. 1
- Dark Souls: Sen's Fortress - p. 2
- Dark Souls: Sen's Fortress - p. 3
- Dark Souls: Sen's Fortress - p. 4
- Dark Souls: Sen's Fortress - p. 5
- Dark Souls: Anor Londo - p. 1
- Dark Souls: Anor Londo - p. 2
- Dark Souls: Anor Londo - p. 3
- Dark Souls: Anor Londo - p. 4
- Dark Souls: Anor Londo - p. 5
- Dark Souls: Anor Londo - p. 6
- Dark Souls: Lordvessel
- Dark Souls: Darkroot Basin -> Darkroot Garden II
- Dark Souls: Darkroot Garden II
- Dark Souls: New Londo Ruins - p. 1
- Dark Souls: New Londo Ruins - p. 2
- Dark Souls: New Londo Ruins - Lower level
- Dark Souls: The Catacombs - p. 1
- Dark Souls: The Catacombs - p. 2
- Dark Souls: The Catacombs - p. 3
- Dark Souls: Tomb of Giants - p. 1
- Dark Souls: Tomb of Giants - p. 2
- Dark Souls: Demon Ruins - p. 1
- Dark Souls: Demon Ruins - p. 2
- Dark Souls: Lost Izalith - p. 1
- Dark Souls: Lost Izalith - p. 2
- Dark Souls: The Duke's Archives - p. 1
- Dark Souls: The Duke's Archives - p. 2
- Dark Souls: The Duke's Archives - Prison
- Dark Souls: The Duke's Archives II - p. 1
- Dark Souls: The Duke's Archives II - p. 2
- Dark Souls: Crystal Cave
- Dark Souls: Kiln of the First Flame
- Dark Souls: Two game endings
- Dark Souls: Bonus - Valley of Drakes
- Dark Souls: Bonus - The Great Hollow
- Dark Souls: Bonus - Ash Lake
- Dark Souls: Bonus - Painted World of Ariamis - p. 1
- Dark Souls: Bonus - Painted World of Ariamis - p. 2
- Dark Souls: Bonus - Painted World of Ariamis - p. 3
- Dark Souls: Walkthrough
- Dark Souls: Game Guide
You are not permitted to copy any image, text or info from this page. This site is not associated with and/or endorsed by the developers and the publishers. All logos and images are copyrighted by their respective owners.
Copyright © 2000 - 2026 Webedia Polska SA for gamepressure.com, unofficial game guides, walkthroughs, secrets, game tips, maps & strategies for top games.