Days Gone: Protecting the Weak - walkthrough
Protecting the Weak are short story missions in which you usually have to free someone. They are loosely connected with the plot, but they provide valuable experience and give the opportunity to face strong and numerous groups of opponents.
- He Never Came Back
- Coming into Town
- Gone Fishing
- In their menu
- Never Give Up Hope
- Didn't want to join up?
- The Copeland camp was attacked.
He Never Came Back
After you complete Everyone Has To Work (Gear Up For the Ride), you will receive a call from Copeland starting the mission. Go to Copeland. He will send you to look for a missing person.
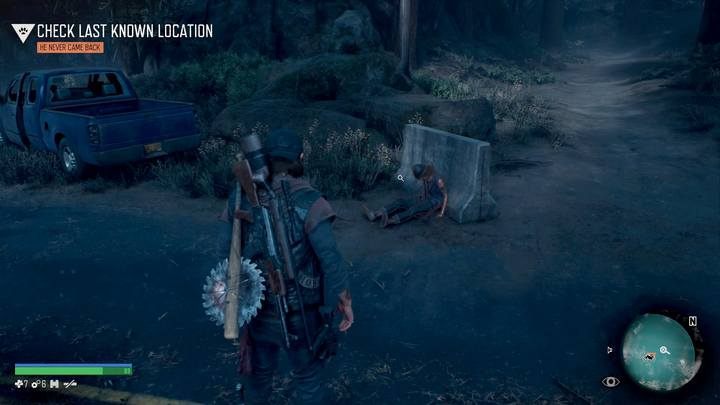
At the end you will find a corpse sitting against a wall - examine it. Go to the next search point and go down the river, where you will find the second dead man. You'll find the last victim in the grass by the stone, from there you'll hear the voices of your opponents on the hill. Sneak into their camp, eliminate them (only three); then release the prisoner to complete the task.
It's worth doing this mission early on because you'll get a lot of reputation for it in Copeland's camp.
Coming into Town
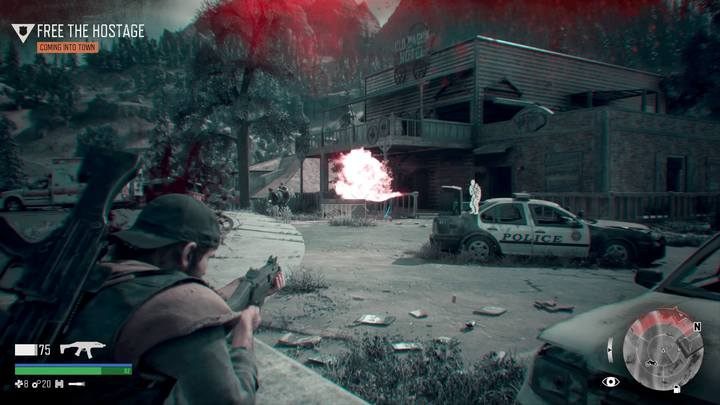
You will begin this mission after you have completed Earning Our Keep: You See What They Did. Tucker has a simple task for you - to free Larsen. Go to the northern village and get rid of a few marauders. You'll find Larsen on the first floor of the bar (watch out for one opponent who can be lurking on the first floor, on the balcony). An easy, quick mission, rewarded with a lot of reputation.
Gone Fishing
Mission appears in the diary after completing Rikki related task: I Got a Job for You (Earning Our Keep). Rikki will ask you to find two dead campers.
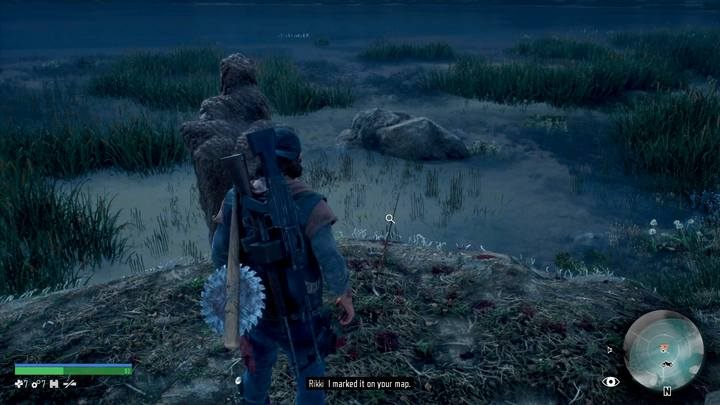
Go to the place near the lake and inspect the fishing rod. Now go to the waterfront - move carefully, because the Marauders can hear you from here. They reside behind the fence. However, they will probably be busy with fighting with the Freakers if you go there after dark.
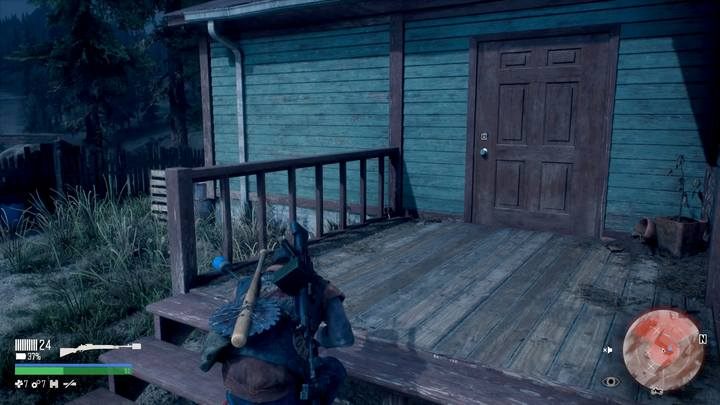
Save the people in the building (guarded by two Marauders); after freeing them you will complete the task. You don't have to eliminate other enemies.
In their menu
After completing the Time For Some Payback (Keep Them Safe) mission, when you leave the camp for a while, Rikki will contact you on the radio. It's a different mission than the usual ones commissioned by Rikki. Go to the farm near the Sherman camp and find the tracks in the barn. Traces and trails lead to the gas station in town, where there is a group of armed bandits. You will find more tracks near the fuel dispenser.
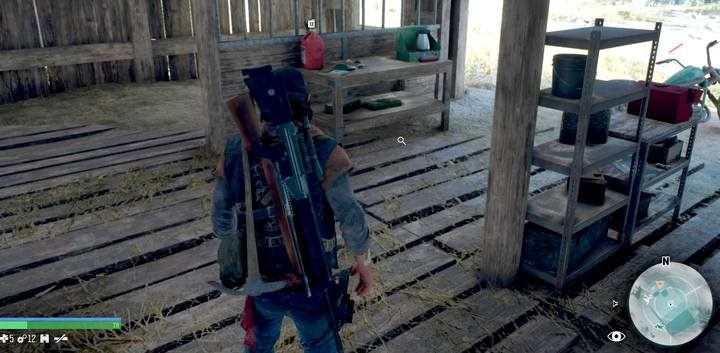
They lead to the door of one of the buildings. You can climb the stairs to the roof, where you can freely and quietly eliminate most of the opponents. Then go down and move to the burned building opposite.
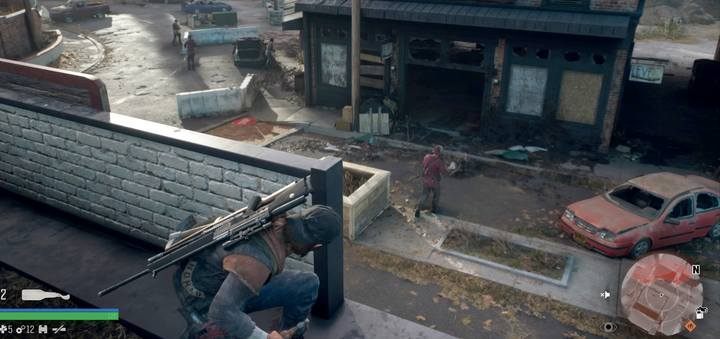
Behind it you will find numerous traces of blood on the sidewalk - another clue. Next track can be found behind another burned building on the right. There's another one on the other side of the road where you'll find Jeremy.
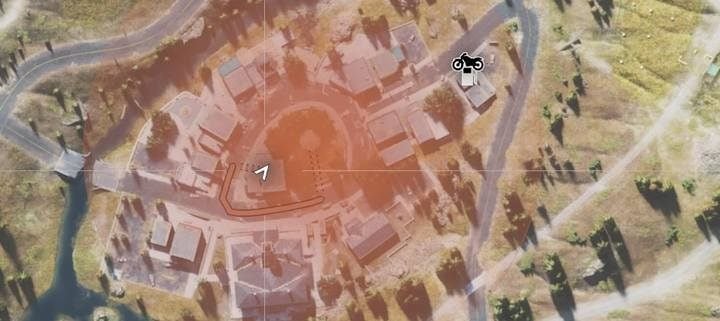
You can get to this point from the beginning of the mission. You do not need to complete the entire investigation through the above mentioned step-by-step path. The child is upstairs on the balcony.
Never Give Up Hope
This mission starts after an initial exploration of Crater Lake and a conversation with Garrett at the top of the hill located in the center of the base.

Go to the designated place (the path between the rocks), along the way you will encounter a Freakers' nest that you can burn or go around. You will see a sniper. After you eliminate him, you can kill the enemies from by standing at the top. When you start attacking, the enemies will get reinforcements. One of the enemies has a flamethrower - shoot the tank with fuel on his back to kill him fast. Reach the end of the tunnel.
Didn't want to join up?
After returning from a hike to Lost Lake with Sarah, you will be able to unlock this side mission. Upon reaching your destination you will find a trail leading to the Marauder Camp.
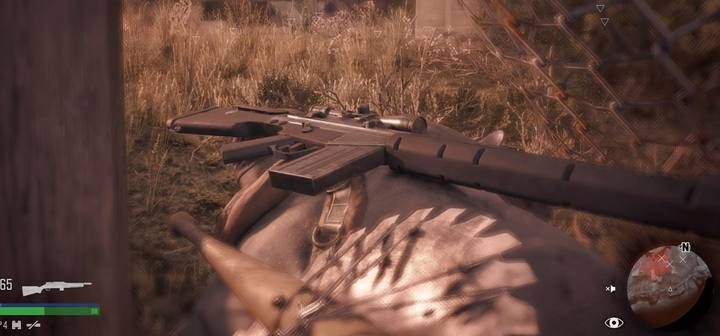
The camp can only be entered from the South side, through a small hole in the fence grid. Several enemies have a vest and you can't kill them quietly from behind. There are only 8 opponents to eliminate. After this mission, you will be able to complete two more tasks involving clearing camps.
The Copeland camp was attacked.
When you return to Lost Lake and perform another mission for the camp (eliminating the Horde - Provide them with protection), Copeland will call you with an additional mission. In this mission, you save Manny from the hands of the Marauders. However the fight ends with battling a bear. However, standing on the tower where they keep Manny, you should be safe - just keep a constant fire.
- Days Gone Guide
- Days Gone: Walkthrough
- Days Gone: Main storyline
- Days Gone: All story missions - list
- Days Gone: Chasing Leon - walkthrough
- Days Gone: Gear Up For The Ride - walkthrough
- Days Gone: He's my Brother - walkthrough
- Days Gone: I Remember - walkthrough
- Days Gone: You're Safe Now - walkthrough
- Days Gone: Earning Our Keep - walkthrough
- Days Gone: Ripped Apart - walkthrough
- Days Gone: Bounty Hunter - walkthrough
- Days Gone: Protecting the Weak - walkthrough
- Days Gone: Surviving Isn't Living - walkthrough
- Days Gone: Marauder Camp Hunter - walkthrough
- Days Gone: Keep Them Safe - walkthrough
- Days Gone: A Good Soldier - walkthrough
- Days Gone: I'm Never Giving Up - walkthrough
- Days Gone: Law and Disorder - walkthrough
- Days Gone: Race against time - walkthrough
- Days Gone: Secret ending - walkthrough
- Days Gone: Main storyline
- Days Gone: Walkthrough
You are not permitted to copy any image, text or info from this page. This site is not associated with and/or endorsed by the developers and the publishers. All logos and images are copyrighted by their respective owners.
Copyright © 2000 - 2026 Webedia Polska SA for gamepressure.com, unofficial game guides, walkthroughs, secrets, game tips, maps & strategies for top games.
