God of War Ragnarok: The Summoning - walkthrough
The Summoning is the main quest of the second visit to Muspelheim in God of War Ragnarok. From the walkthrough, you will learn how to reach Surtr's Forge, how to get Surtr to cooperate, and the point of no return in the campaign, among other things.
The Summoning is the penultimate main task in God of War Ragnarok. The walkthrough from our guide explains the steps to follow during the second visit to Muspelheim. We explain, e.g. how to get to Surtr's Forge, when Surtr can help Kratos, and what the so-called point of no return is.
- Reach Surtr's Forge
- Approach the ashen man
- Follow Surtr
- Return to the Mystic Gateway - point of no return
- Travel to Tyr's Temple in Midgard
Reach Surtr's Forge
This task will begin after Kratos reaches Muspelheim and you will start in the Burning Cliffs region.
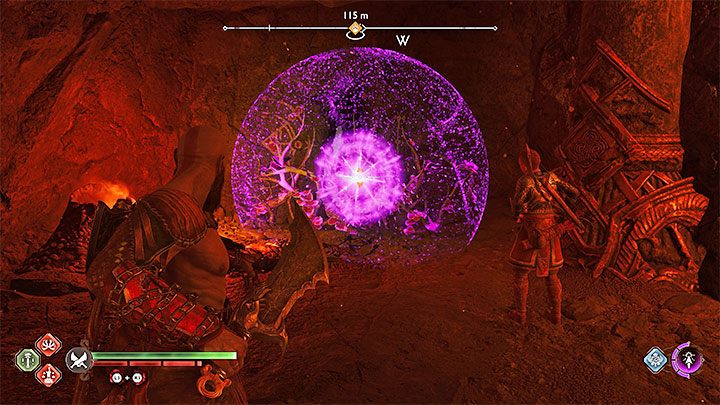
Head southeast. Create a seal on the red vines and destroy them with Blades to unlock a narrow passage between the rocks. You have to defeat a Wight and Draugr Lords. Parry their yellow attacks and hit them with your shield when they try to use blue attacks. Focus on one enemy at a time.
After the battles, choose the narrow passage next to the lava waterfall and use your spear on the weak point on the rock. You will encounter a Flame Phantom - a mini-boss.
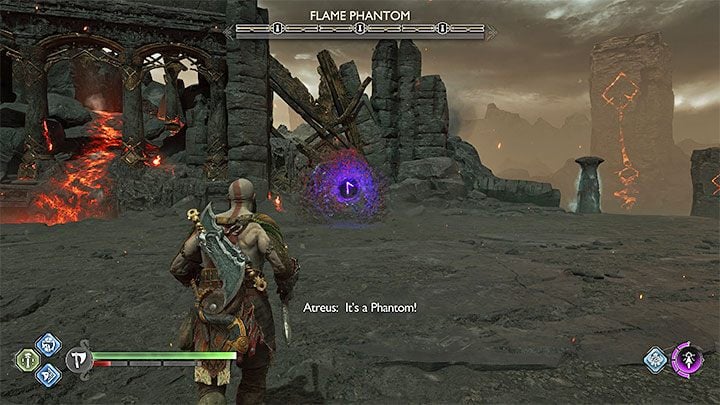
Focus on attacking its core and destroying runic springs after they lose their protection. We described the boss fight in detail on a separate page Flame Phantom in the Bosses chapter.
Approach the ashen man
After the fights, choose the arena exit. You will reach the Surtr's Forge region. Slide down the rope and approach Surtr.
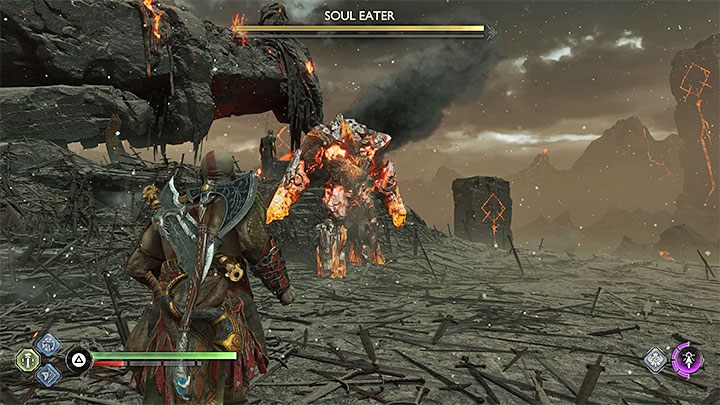
Before you can meet Surtr, you need to defeat a pair of Soul Eaters. We described the confrontation with the two mini-bosses on a separate page Soul Eaters in the Bosses chapter.
After winning the fight, collect the loot and approach Surtr again.
Follow Surtr
Follow Surtr, who will unlock a new passage next to the forge. You will reach the Spark of the World region. Jump to the next levitating shelves.
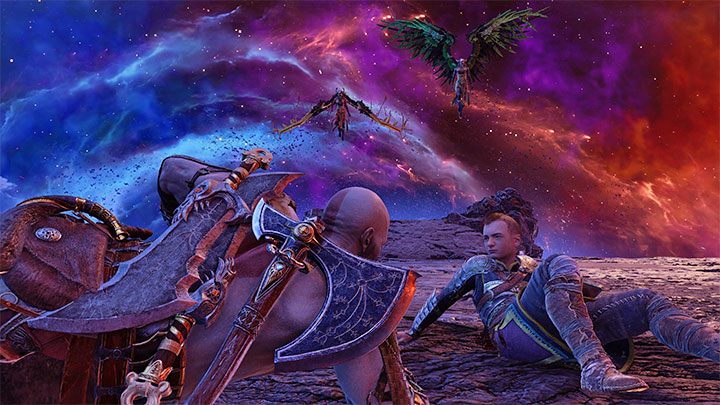
After watching the cut-scene, the heroes will be attacked by 2 Valkyries. We described the fight with these bosses in detail on the Hrist and Mist page in the Bosses chapter.
After the battle, approach the edge again to complete the quest.
Return to the Mystic Gateway - point of no return
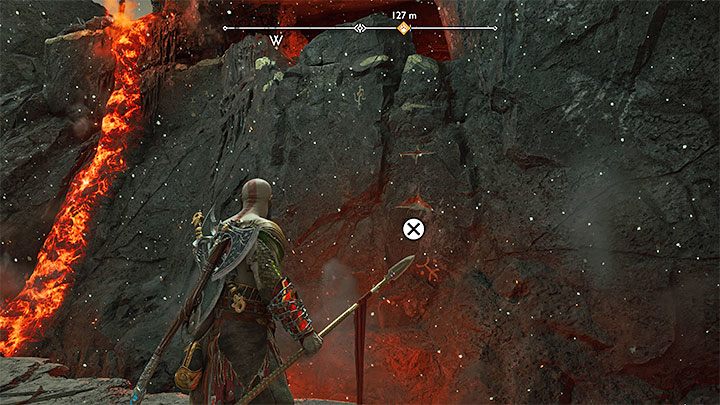
Head back towards the Mystic Gateway from the Burning Cliffs region, the one you began your current visit to Muspelheim. On the way to the gate, you will face enemies, including a new Wyvern (focus your attacks on this monster).
Climb near Surtr's Forge - the place is shown in the picture.
Defeat more monsters and choose the narrow passage behind the lava. In the new location, there will be a stronger opponent riding a beast - move away from the circles on the ground.
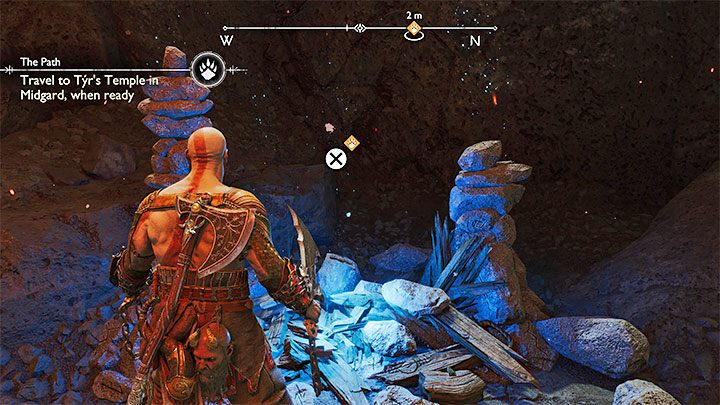
When you reach the gate, you will find out that you have reached the so-called point of no return:
- If you want to advance to the game's finale, visit Tyr's Temple in Midgard. Once you do that, you won't be able to explore freely until you finish the game.
- If you want to continue freely exploring the game world, don't go to the Temple just yet.
You will be able to continue exploring the game world even after finishing the main storyline - we have described it in more detail on the FAQ page Can you continue playing after finishing the game?.
You can focus on the finale later, after, e.g. you have upgraded Kratos' and Atreus' gear. The last quest of the game includes, e.g. 2 challenging boss fights.
Travel to Tyr's Temple in Midgard
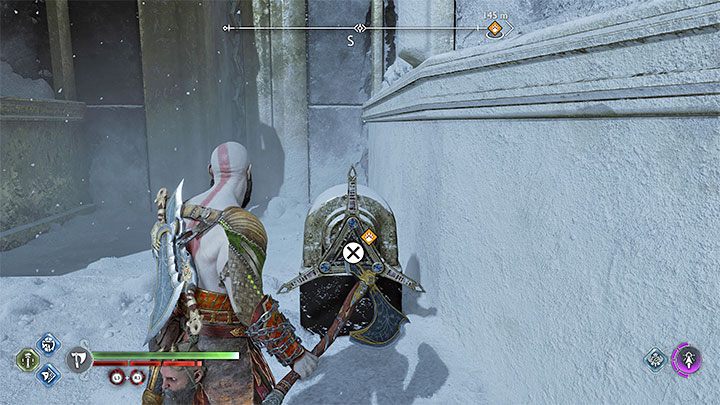
Choose Lake of Nine in Midgard as your destination. Reach the Tyr's Temple and go up using the elevator.
At the top, you can meet with several characters and begin The Realms at War main quest.

- God of War Ragnarok Guide
- God of War Ragnarok: Game Guide
- God of War Ragnarok: Walkthrough
- God of War Ragnarok: Walkthrough, all quests
- God of War Ragnarok: Surviving Fimbulwinter - walkthrough
- God of War Ragnarok: The Quest for Tyr - walkthrough
- God of War Ragnarok: Old Friends - walkthrough
- God of War Ragnarok: Groa's Secret - walkthrough
- God of War Ragnarok: The Lost Sanctuary - walkthrough
- God of War Ragnarok: The Reckoning - walkthrough
- God of War Ragnarok: The Runaway - walkthrough
- God of War Ragnarok: Into the Fire - walkthrough
- God of War Ragnarok: The Word of Fate - walkthrough
- God of War Ragnarok: Forging Destiny - walkthrough
- God of War Ragnarok: Unleashing Hel - walkthrough
- God of War Ragnarok: Reunion - walkthrough
- God of War Ragnarok: Creatures of Prophecy - walkthrough
- God of War Ragnarok: Unlocking the Mask - walkthrough
- God of War Ragnarok: Hunting for Solace - walkthrough
- God of War Ragnarok: The Summoning - walkthrough
- God of War Ragnarok: The Realms at War - walkthrough
- God of War Ragnarok: Beyond Ragnarok - walkthrough, endgame
- God of War Ragnarok: Endings
- God of War Ragnarok: Walkthrough
- God of War Ragnarok: Game Guide
You are not permitted to copy any image, text or info from this page. This site is not associated with and/or endorsed by the developers and the publishers. All logos and images are copyrighted by their respective owners.
Copyright © 2000 - 2026 Webedia Polska SA for gamepressure.com, unofficial game guides, walkthroughs, secrets, game tips, maps & strategies for top games.