Sekiro Shadows Die Twice: Shichimen Warrior #2 Boss Fight
The following section describes the combat with Shichimen Warrior in Fountainhead Palace - the last zone in Sekiro: Shadows Die Twice. This boss is no different from previous versions of him that you may have encountered twice: in the Ashina Depths and in the Guardian Ape lair after defeating the Guardian Ape for the second time, on the way to the Hidden forest. This time you need to pay attention to some additional things. Also, below we have described a safe way from sculptor idol straight to the boss arena.
Where to find the Shichimen Warrior?
Location: Foundtainhead Palace [nearest checkpoint: Flower Viewing Stage]
Rewards: Prayer Bead, Lapis Lazuli - crafting item used to create prosthetic tool upgrades (even the highest levels of upgrades)
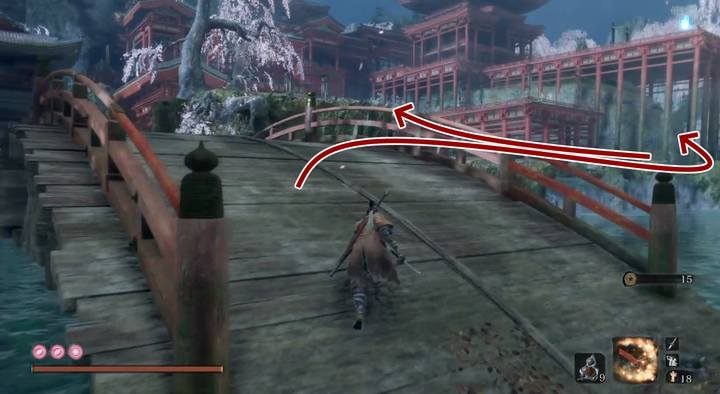
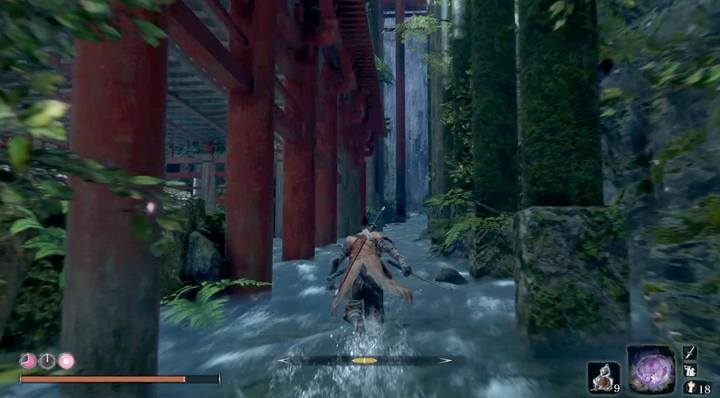
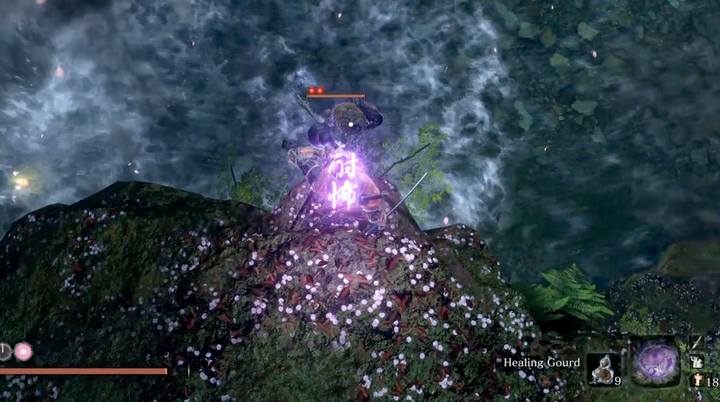
Shichimen Warrior is behind a big tree near the lake, in the valley of the river. You will get there by traveling from sculptor idol: Flower Viewing Stage, moving towards the tree under the buildings to go unnoticed.
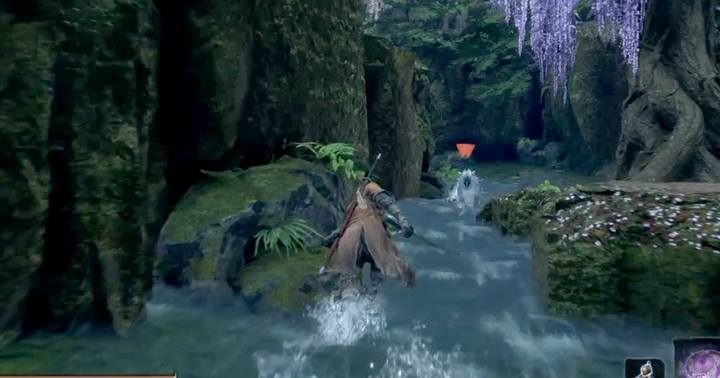
First, go around the rock on which the building is located to kill the two wolf-like monsters. They can cause some trouble when fighting the boss.
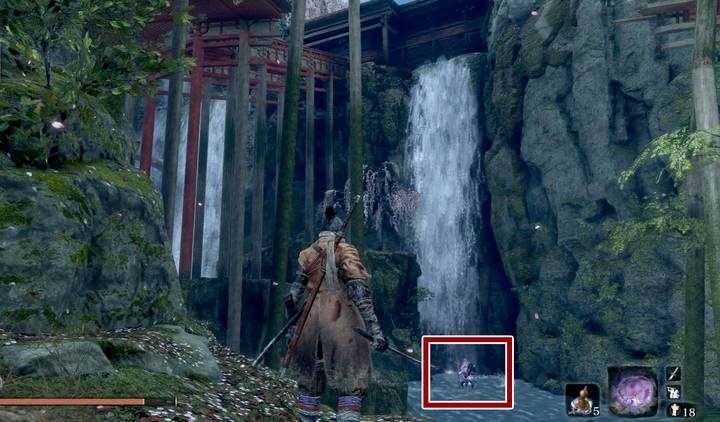
Now go back and turn right behind the rock, going up the stream; go to the rocks on the right and climb up - there you will find another creature. From here you can see the boss in the river valley that is below. There is no way to hit him with a critical strike from above.
How to defeat Shichimen Warrior?
Once again, to fight against such an enemy, it is necessary to use Pacifying Agent, or better - Mottled Purple Gourd to protect yourself from Terror status. In addition, Phoenix's Lilac Umbrella is extremely useful here, especially with the ability of Projected Force (Prosthetic Tools Techniques). Know that this skill, performed with Phoenix's Lilac Umbrella, results in the destruction of all ghosts summoned by the boss.
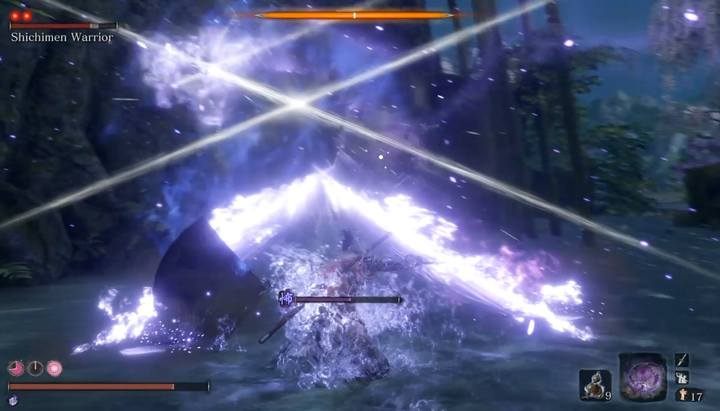
The beginning of the fight should start the same with each approach: jump on top of boss, after using the Mottled Purple Gourd / Pacifying Agent. The boss always starts the fight by summoning ghosts and then the area around him increases your Terror status. Cause him as many strokes as possible, and then activate the Phoenix Umbrella to protect yourself from the raging ghosts). Don't let any to hit you cause they may inflict a lot of Terror. Make a counter-attack with Projected Force (Prosthetic Tools Techniques). You have a great chance to throw down the enemy and break his first health bar - after causing him numerous injuries and special attacks, the enemy posture is going to be reduced to zero.
If the above tactics failed, or you do not have all the helpful items, it's okay - you can still defeat the boss, fighting through the first stage with the tips we have provided below:
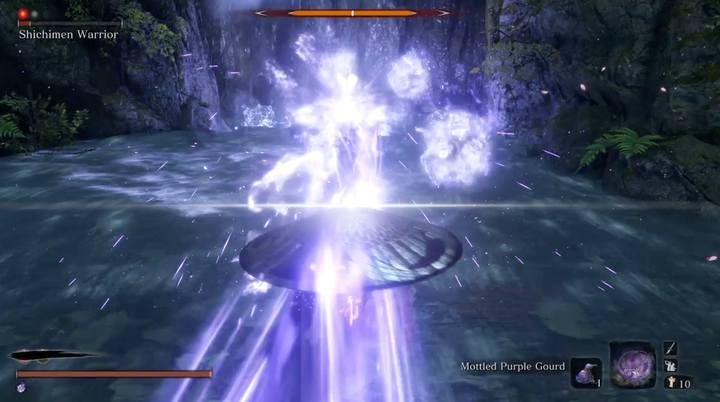
- attack the boss with fast strikes - all the time try to be near him, so he won't perform the deadly beam attack.
- the boss sometimes performs a counter with his staff, there are only two strikes, which are quite easy to parry.
- From time to time the boss teleports - he always move to the opposite side of the river.
- When he teleports, immediately run to him. After teleporting, as a rule, he uses the beam attack. If you are far away - you can escape to the side; you can hide under the Phoenix's Lilac Umbrella; if you manage to run near the boss, and you will be standing next to him (you can attack him at this time) the attack will not affect you.
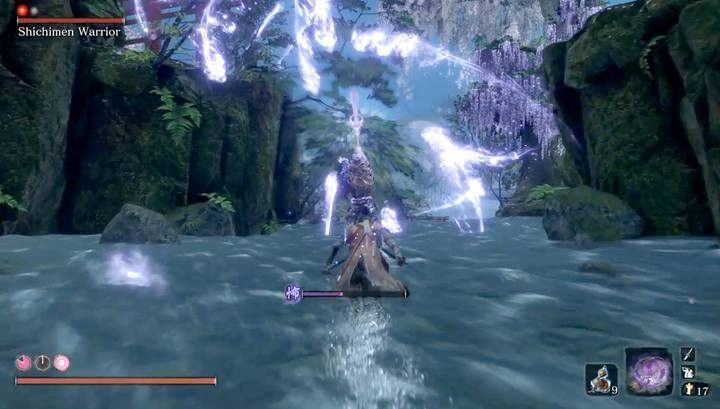
The disadvantage of this arena is the lack of places where you could hide from the attacks of the boss. All the time watch out for you HP and Terror bars. Under the Phoenix's Lilac Umbrella, you can protect yourself for a long time by approaching the boss if you stand far away from him. This fight is aimed at causing damage to the enemy, not reducing his posture in further stages.

- Sekiro Guide and Walkthrough
- Sekiro Shadows Die Twice: Game guide
- Sekiro Shadows Die Twice: Bosses
- Sekiro Shadows Die Twice: General Naomori Kawarada Boss Fight
- Sekiro Shadows Die Twice: Chained Ogre Boss Fight
- Sekiro Shadows Die Twice: General Tenzen Yamauchi Boss Fight
- Sekiro Shadows Die Twice: Great Serpent Boss Fight
- Sekiro Shadows Die Twice: Great Serpent - the second and third encounter
- Sekiro Shadows Die Twice: Juzou the Drunkard Boss Fight
- Sekiro Shadows Die Twice: Lady Butterfly Boss Fight
- Sekiro Shadows Die Twice: Unnamed masked purple enemy Boss Fight
- Sekiro Shadows Die Twice: Gyoubu Oniwa Boss Fight
- Sekiro Shadows Die Twice: The Blazing Bull Boss Fight
- Sekiro Shadows Die Twice: Shinobi Hunter Enshin of Misen Boss Fight
- Sekiro Shadows Die Twice: Lone Shadow Longswordsman Boss Fight
- Sekiro Shadows Die Twice: Seven Ashina Spears Boss Fight
- Sekiro Shadows Die Twice: Armored Warrior Boss Fight
- Sekiro Shadows Die Twice: Genichiro Ashina Boss Fight
- Sekiro Shadows Die Twice: Guardian Ape in Sunken Valley Boss Fight
- Sekiro Shadows Die Twice: Headless Guardian Ape in Ashina Depths Boss Fight
- Sekiro Shadows Die Twice: Tokujiro the Glutton Boss Fight
- Sekiro Shadows Die Twice: Mist Noble Boss Fight
- Sekiro Shadows Die Twice: O'Rin of the Water Boss Fight
- Sekiro Shadows Die Twice: Chained Ogre from Ashina Castle Boss Fight
- Sekiro Shadows Die Twice: Lonely Shadow Vilehand Boss Fight
- Sekiro Shadows Die Twice: Long-arm Centipede Sen'un Boss Fight
- Sekiro Shadows Die Twice: Snake Eyes Shirafuji Boss Fight
- Sekiro Shadows Die Twice: Long-arm Centipede Giraffe Boss Fight
- Sekiro Shadows Die Twice: Shinobi Eyes Shirahagi Boss Fight
- Sekiro Shadows Die Twice: Corrupted Monk Boss Fight
- Sekiro Shadows Die Twice: General Kuranosuke Matsumoto Boss Fight
- Sekiro Shadows Die Twice: Shichimen Warrior Boss Fight
- Sekiro Shadows Die Twice: Ashina Elite - Jinsuke Saze Boss Fight
- Sekiro Shadows Die Twice: Headless (underwater) #1 Boss Fight
- Sekiro Shadows Die Twice: Lone Shadow Masanaga Boss Fight
- Sekiro Shadows Die Twice: Emma, the Gentle Blade Boss Fight
- Sekiro Shadows Die Twice: Isshin Ashina Boss Fight
- Sekiro Shadows Die Twice: Great Shinobi Owl Boss Fight
- Sekiro Shadows Die Twice: True Corrupted Monk Boss Fight
- Sekiro Shadows Die Twice: Sakura Bull of the Palace Boss Fight
- Sekiro Shadows Die Twice: Demon of Hatred Boss Fight
- Sekiro Shadows Die Twice: Ashina Elite - Ujinari Mizuo Boss Fight
- Sekiro Shadows Die Twice: Shigekichi of the Red Guard Boss Fight
- Sekiro Shadows Die Twice: Seven Ashina Spears - Shume Masaji Oniwa Boss Fight
- Sekiro Shadows Die Twice: Genichiro & Isshin, the Sword Saint Boss Fight
- Sekiro Shadows Die Twice: Okami Leader Shizu Boss Fight
- Sekiro Shadows Die Twice: Headless #2 Boss Fight
- Sekiro Shadows Die Twice: Shichimen Warrior #1 Boss Fight
- Sekiro Shadows Die Twice: Shichimen Warrior #2 Boss Fight
- Sekiro Shadows Die Twice: Headless (underwater) #3 Boss Fight
- Sekiro Shadows Die Twice: Headless #4 Boss Fight
- Sekiro Shadows Die Twice: Headless #5 Boss Fight
- Sekiro Shadows Die Twice: Divine Dragon - Main Boss
- Sekiro Shadows Die Twice: Bosses
- Sekiro Shadows Die Twice: Game guide
You are not permitted to copy any image, text or info from this page. This site is not associated with and/or endorsed by the developers and the publishers. All logos and images are copyrighted by their respective owners.
Copyright © 2000 - 2026 Webedia Polska SA for gamepressure.com, unofficial game guides, walkthroughs, secrets, game tips, maps & strategies for top games.