Cyberpunk 2077: Delamain, Epistrophy - walkthrough
This page of the Cyberpunk 2077 guide provides a walkthrough of the Delamain: Epistrophy side job. This side job involves searching for missing taxi cabs with rebellious artificial intelligence and bringing them back to the Delamain fleet.
- Start of the quest
- Cab from Wellsprings
- Cab from North Oak
- Cab from the Badlands
- Cab from The Glen
- Cab from Northside
- Cab from Coastview
- Cab from Rancho Coronado
- Back to Delamain HQ
Start of the quest
How to start the quest: You have to complete the Delamain: Tune Up side job. As a reminder, it involves visiting the Delamain headquarters in Vista Del Rey, Heywood to claim the compensation for an incident involving a Delamain autonomous vehicle.
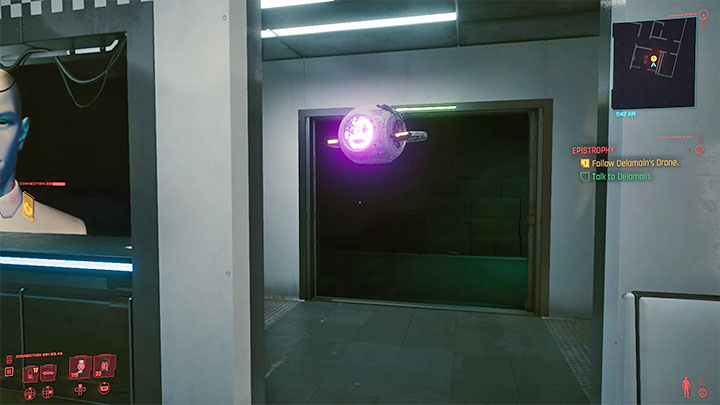
After you pick up the credits from the receptionist, you will be contacted by the "real" Delamain, the version of the artificial intelligence you first met during the main job when you went to the hotel with Jackie. Delamain will invite you to the back garage - follow the drone he sent you.

Delamain will reveal to you that some "rebellious" cabs have left the fleet. You can offer your help in finding them and bringing them back. Delamain will give you a scanner that will help you go through with the job.
There are 7 cabs to be found and hacked and we described them in the following subsections. You can complete the jobs in any order. Each cab has its own mini-job, so you can start following it. After entering the neighborhood where a cab is located, you will receive a message from Delamain and, in most cases, the cab you are looking for will appear on the map.
Cab from Wellsprings
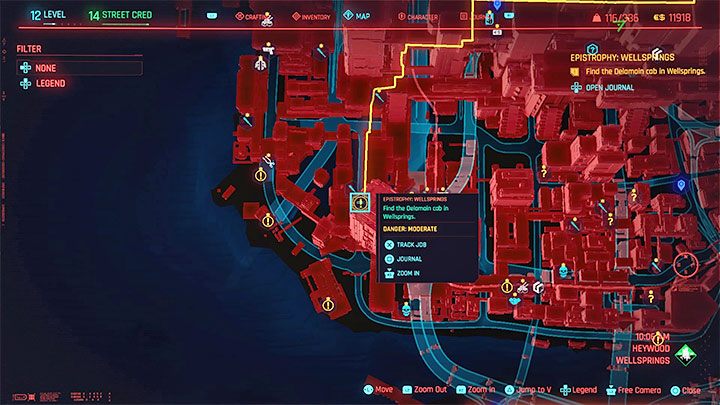
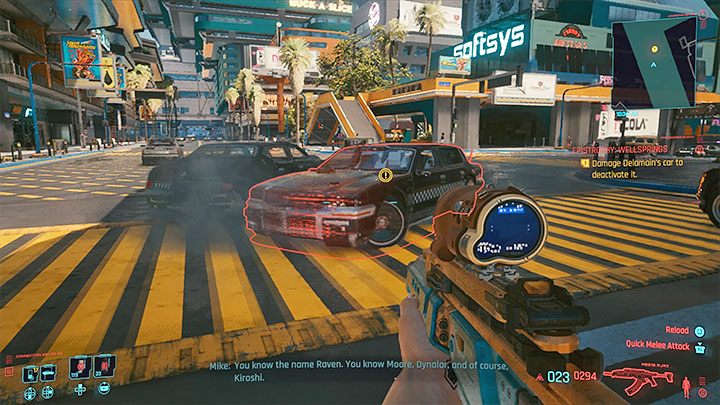
You will find a cab in Wellsprings, Heywood. The cab is constantly moving and driving around the district. Your task is to deal enough damage to the cab to make it surrender. Instead of hitting the cab, it's better to block the road and start shooting at it with any weapon (preferably a heavy one). After inflicting enough damage to the car, Delamain will call.
Cab from North Oak
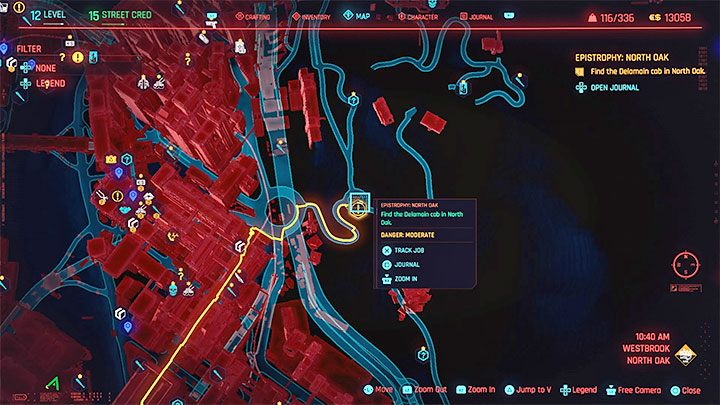
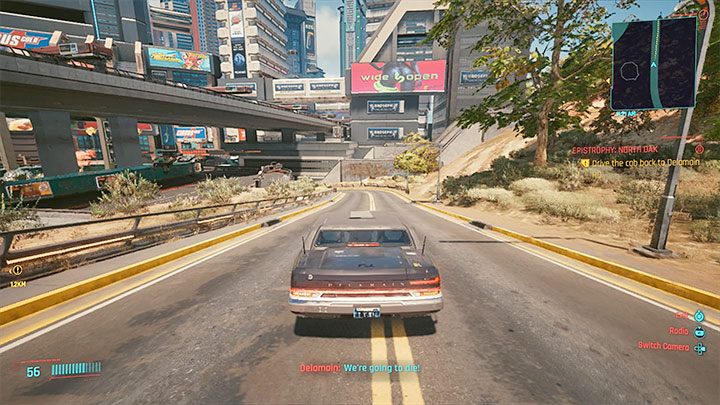
You will find a cab in North Oak, Westbrook. The cab is on the run, but will stop once you get close enough to it. After listening to the conversation with the rebellious AI, get inside the cab and start driving to the Delamain HQ. You can drive slowly and carefully as requested by the AI or ignore this request. Parking the cab at the Delamain's HQ will complete the job.
Cab from the Badlands
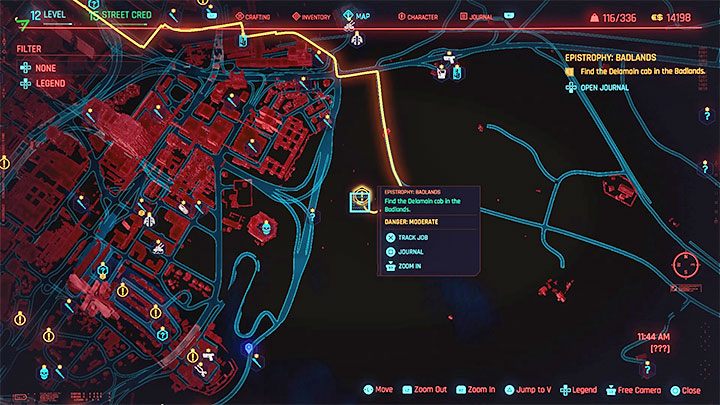
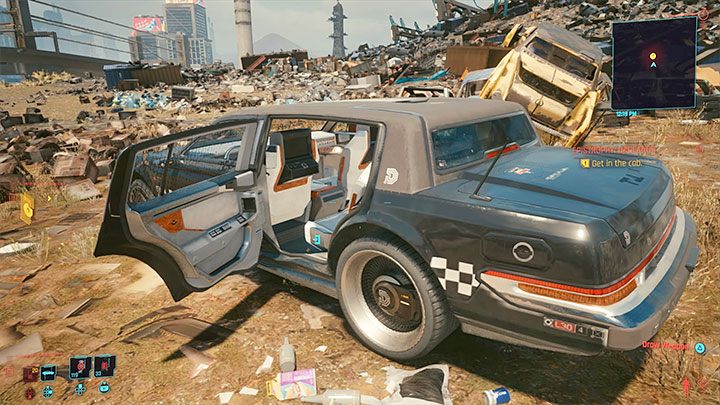
You will find a cab in the Badlands. It is parked on a huge landfill site. You can get to the cab faster using an off-road car or you can reach the destination on foot. After listening to the conversation with the rebellious AI, get in the cab. After a while, the job will be completed.
Cab from The Glen
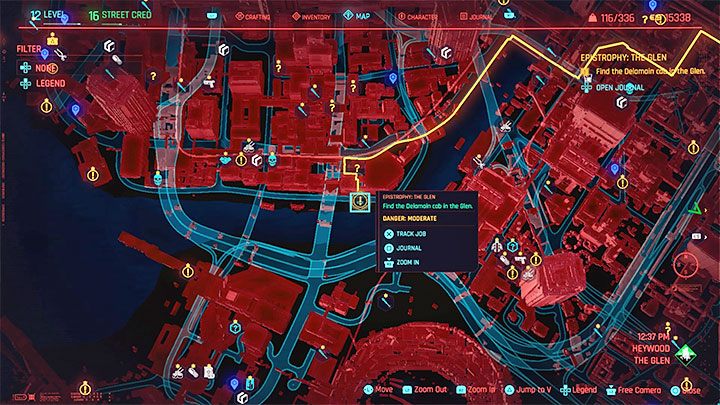
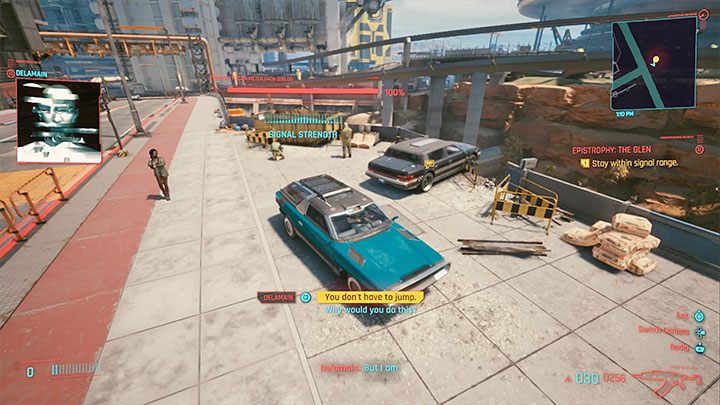
You will find a cab in The Glen, Heywood. It is standing still and after you get close enough, the rebellious AI will threaten you with a suicide attempt. You can't fail the negotiations by choosing the wrong dialogue options. If you want to be the "bad guy" on purpose, you can use your own vehicle to push the cab into the abyss. After the meeting is over, Delamain will call and the job will end.
Cab from Northside
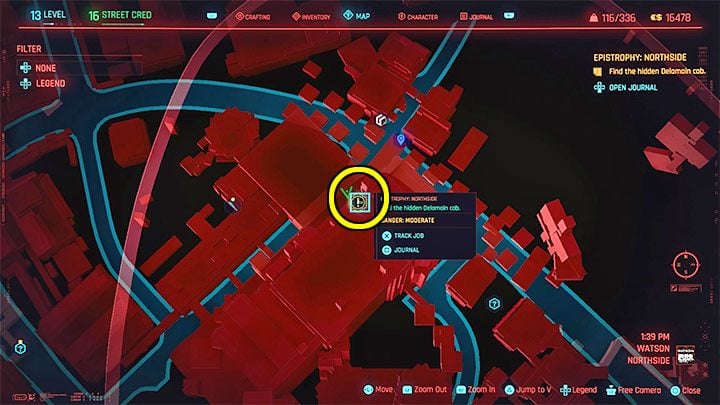
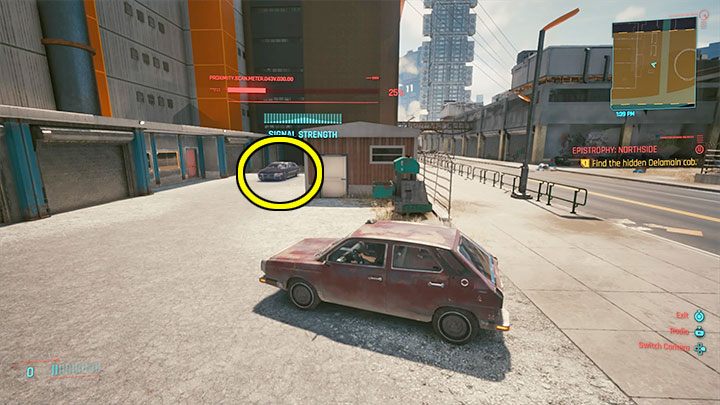
The cab can be found in Northside, Watson and it's the only one which you have to locate on your own. See the location of the cab in the attached images.
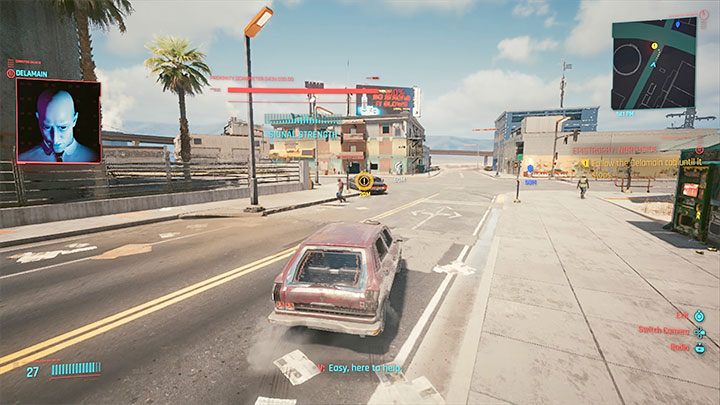
The cab will start running away and you will have to chase it. Theoretically, you can use any car for it, but make sure it is not too slow. During the chase, focus on flawless driving. Do not try to stop the cab by hitting it, as the end of the chase is scripted and ends in a fixed place.
Cab from Coastview
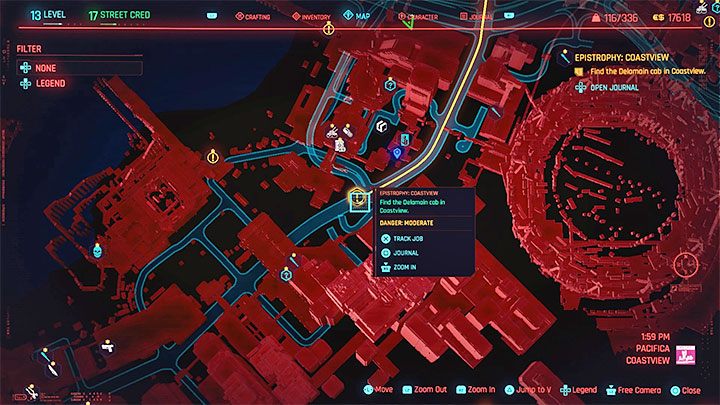
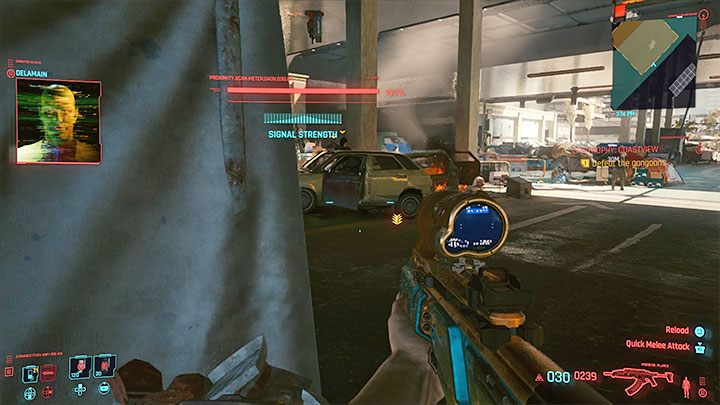
You will find a cab in Coastview, Pacifica. It is constantly moving and you need to get close to it. Then start following it to the place where it will park. Get out of the car and get ready for a fight with some bandits sent by the rebellious AI. Enemies are best attacked before they get out of the car. During subsequent fights, hide behind covers. After winning the fight, talk to the "defeated" AI.
Cab from Rancho Coronado
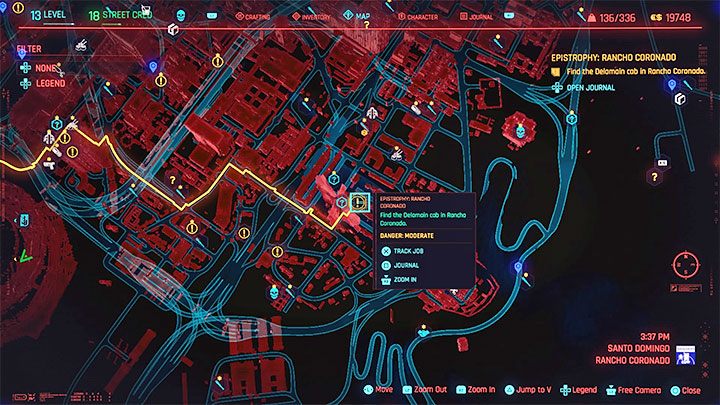
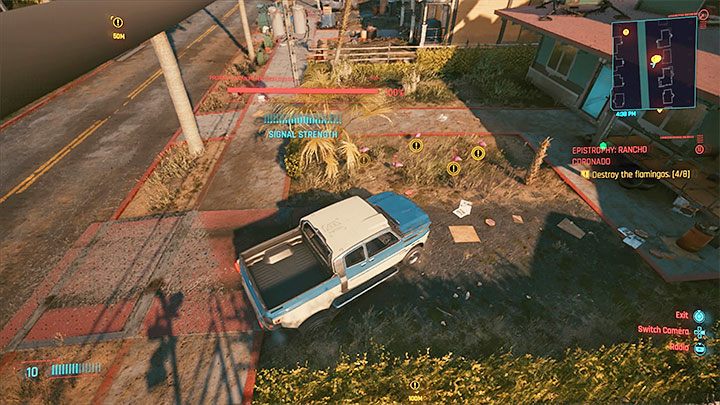
You will find a cab in Rancho Coronado, Santo Domingo. It's driving chaotically through the suburbs and once you get close to it, you will learn about the "flamingo problem". Your task is to destroy 8 flamingos among those marked by the game. You can find them primarily on the lawns in front of the houses. While you destroy them, you don't have to stay close to the cab. After the task is completed, listen to the conversation with AI and then with Delamain.
Back to Delamain HQ
You can finish the job after you have found all 7 cabs and completed the related mini-jobs. Return to the Delamain HQ in Heywood. Interact with the box to return the scanner. As a reward for completing the mission, you will receive a lot of XP and credits.

- Cyberpunk 2077 Guide
- Cyberpunk 2077: Walkthrough
- Cyberpunk 2077: Side missions
- Cyberpunk 2077: Exploration Side missions
- Cyberpunk 2077: Burning Desire walkthrough
- Cyberpunk 2077: Sacrum Profanum walkthrough
- Cyberpunk 2077: Human Nature walkthrough
- Cyberpunk 2077: Tune Up walkthrough
- Cyberpunk 2077: Delamain, Epistrophy - walkthrough
- Cyberpunk 2077: Don't Lose Your Mind walkthrough
- Cyberpunk 2077: Happy Together walkthrough
- Cyberpunk 2077: These Boots Are Made for Walkin' walkthrough
- Cyberpunk 2077: Big in Japan walkthrough
- Cyberpunk 2077: I can see clearly now walkthrough
- Cyberpunk 2077: The Ballad Of Buck Ravers walkthrough
- Cyberpunk 2077: The Highwayman walkthrough
- Cyberpunk 2077: The Beast In Me walkthrough
- Cyberpunk 2077: I Fought the Law (River) walkthrough
- Cyberpunk 2077: The Hunt (River) walkthrough
- Cyberpunk 2077: Following the River (River) - walkthrough
- Cyberpunk 2077: I'll Fly Away walkthrough
- Cyberpunk 2077: Dream On walkthrough
- Cyberpunk 2077: Sinnerman walkthrough
- Cyberpunk 2077: There is a Light that Never Goes Out walkthrough
- Cyberpunk 2077: Passion/They Won't Go When I Go walkthrough
- Cyberpunk 2077: Space Oddity walkthrough
- Cyberpunk 2077: A Day in the Life - walkthrough
- Cyberpunk 2077: Ezekiel Saw the Wheel - walkthrough
- Cyberpunk 2077: Imagine walkthrough
- Cyberpunk 2077: Machine Gun walkthrough
- Cyberpunk 2077: Only Pain walkthrough
- Cyberpunk 2077: Every Breath You Take - walkthrough
- Cyberpunk 2077: Violence - walkthrough
- Cyberpunk 2077: Full Disclosure - walkthrough
- Cyberpunk 2077: Fortunate Son - walkthrough
- Cyberpunk 2077: Beat on the Brat - walkthrough
- Cyberpunk 2077: Send in the Clowns - walkthrough
- Cyberpunk 2077: Shoot to Thrill - walkthrough
- Cyberpunk 2077: Gun Music - walkthrough
- Cyberpunk 2077: War Pigs - walkthrough
- Cyberpunk 2077: The Gun - walkthrough
- Cyberpunk 2077: The Gift - walkthrough
- Cyberpunk 2077: Paid in full - walkthrough
- Cyberpunk 2077: Sweet Dreams - walkthrough
- Cyberpunk 2077: Small Man, Big Mouth - walkthrough
- Cyberpunk 2077: Stadium Love - walkthrough
- Cyberpunk 2077: Spellbound - walkthrough
- Cyberpunk 2077: Love Rollercoaster - walkthrough
- Cyberpunk 2077: Kold Mirage - walkthrough
- Cyberpunk 2077: The Prophet's Song - walkthrough
- Cyberpunk 2077: Tapeworm - walkthrough
- Cyberpunk 2077: The Gig - walkthrough
- Cyberpunk 2077: Bullets - walkthrough
- Cyberpunk 2077: Killing in the Name - walkthrough
- Cyberpunk 2077: Raymond Chandler Evening - walkthrough
- Cyberpunk 2077: Exploration Side missions
- Cyberpunk 2077: Side missions
- Cyberpunk 2077: Walkthrough
You are not permitted to copy any image, text or info from this page. This site is not associated with and/or endorsed by the developers and the publishers. All logos and images are copyrighted by their respective owners.
Copyright © 2000 - 2026 Webedia Polska SA for gamepressure.com, unofficial game guides, walkthroughs, secrets, game tips, maps & strategies for top games.